Course Guide

A hole-by-hole guide to Dunnerholme

This page has overviews for each hole, with yardages for the White, Yellow and Red tees (updated in July 2021). There are 10 greens with very different tee positions for the front and back nine – this vastly alters the holes when played for the second time on the back 9.

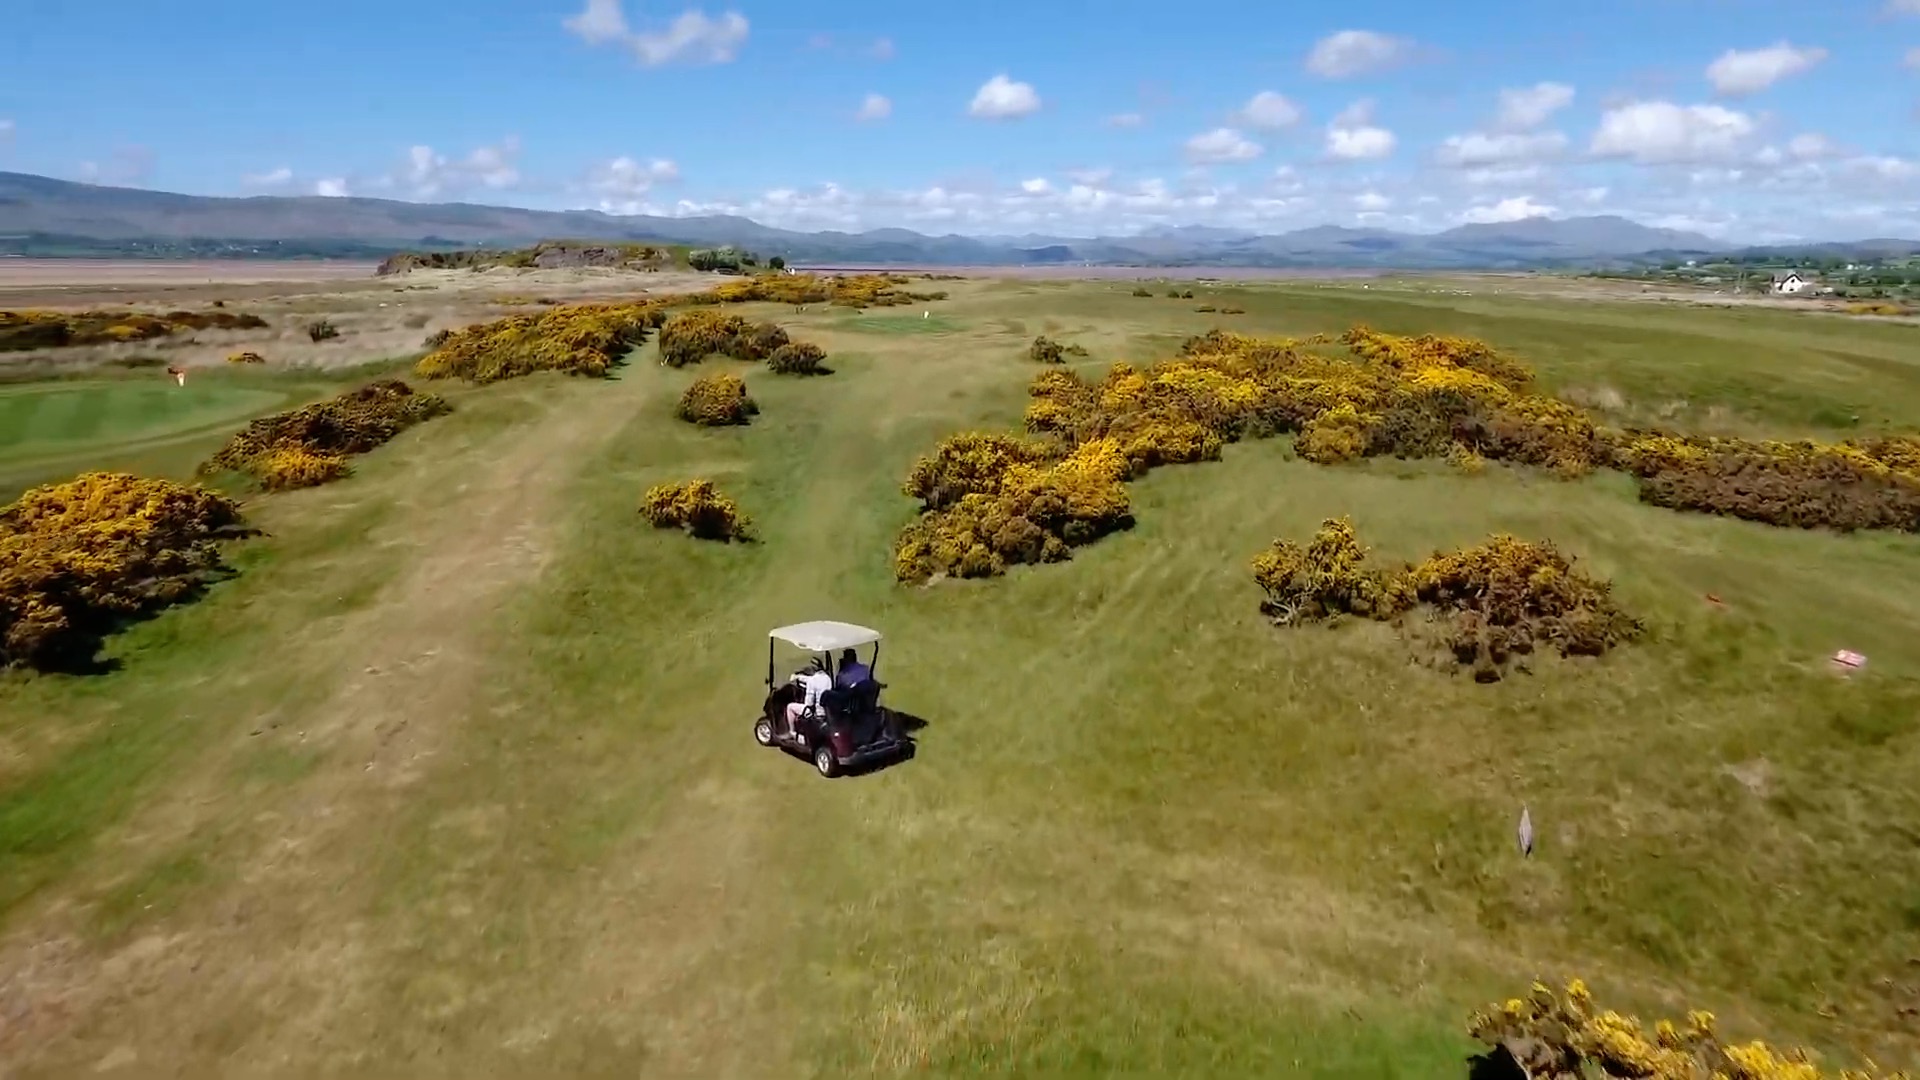
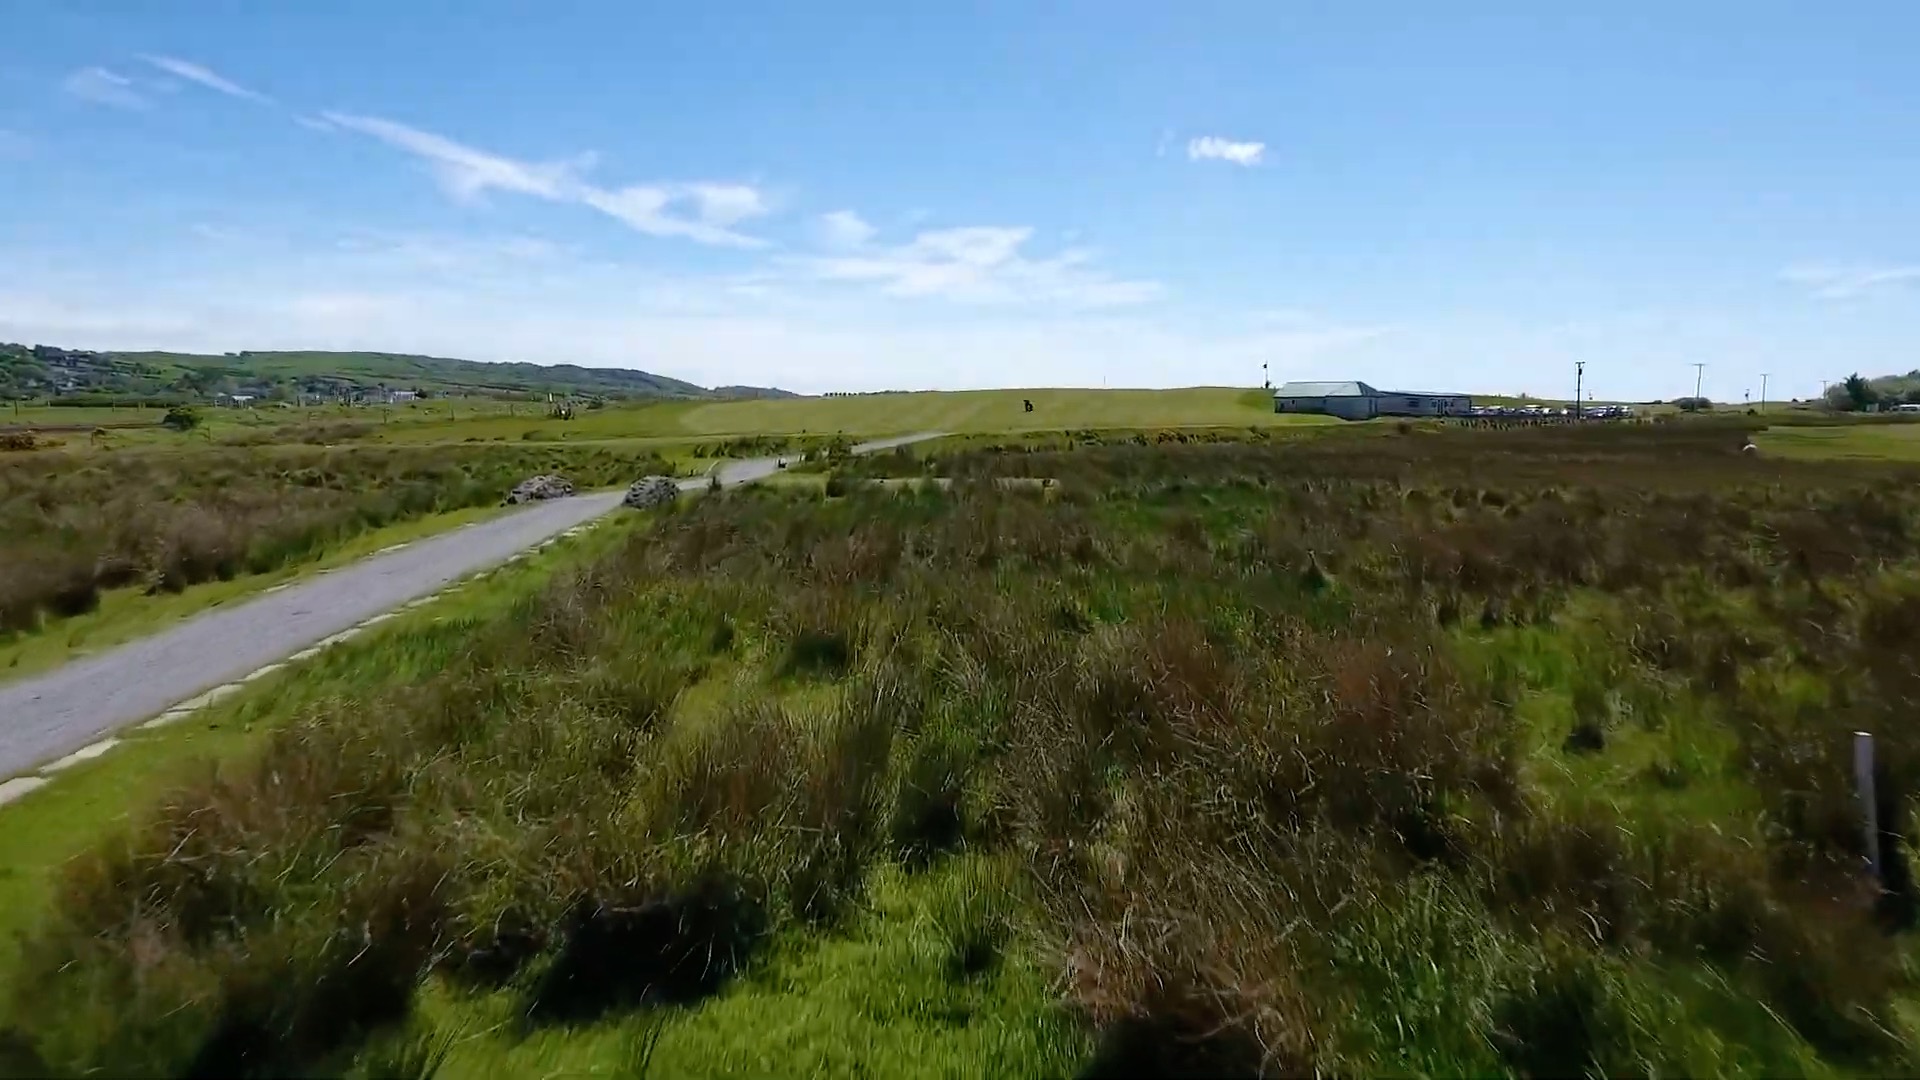
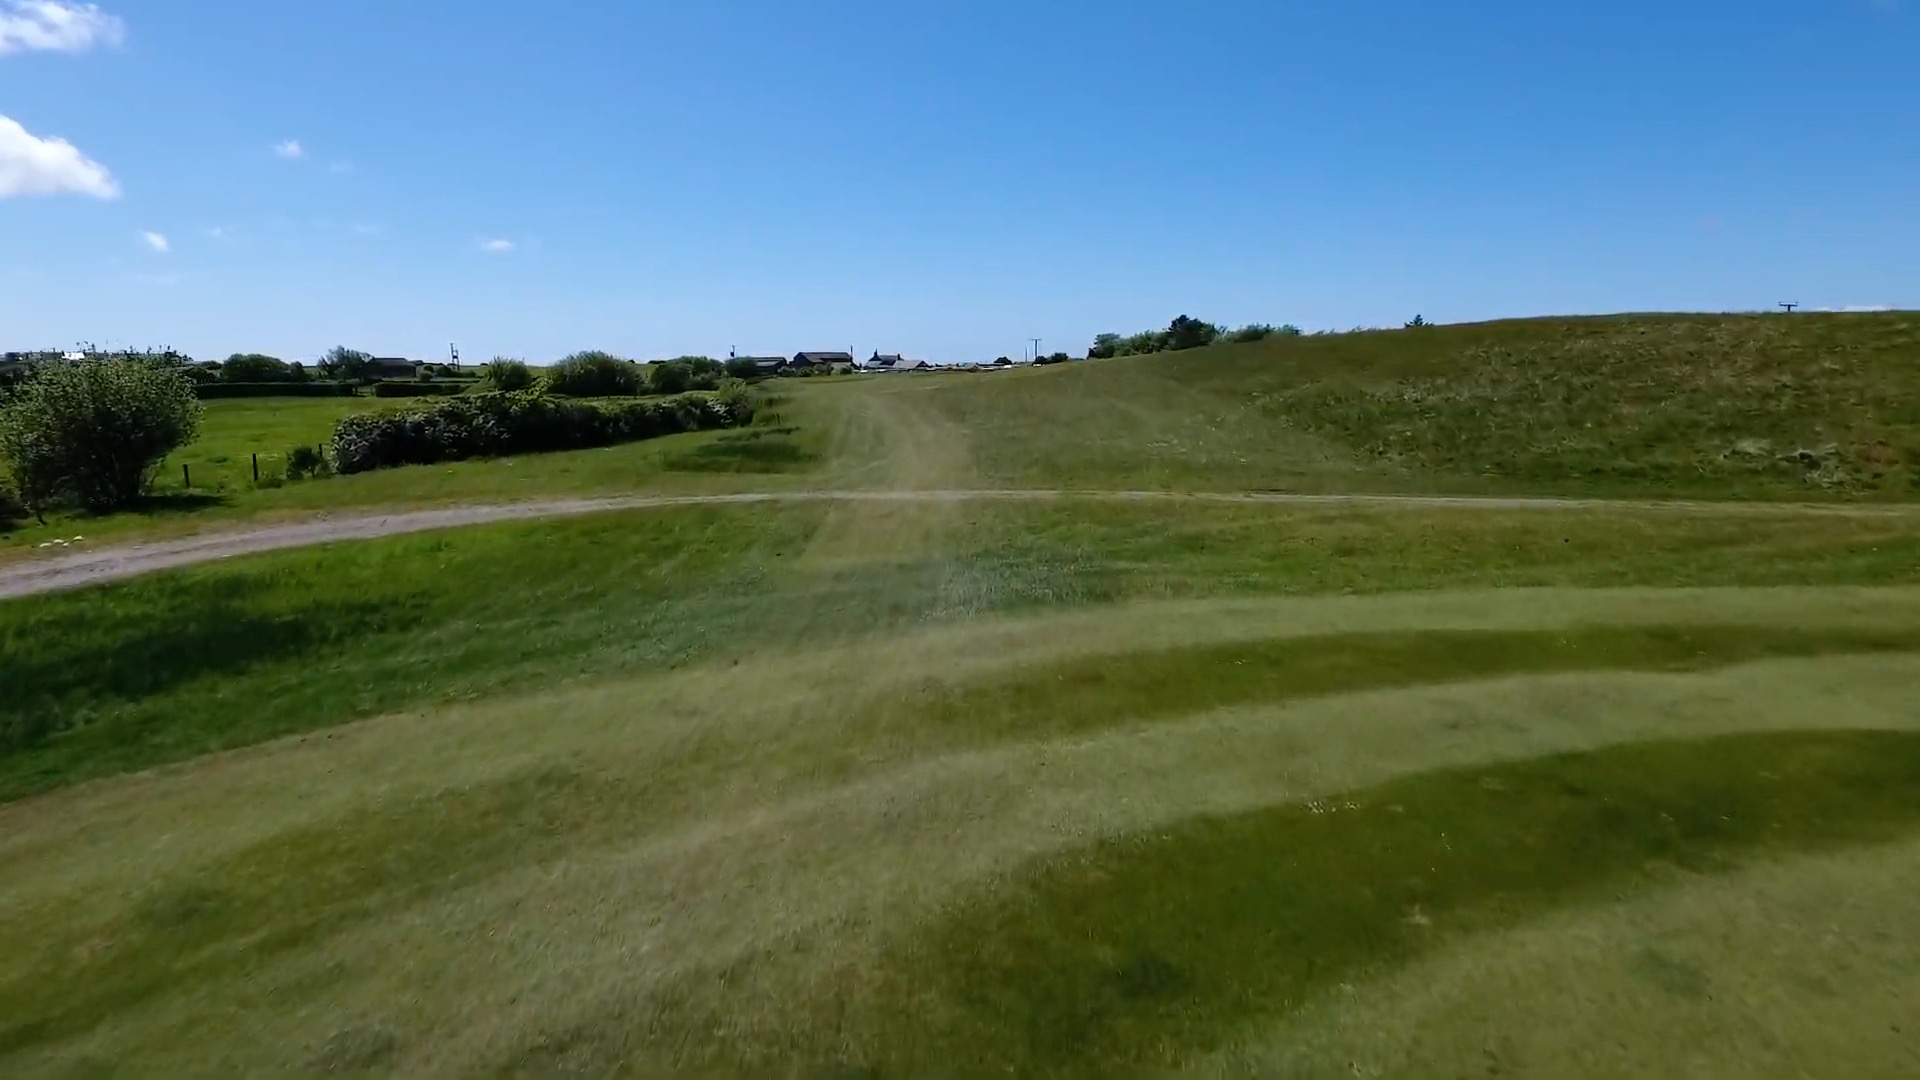
There are pictures from the tee, fairway and around the green.

There are some hints and tips for playing each hole to help you avoid some of the trouble.

Choose a hole below or scroll down. The 9-hole course simply uses the first 9 holes of the 18 hole course.

View hole:  1   2   3   4   5   6   7   8   9  10  11  12  13  14  15  16  17  18  Map

Holes

10 Greens - 18 Tees

Yards

Par 72

Yards

Par 72

Yards

Par 72

View hole:  1   2   3   4   5   6   7   8   9  10  11  12  13  14  15  16  17  18  Map

Hole 1

Hole
Yards

Par 4 - SI 10

Yards

Par 4 - SI 10

Yards

Par 4 - SI 12

Notes for hole 1

Drive from the raised area to a slight hogs back fairway that can take a ball towards the rough.

Avoid the out of bounds on the right and the stream on the left.

The stream can also punish a wayward second shot to the green where two mounds at the front make judging the distance a little deceptive.

If you drive well, it’s a relatively easy start to get the round underway.

View hole:  1   2   3   4   5   6   7   8   9  10  11  12  13  14  15  16  17  18  Map

Hole 2

Hole
Yards

Par 4 - SI 8

Yards

Par 4 - SI 8

Yards

Par 4 - SI 10

Notes for hole 2

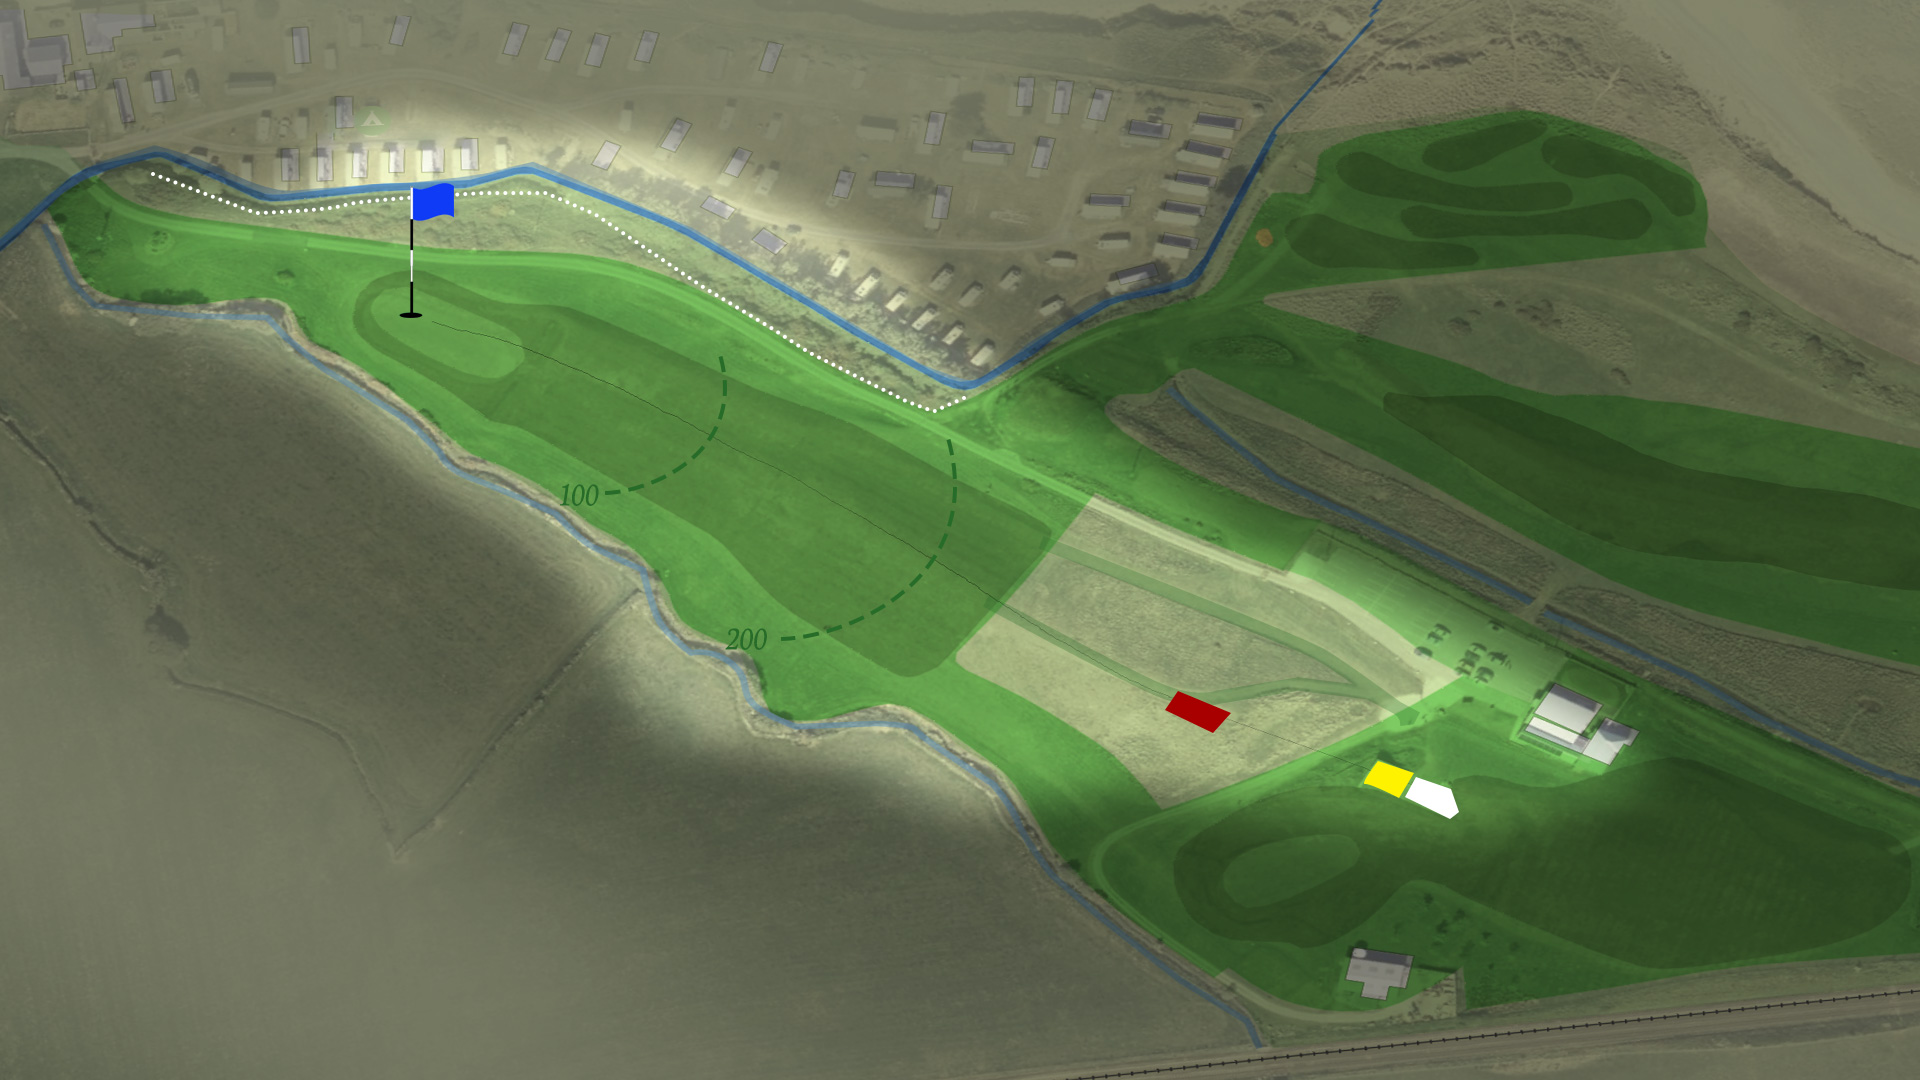
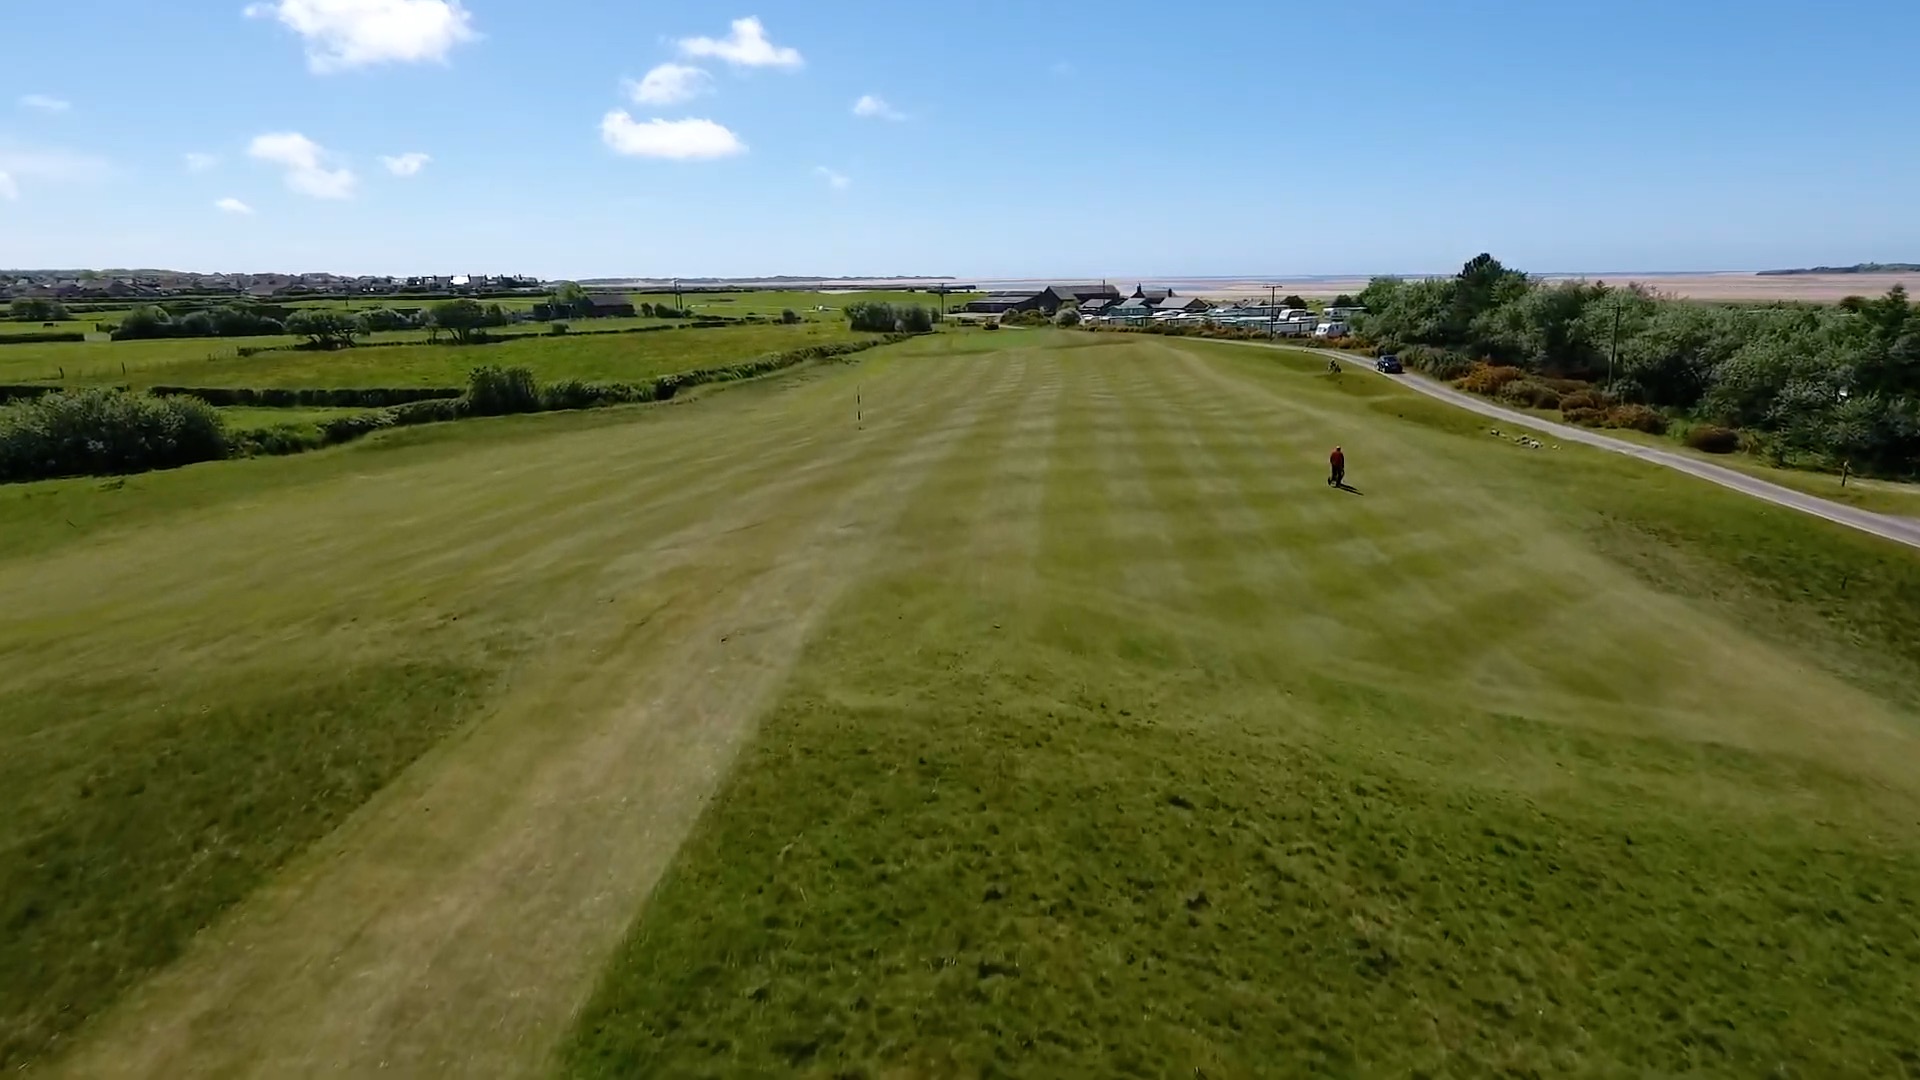
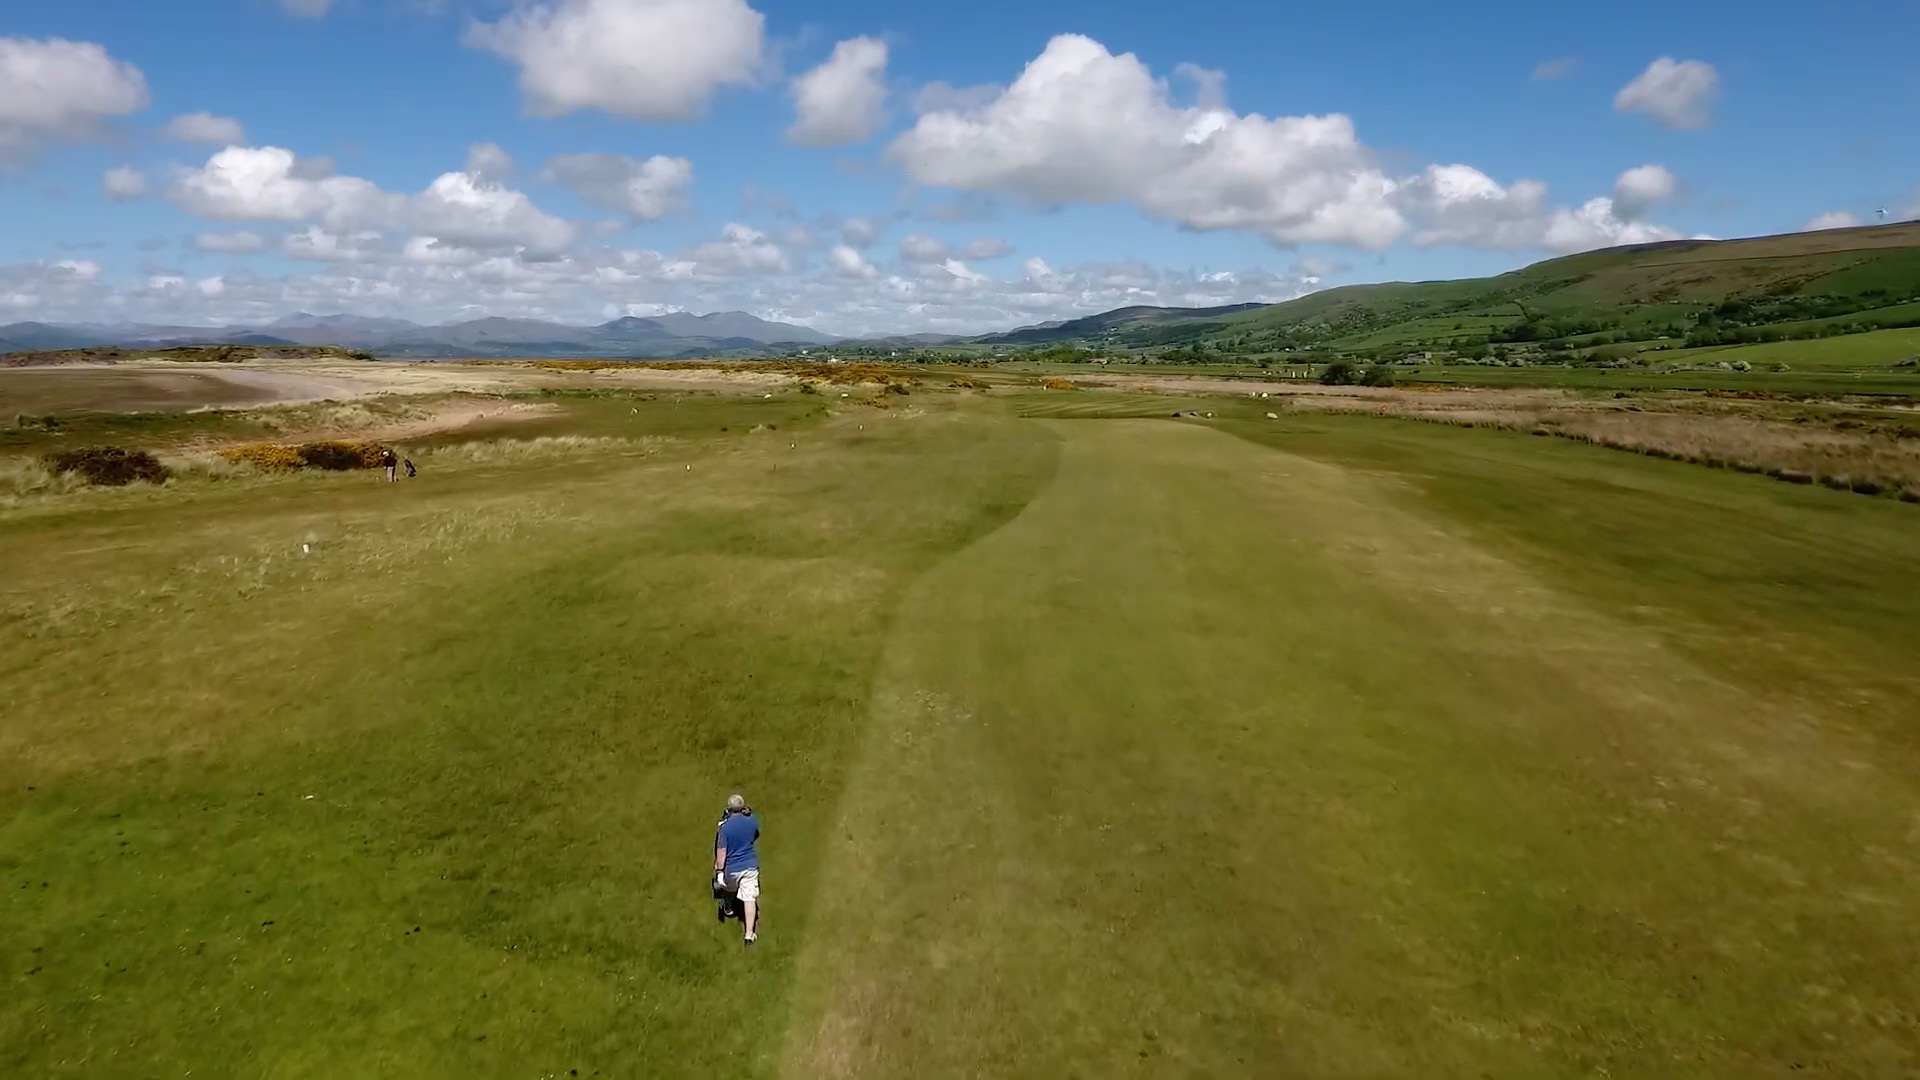
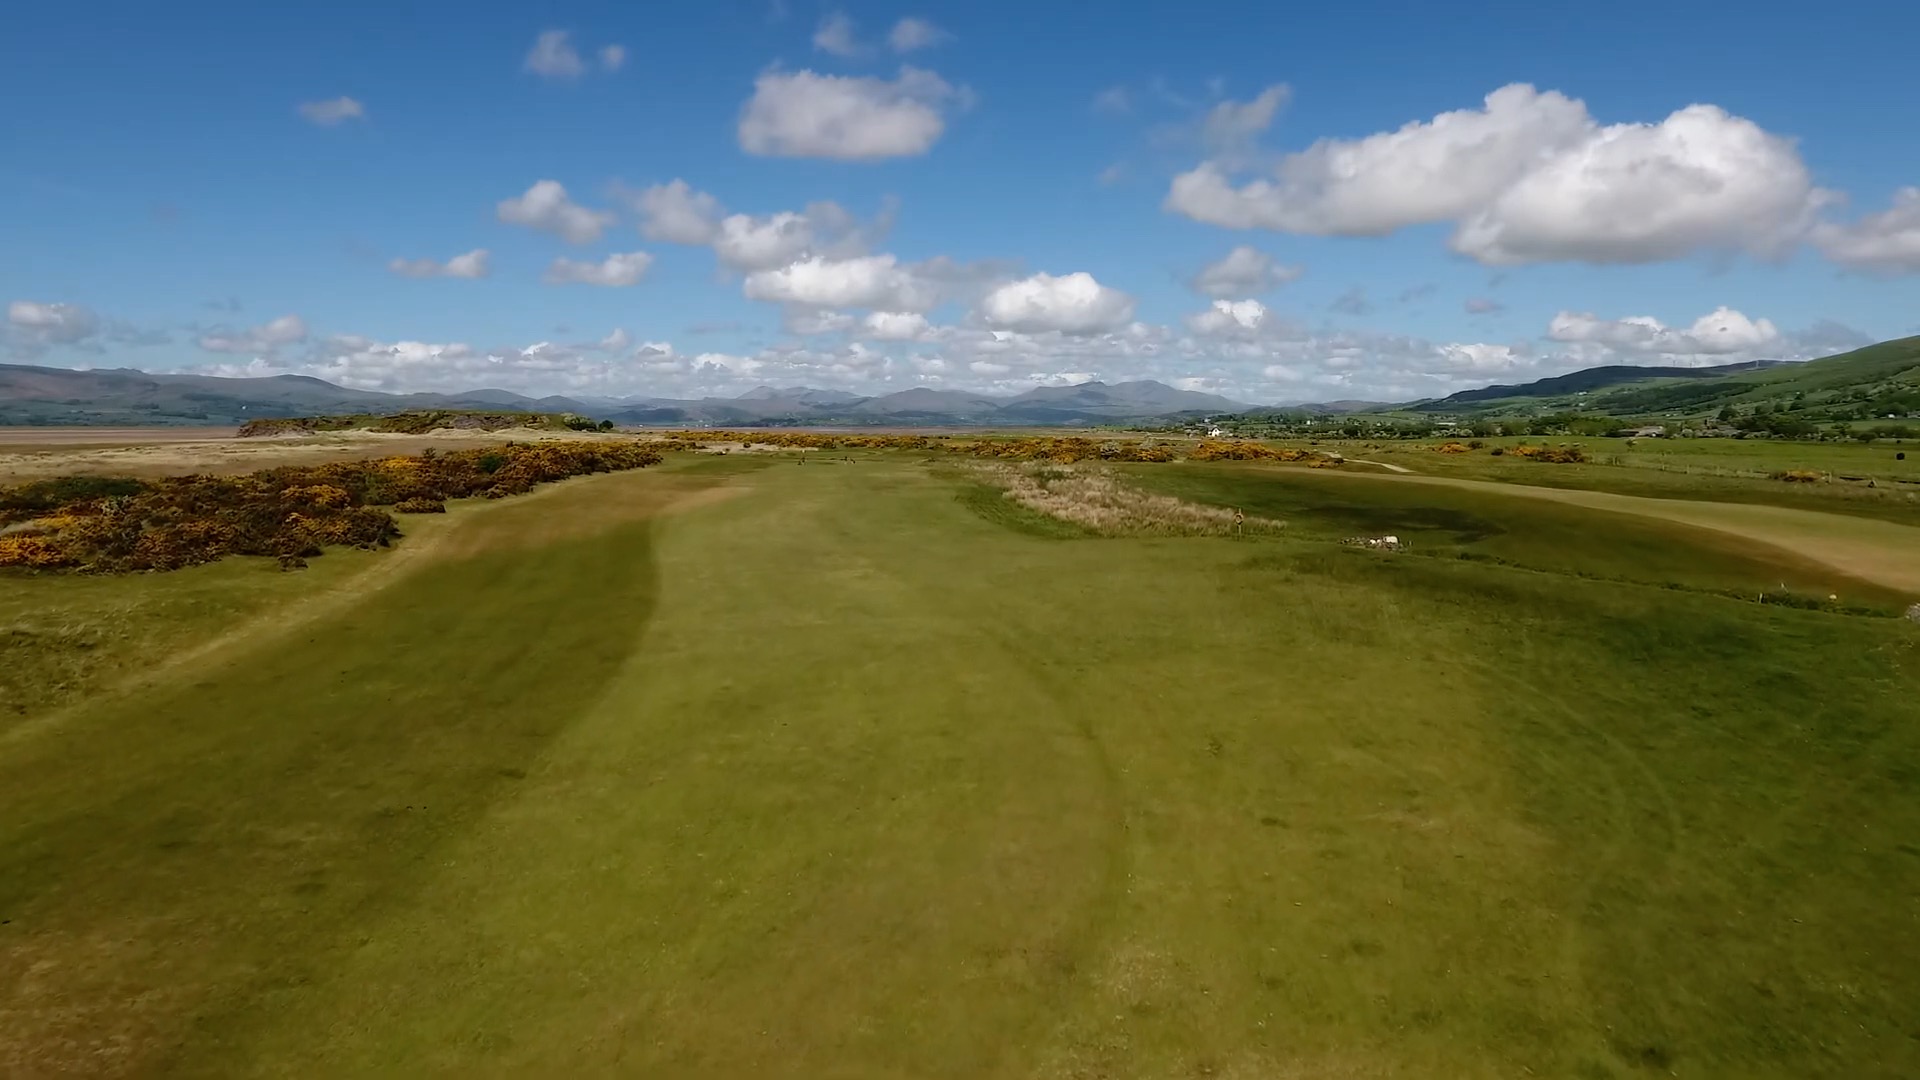
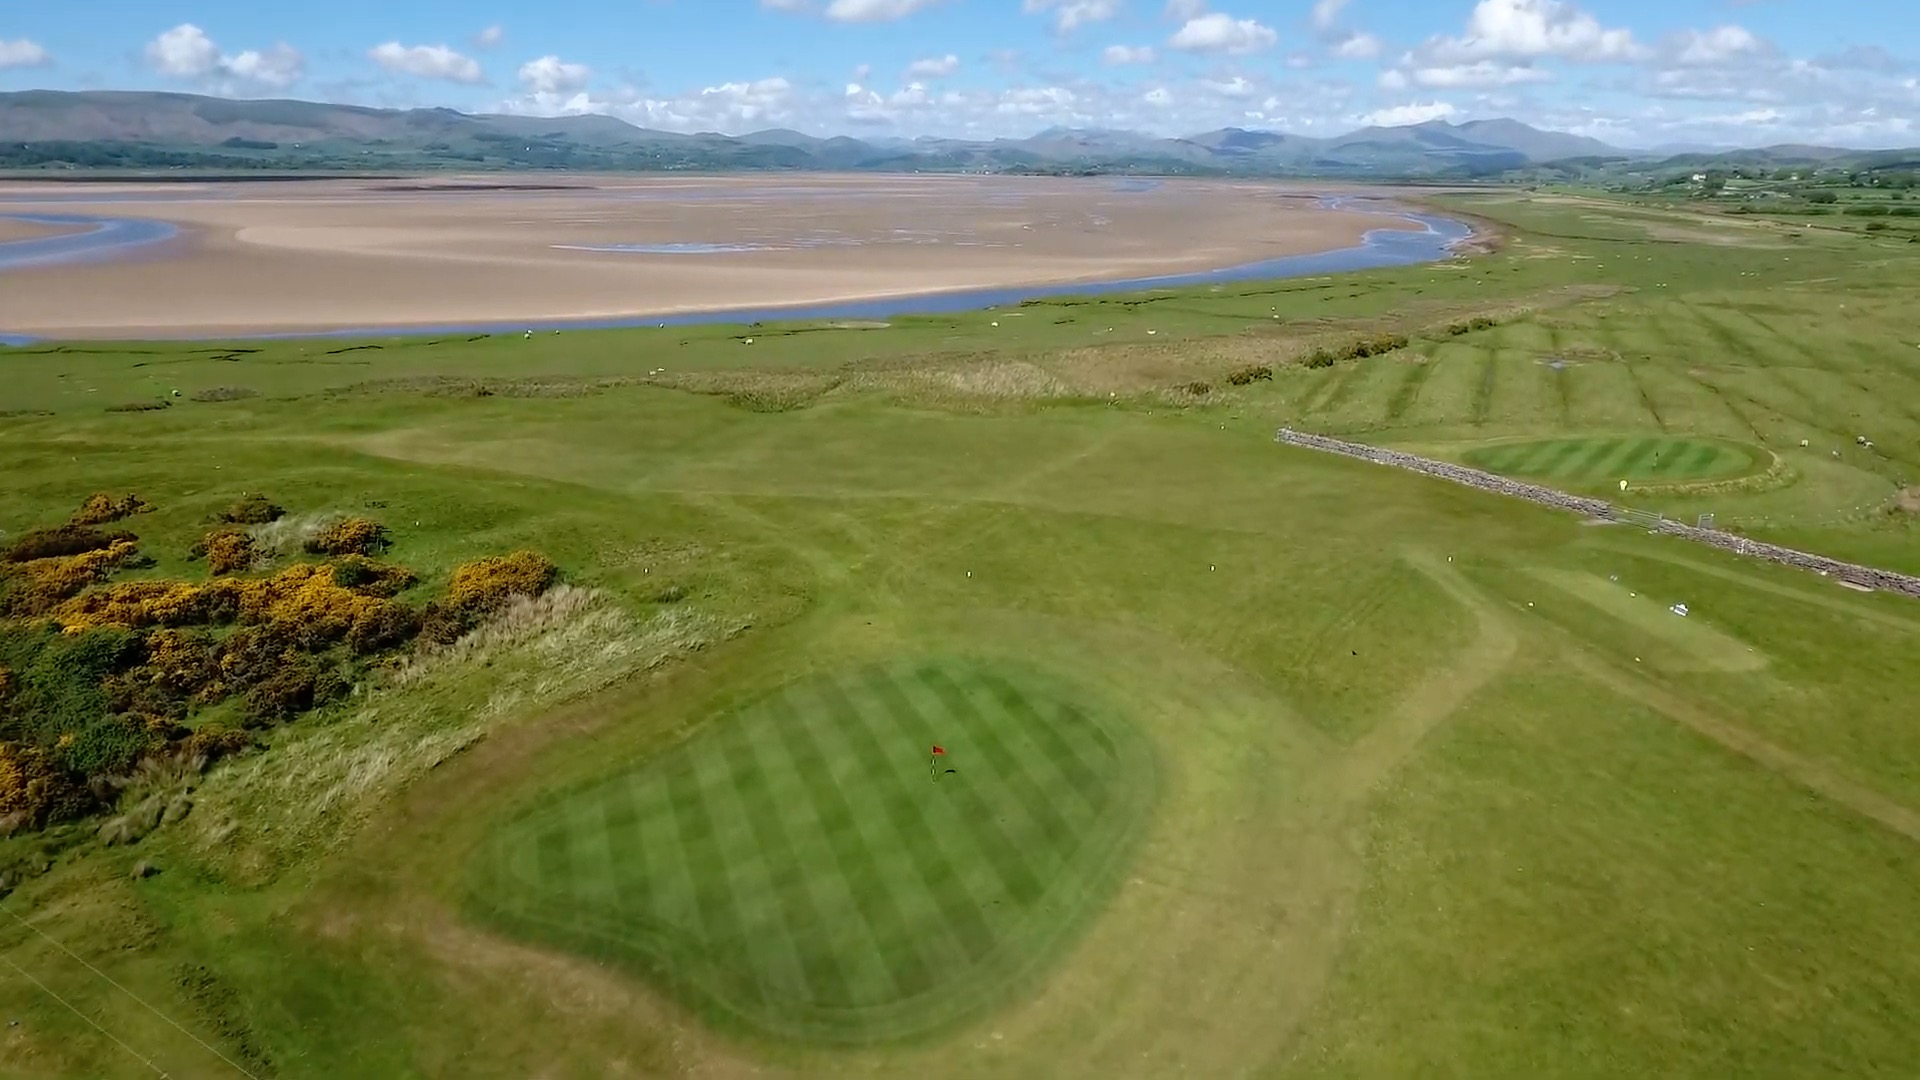
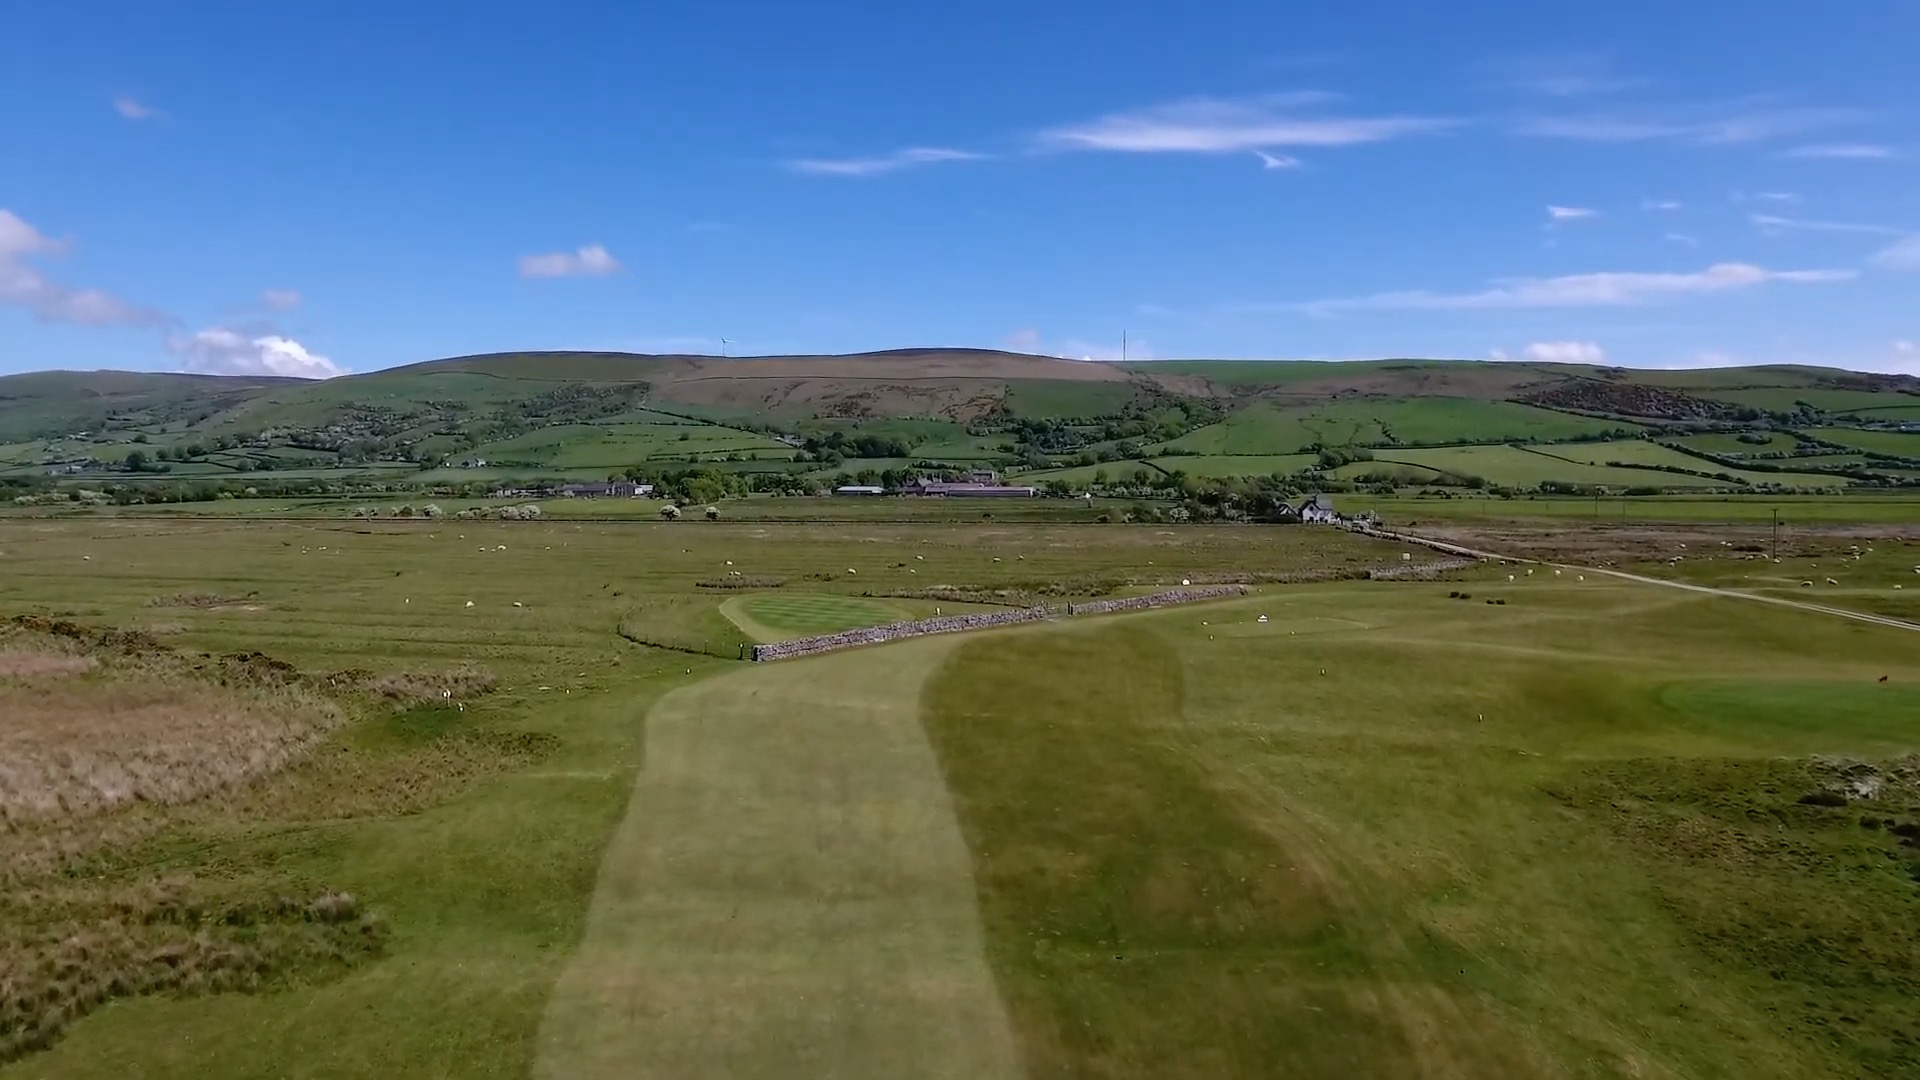
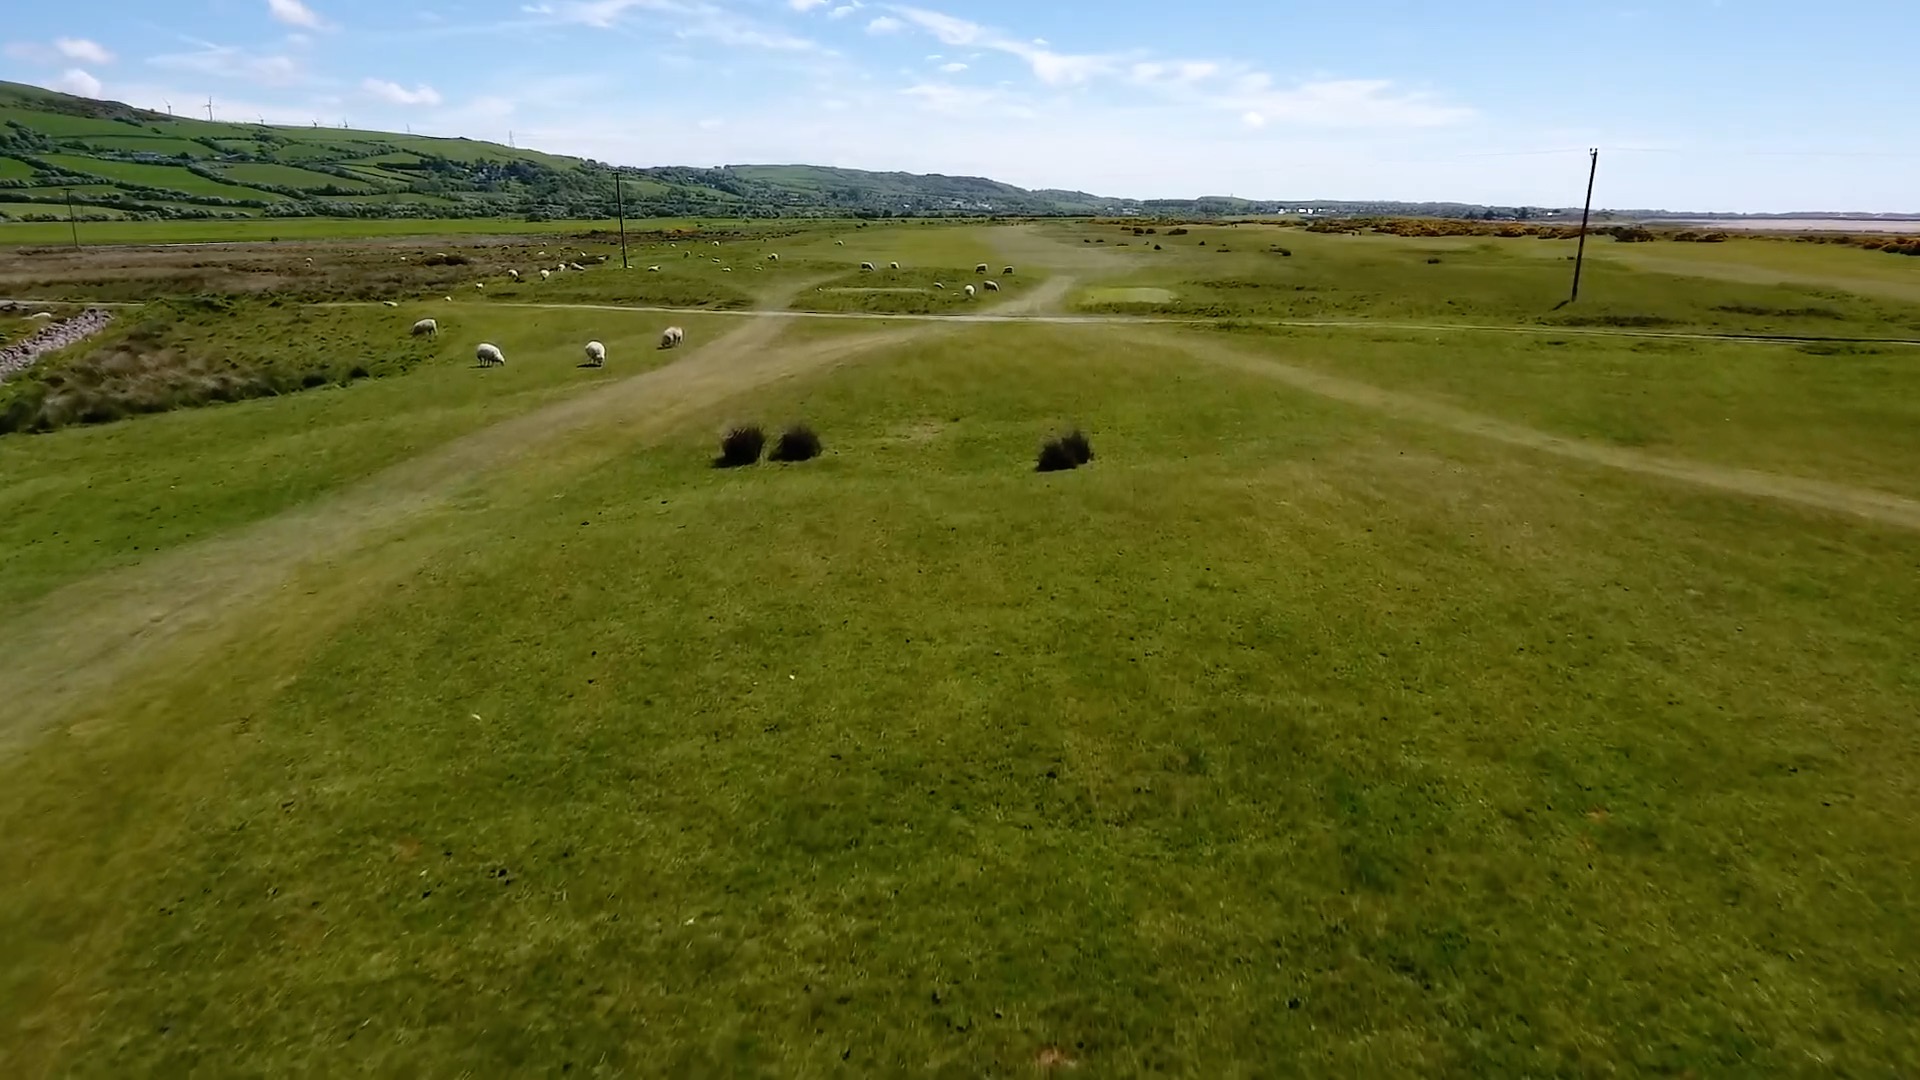
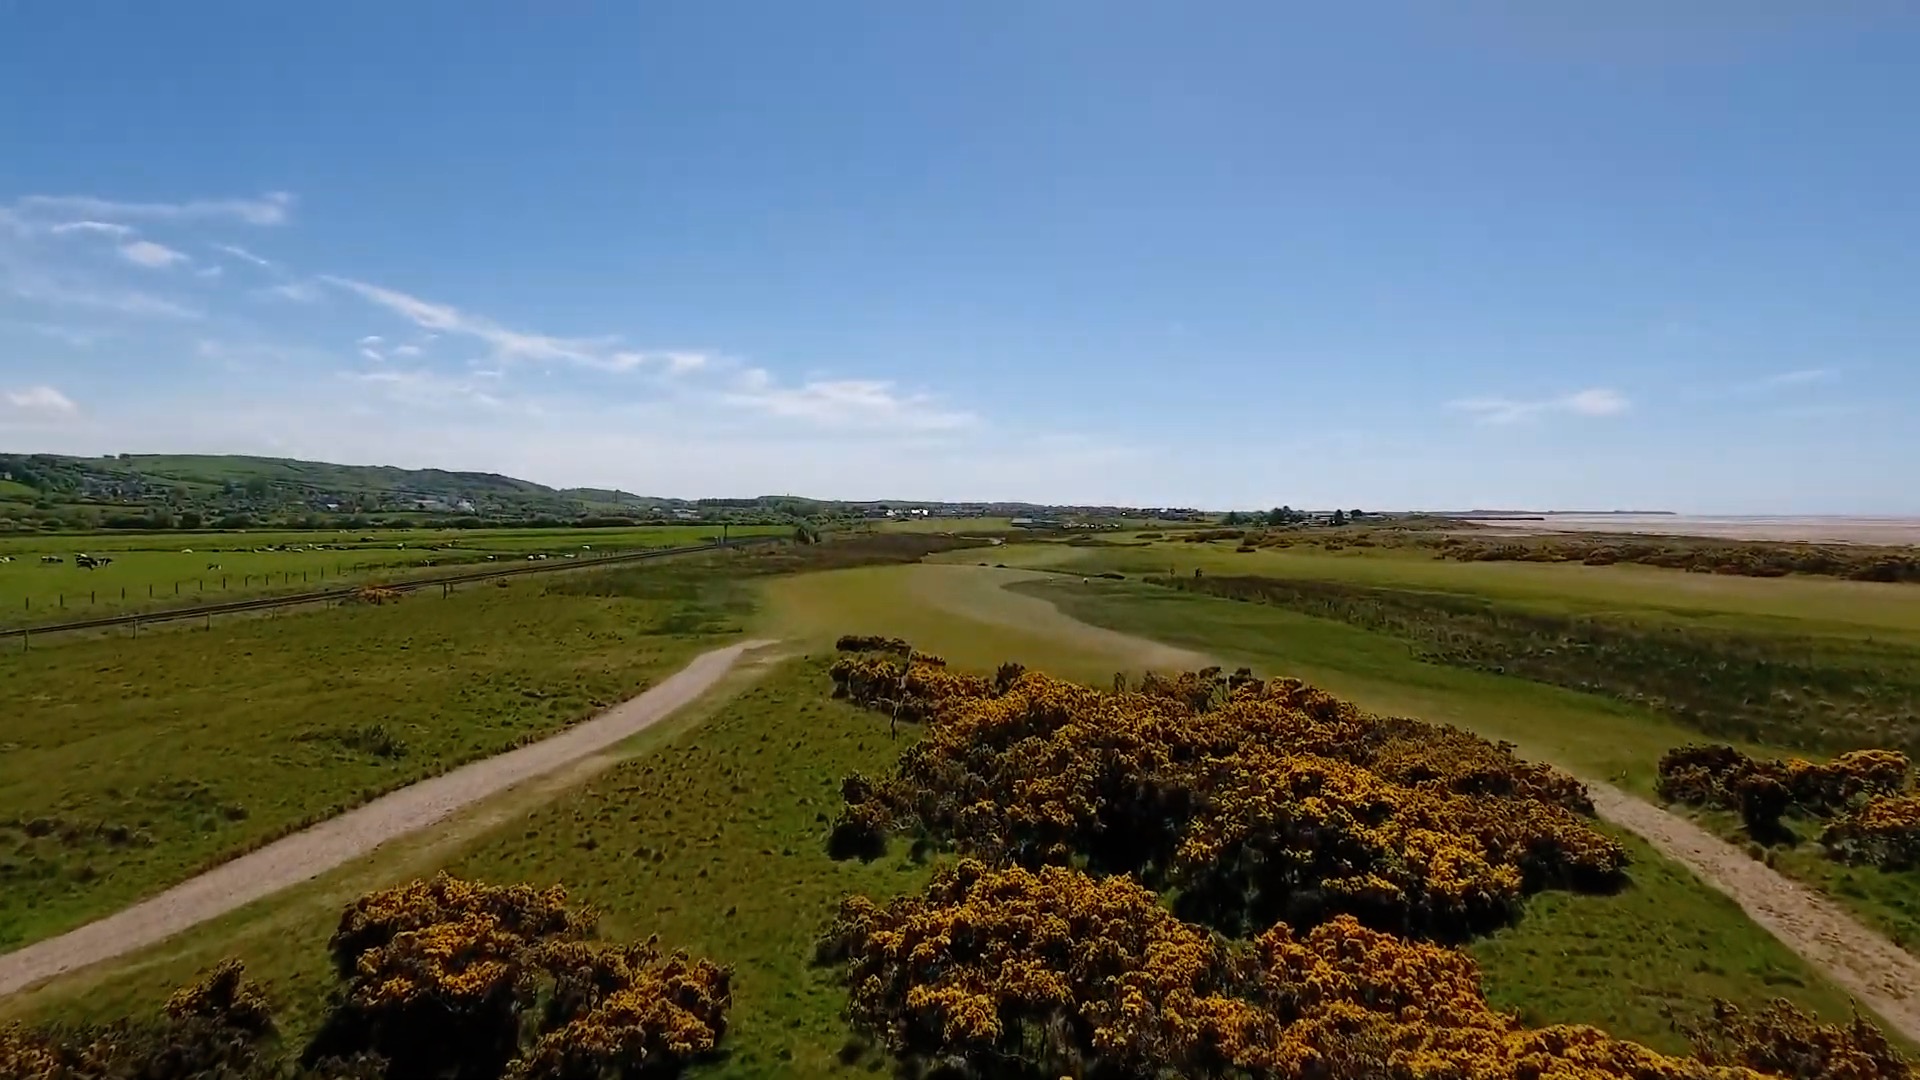
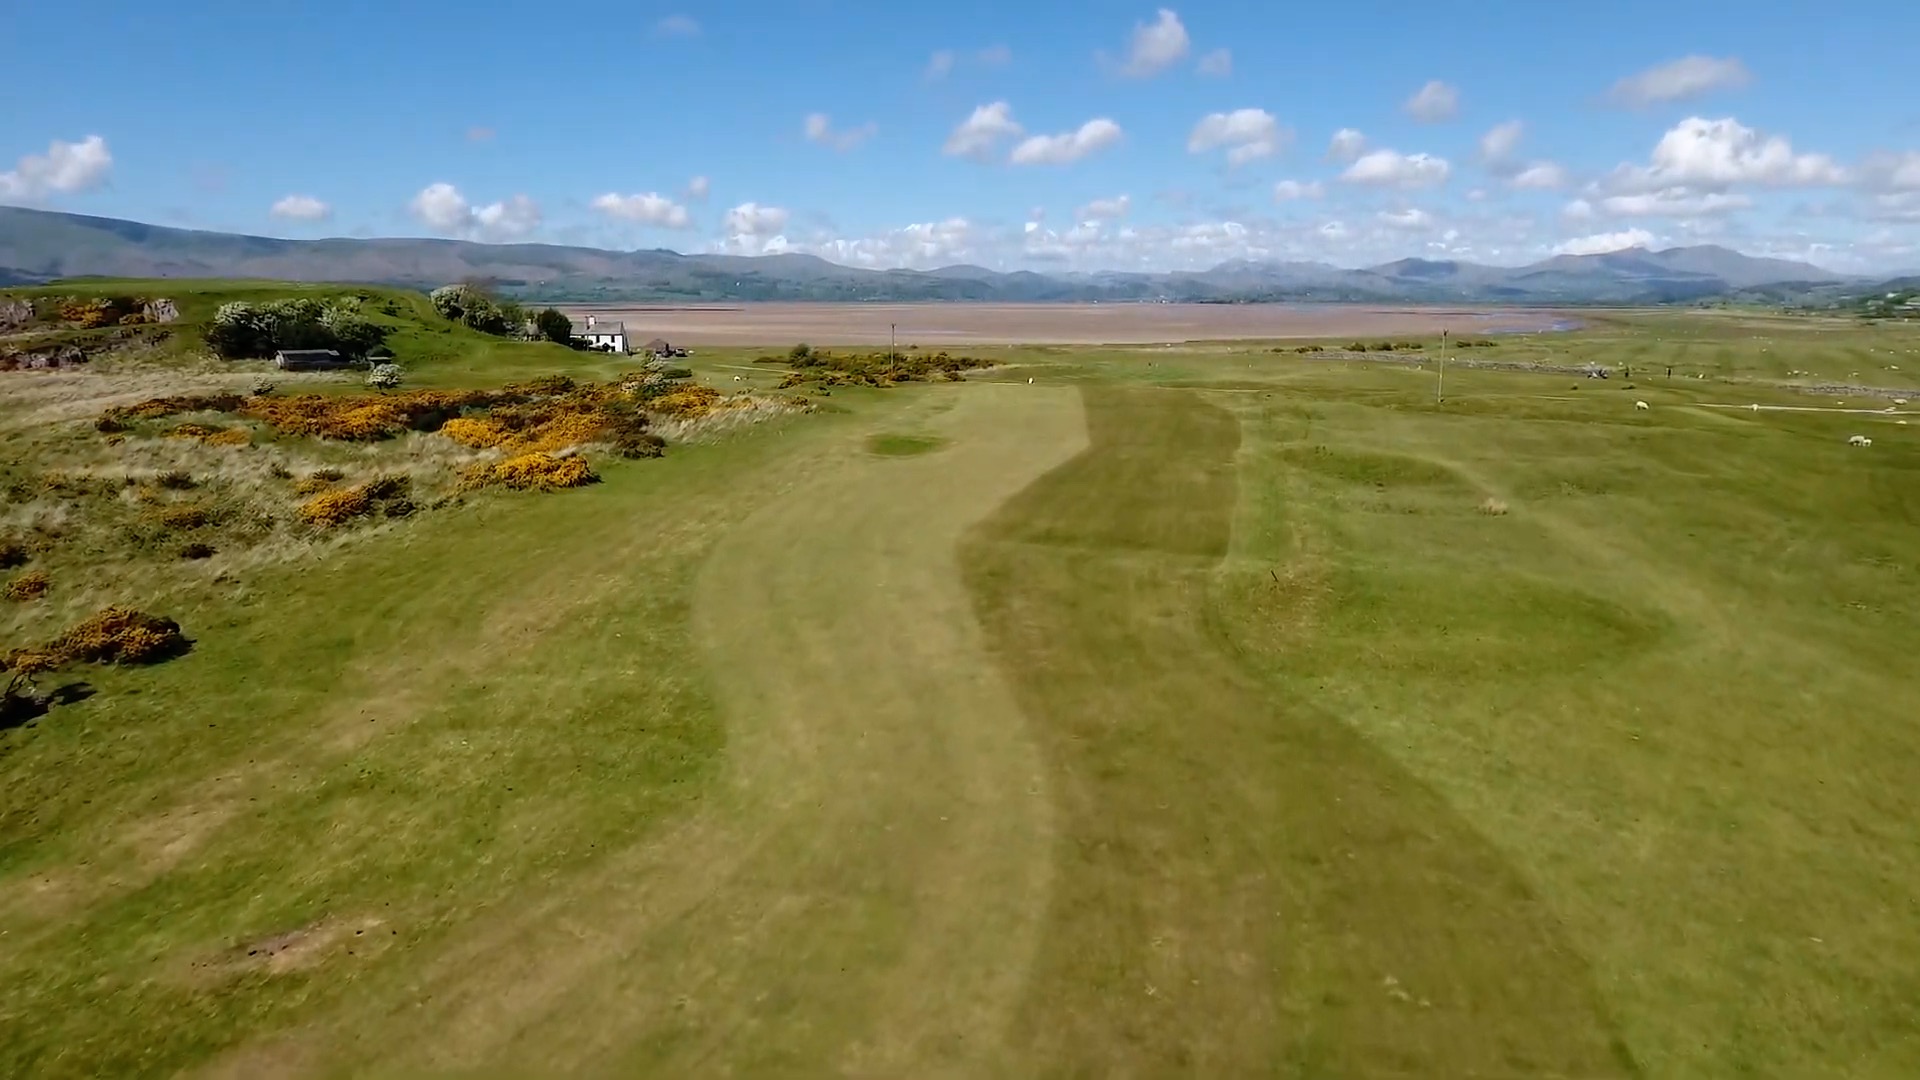
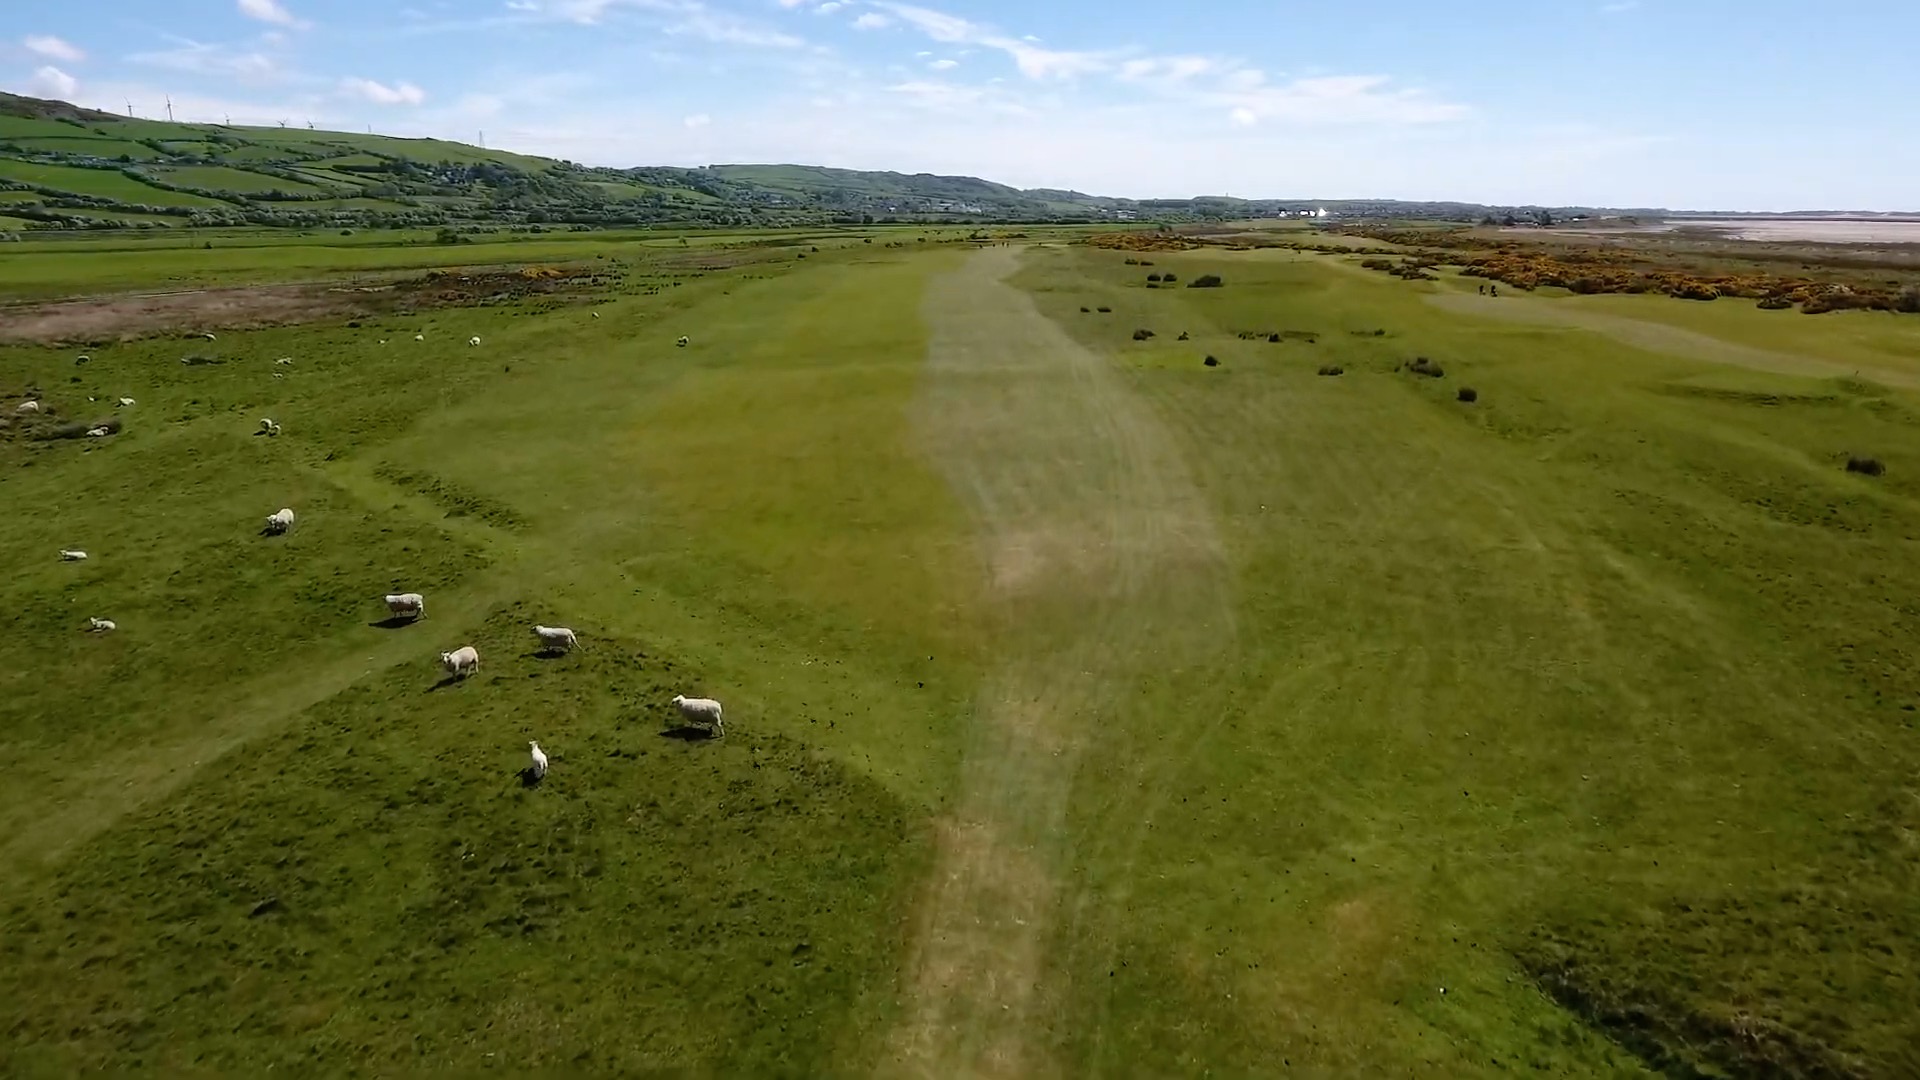
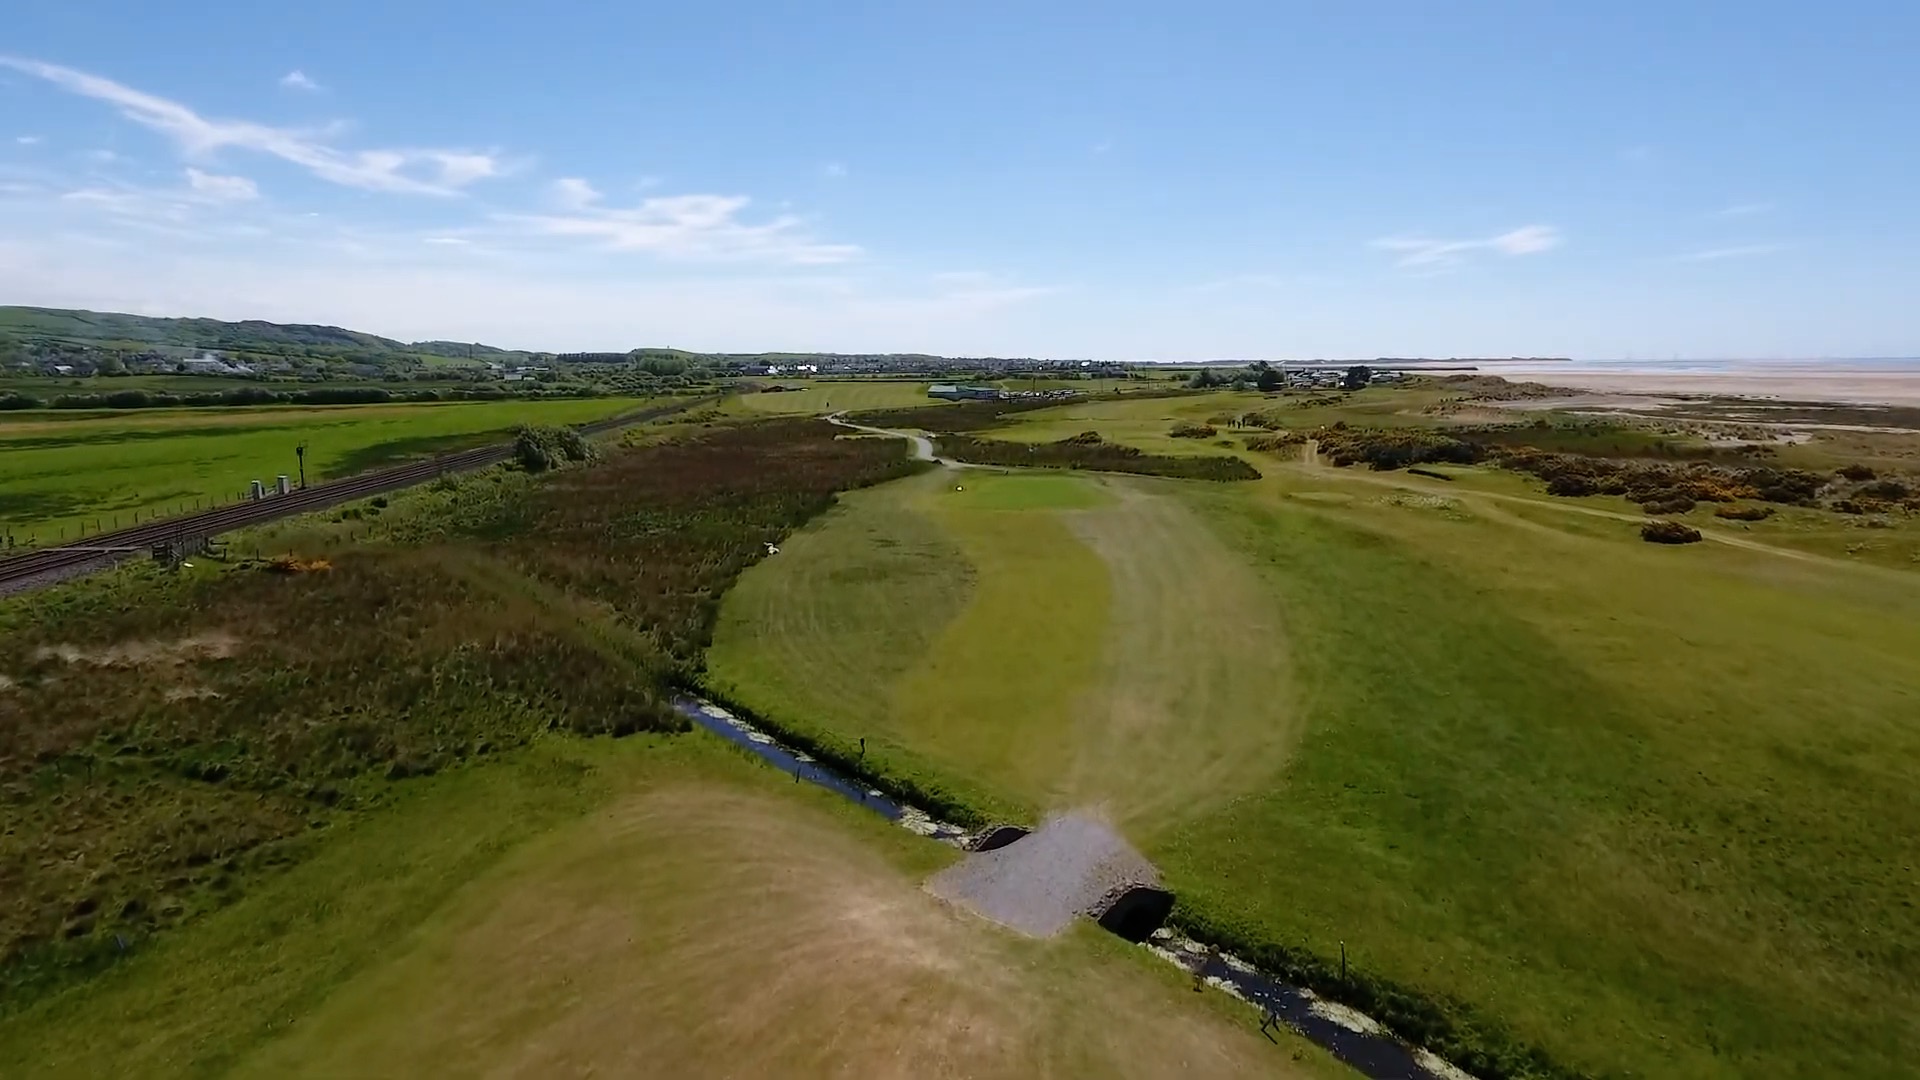
A good drive avoiding the heavy rough on the right, laying up before a stream crossing the fairway.

Another stream lies off the back of the green to catch a long wayward second shot, with some gorse bushes to catch you out on the left if you’re unlucky.

.

View hole:  1   2   3   4   5   6   7   8   9  10  11  12  13  14  15  16  17  18  Map

Hole 3

Hole
Yards

Par 4 - SI 1

Yards

Par 4 - SI 1

Yards

Par 5 - SI 4

Notes for hole 3

A challenging hole — a tricky par four from the white and yellow tees, and a par five from the red tees. 

Big trouble is to be found all the way down the left — push your drive too far to the right, though, and you’ll find the stream. 

A long straight drive is essential to set up a tricky second shot that has to cross the stream and avoid rough and gorse to the back of the green. 

Laying up before the stream is often a safer option, but alternatively there is a nice area of fairway over the stream in the run up to the green.

View hole:  1   2   3   4   5   6   7   8   9  10  11  12  13  14  15  16  17  18  Map

Hole 4

Hole
Yards

Par 3 - SI 15

Yards

Par 3 - SI 15

Yards

Par 3 - SI 18

Notes for hole 4

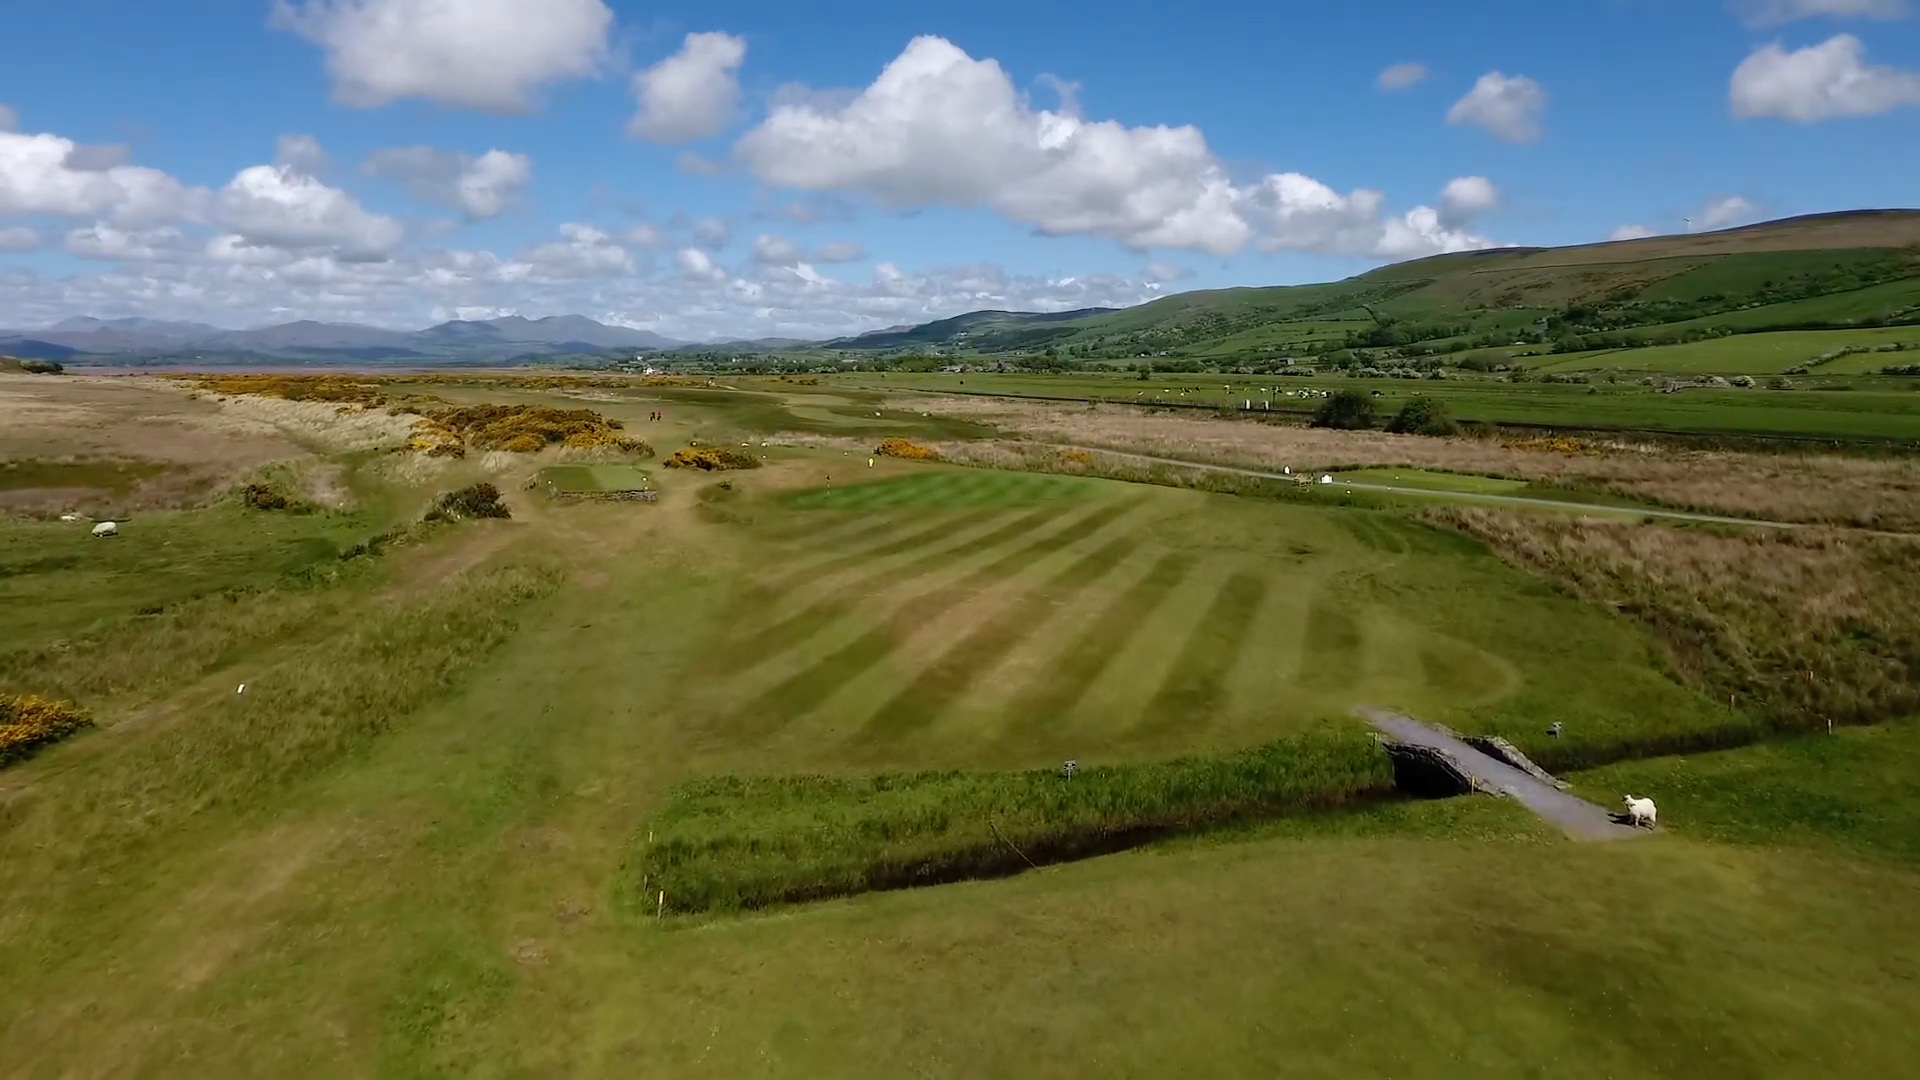
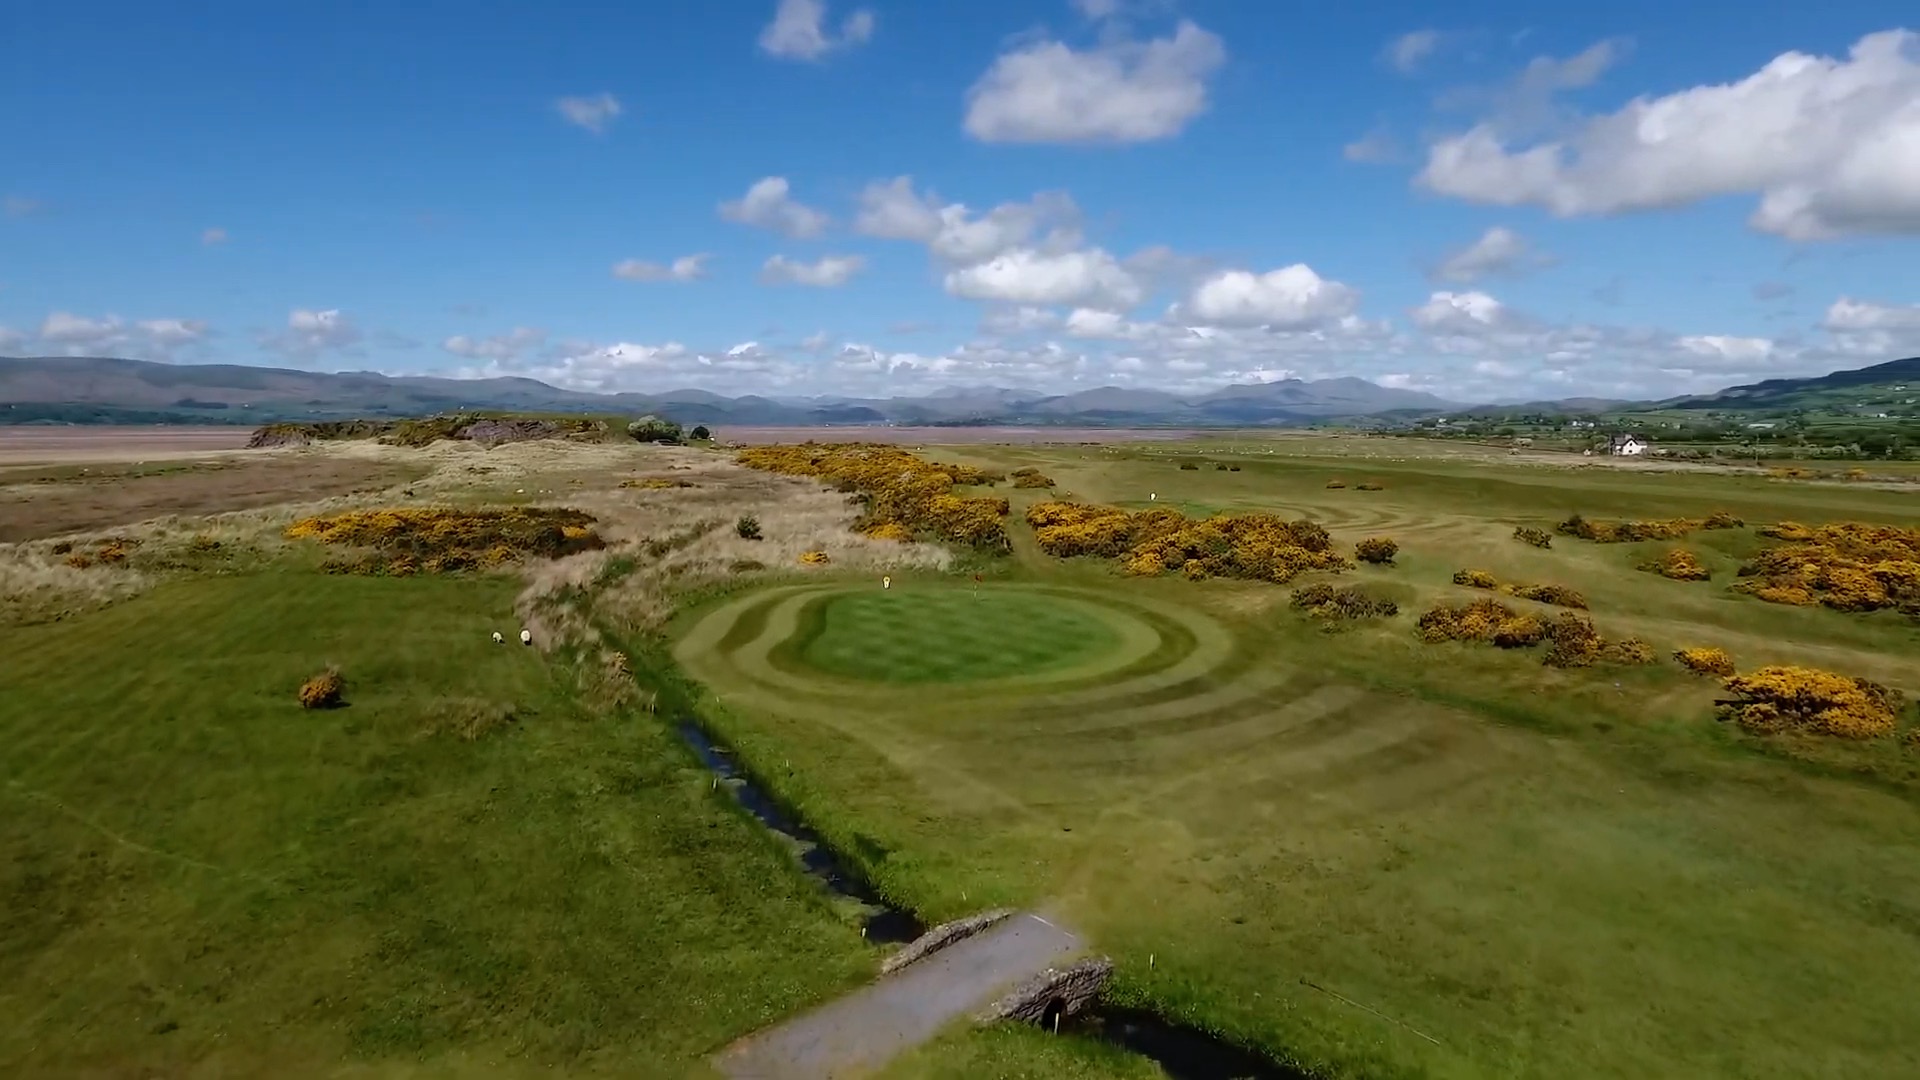
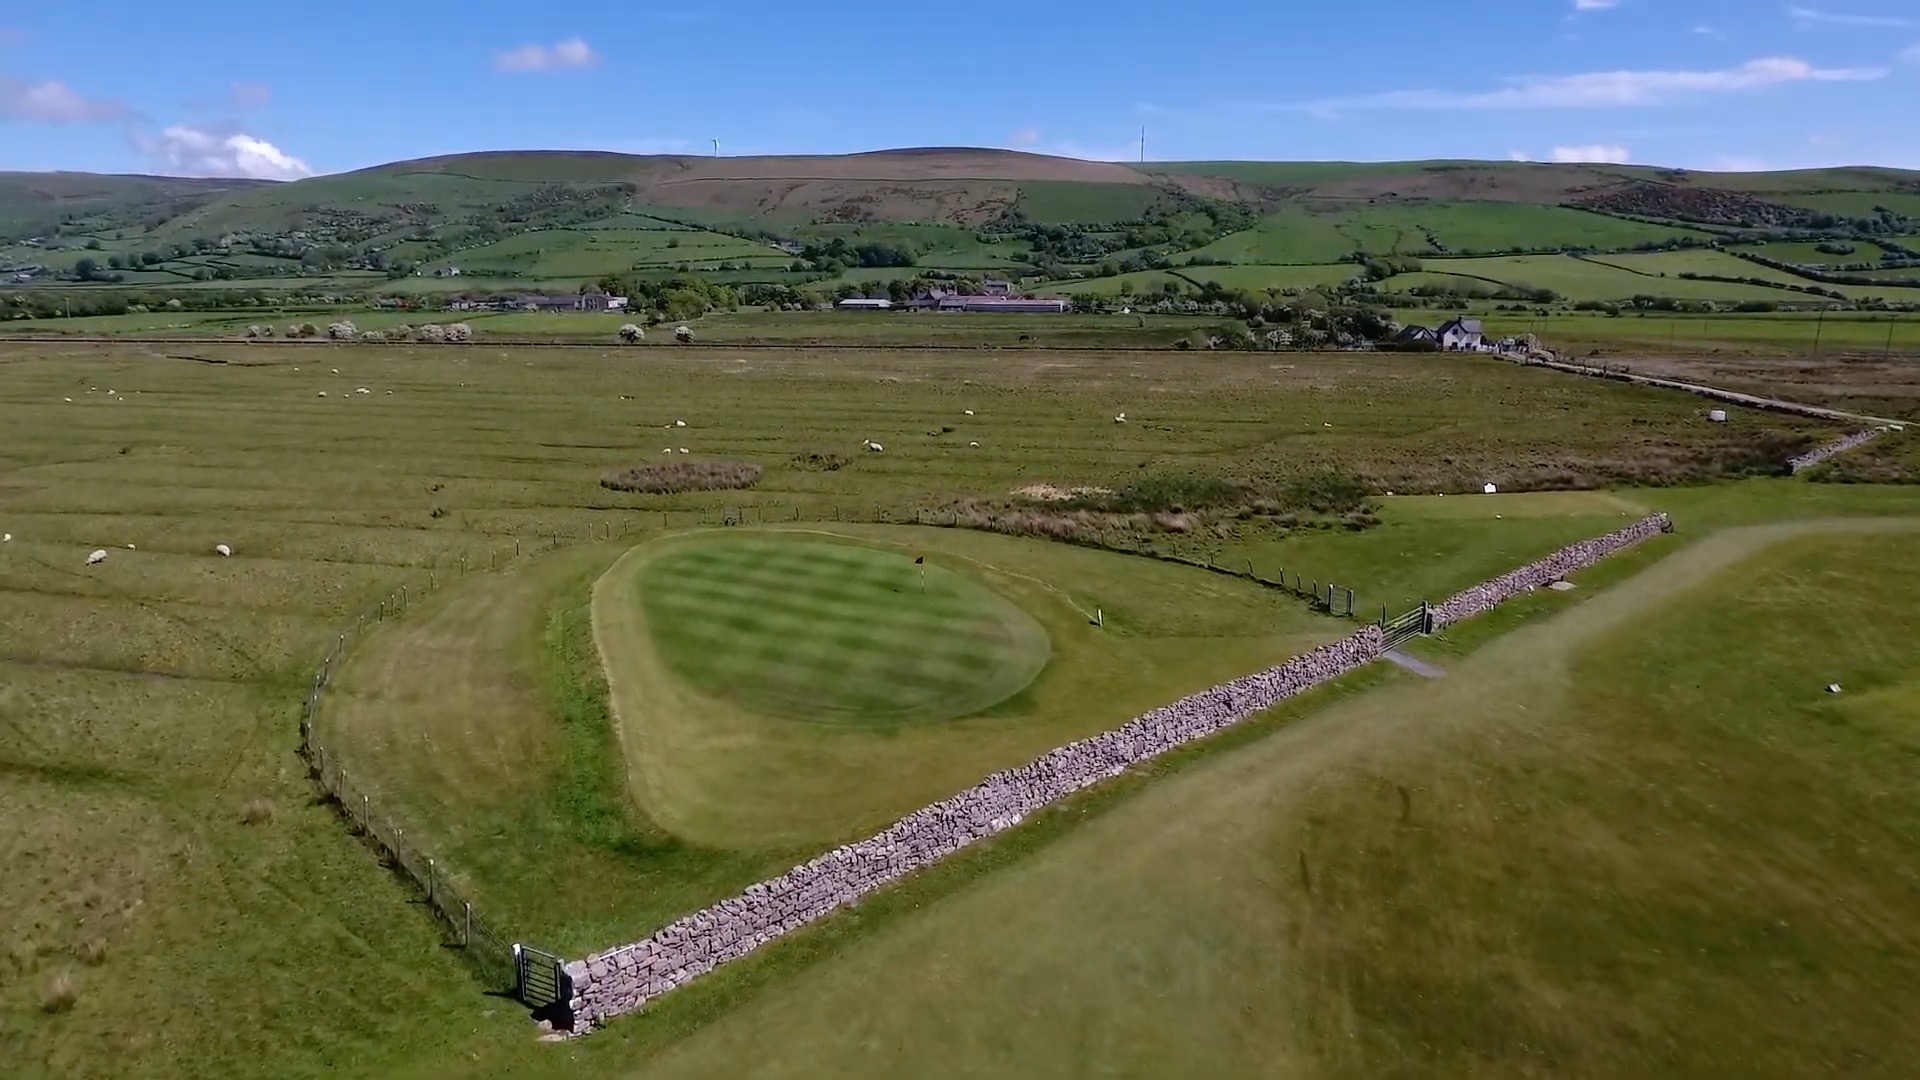
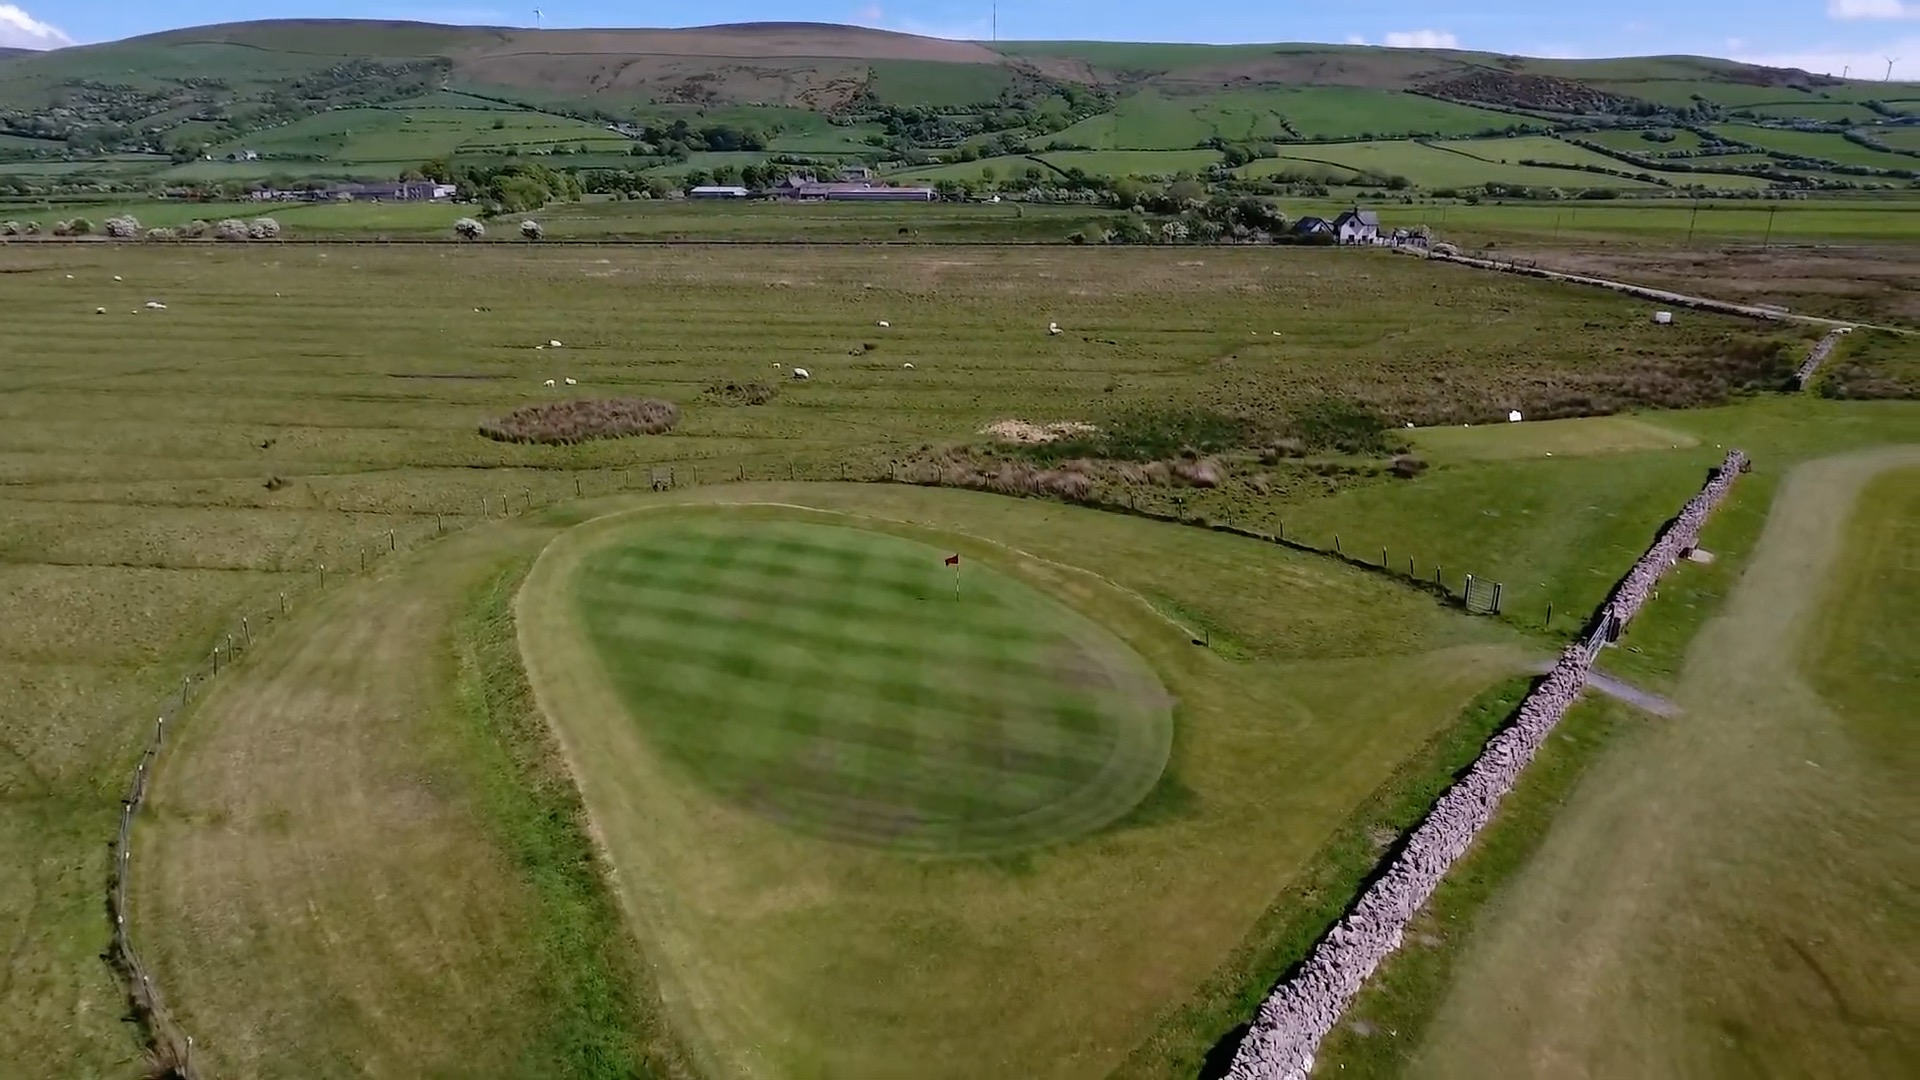
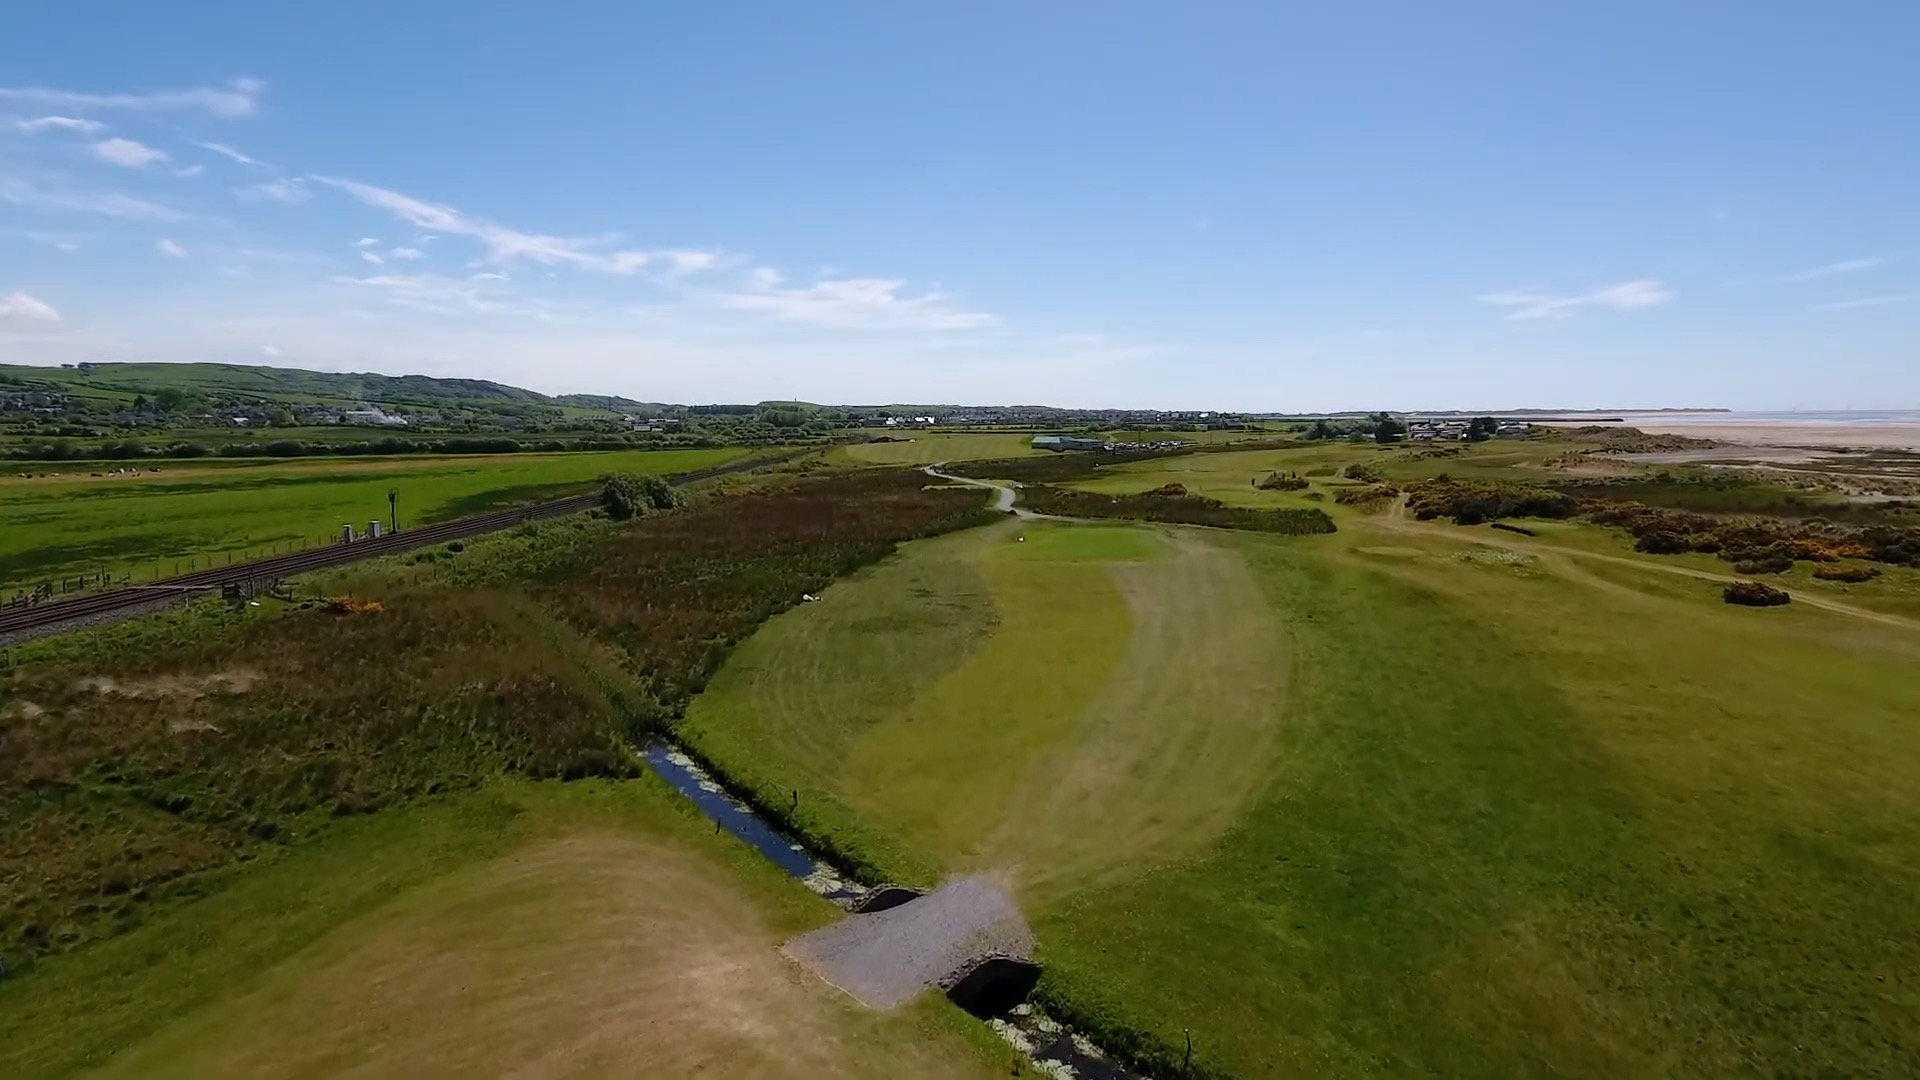
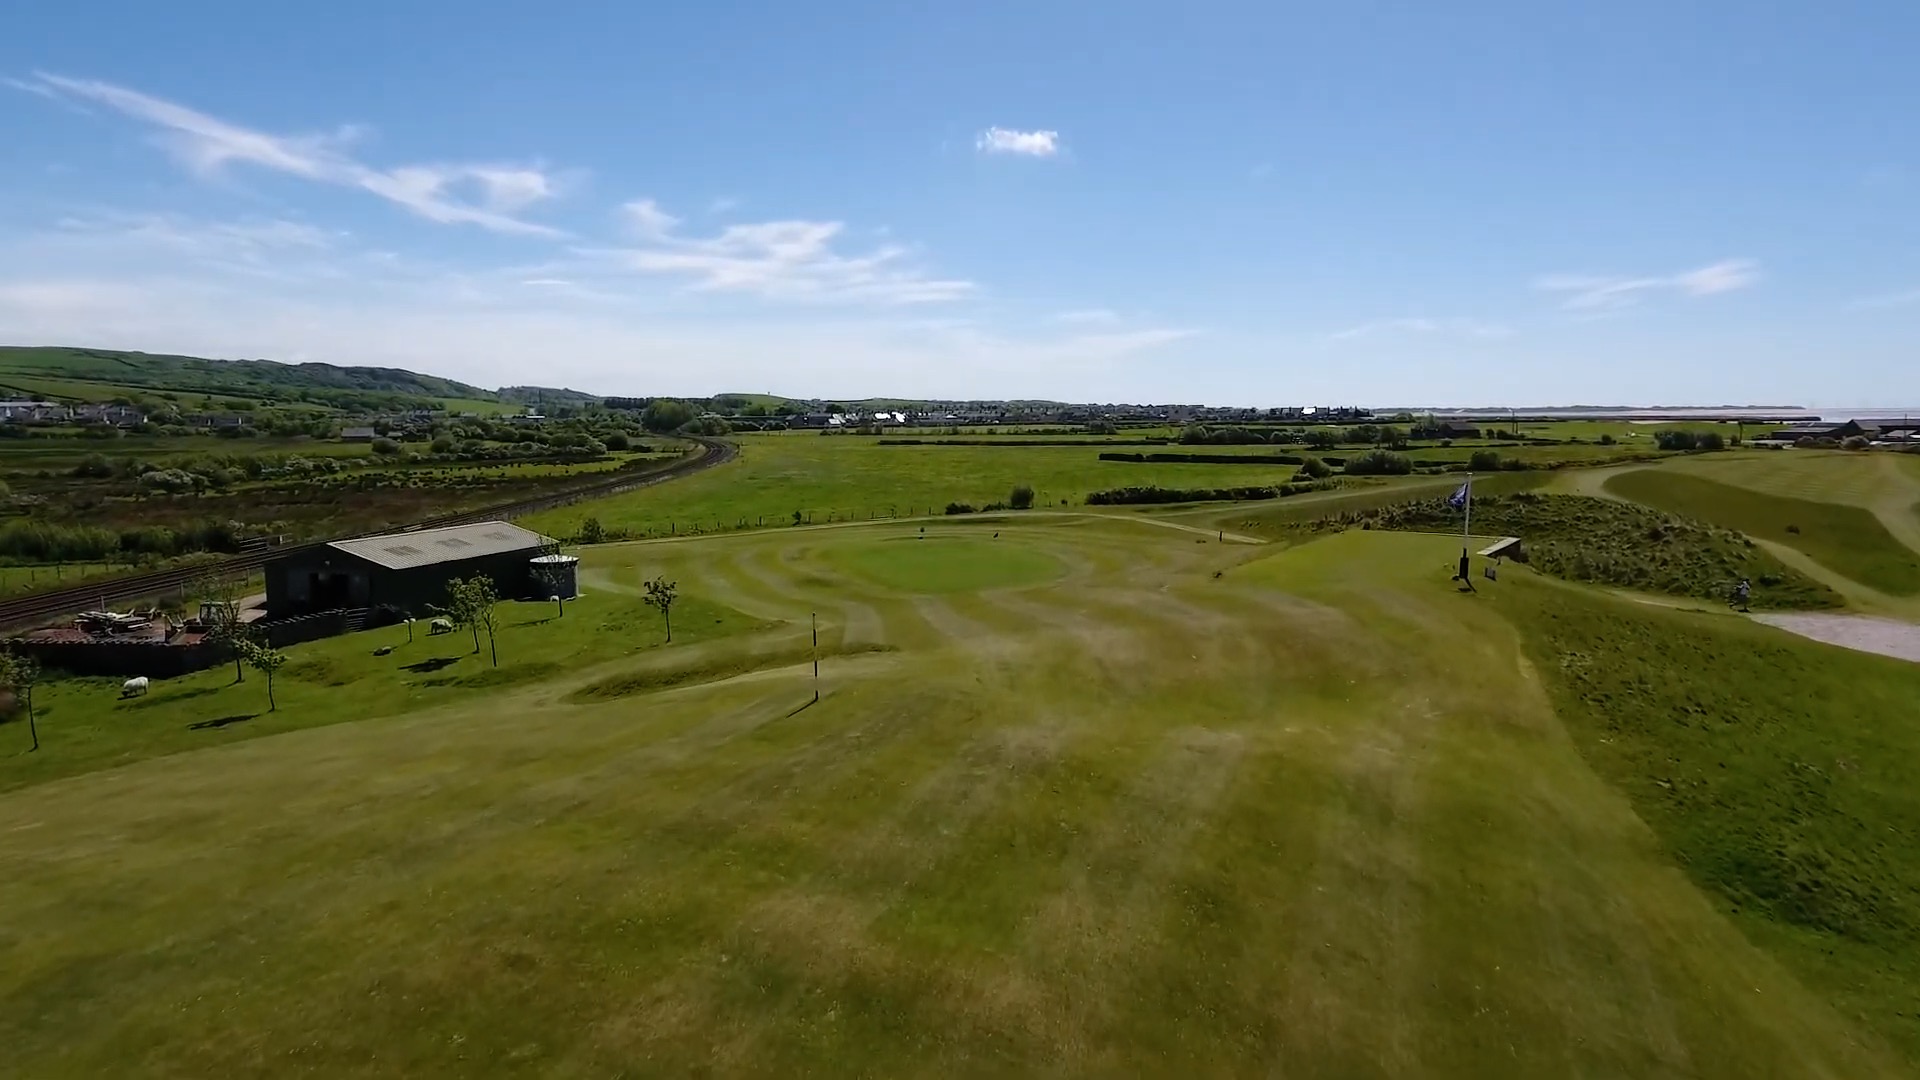
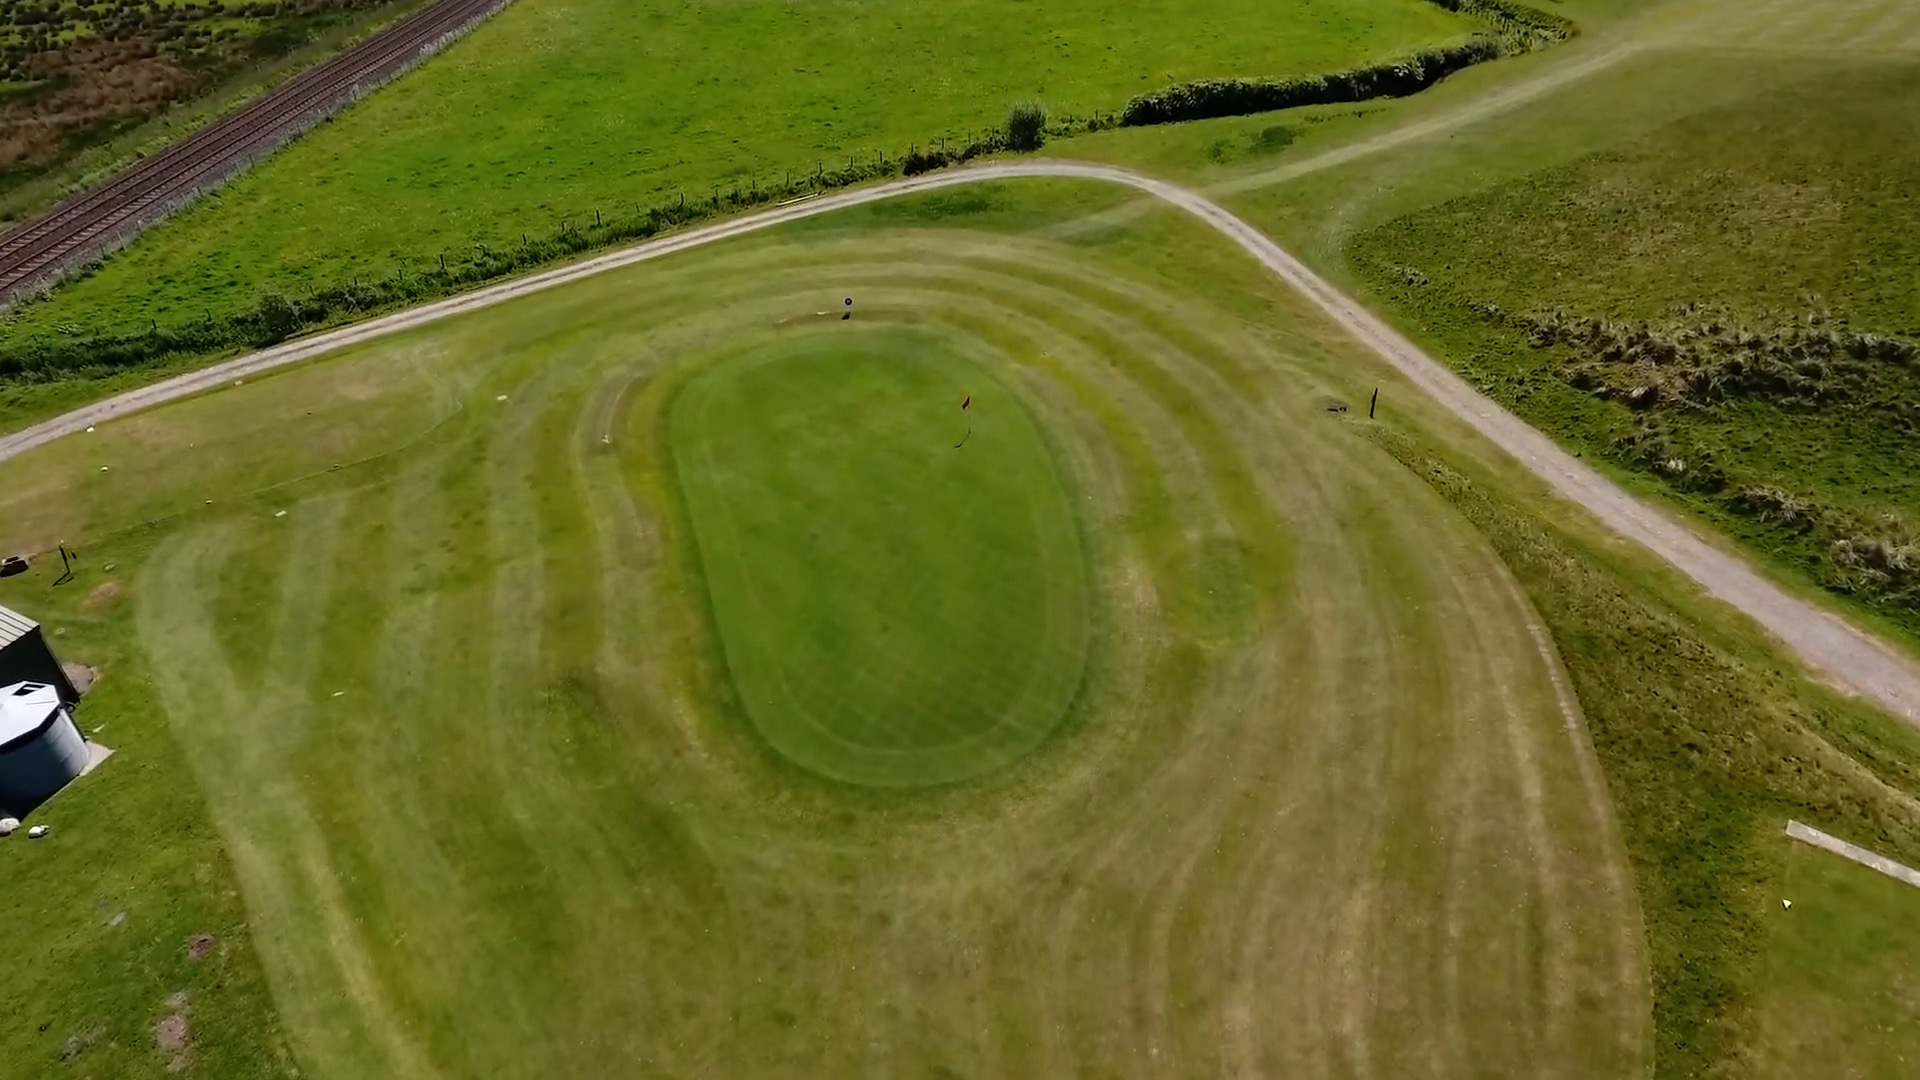
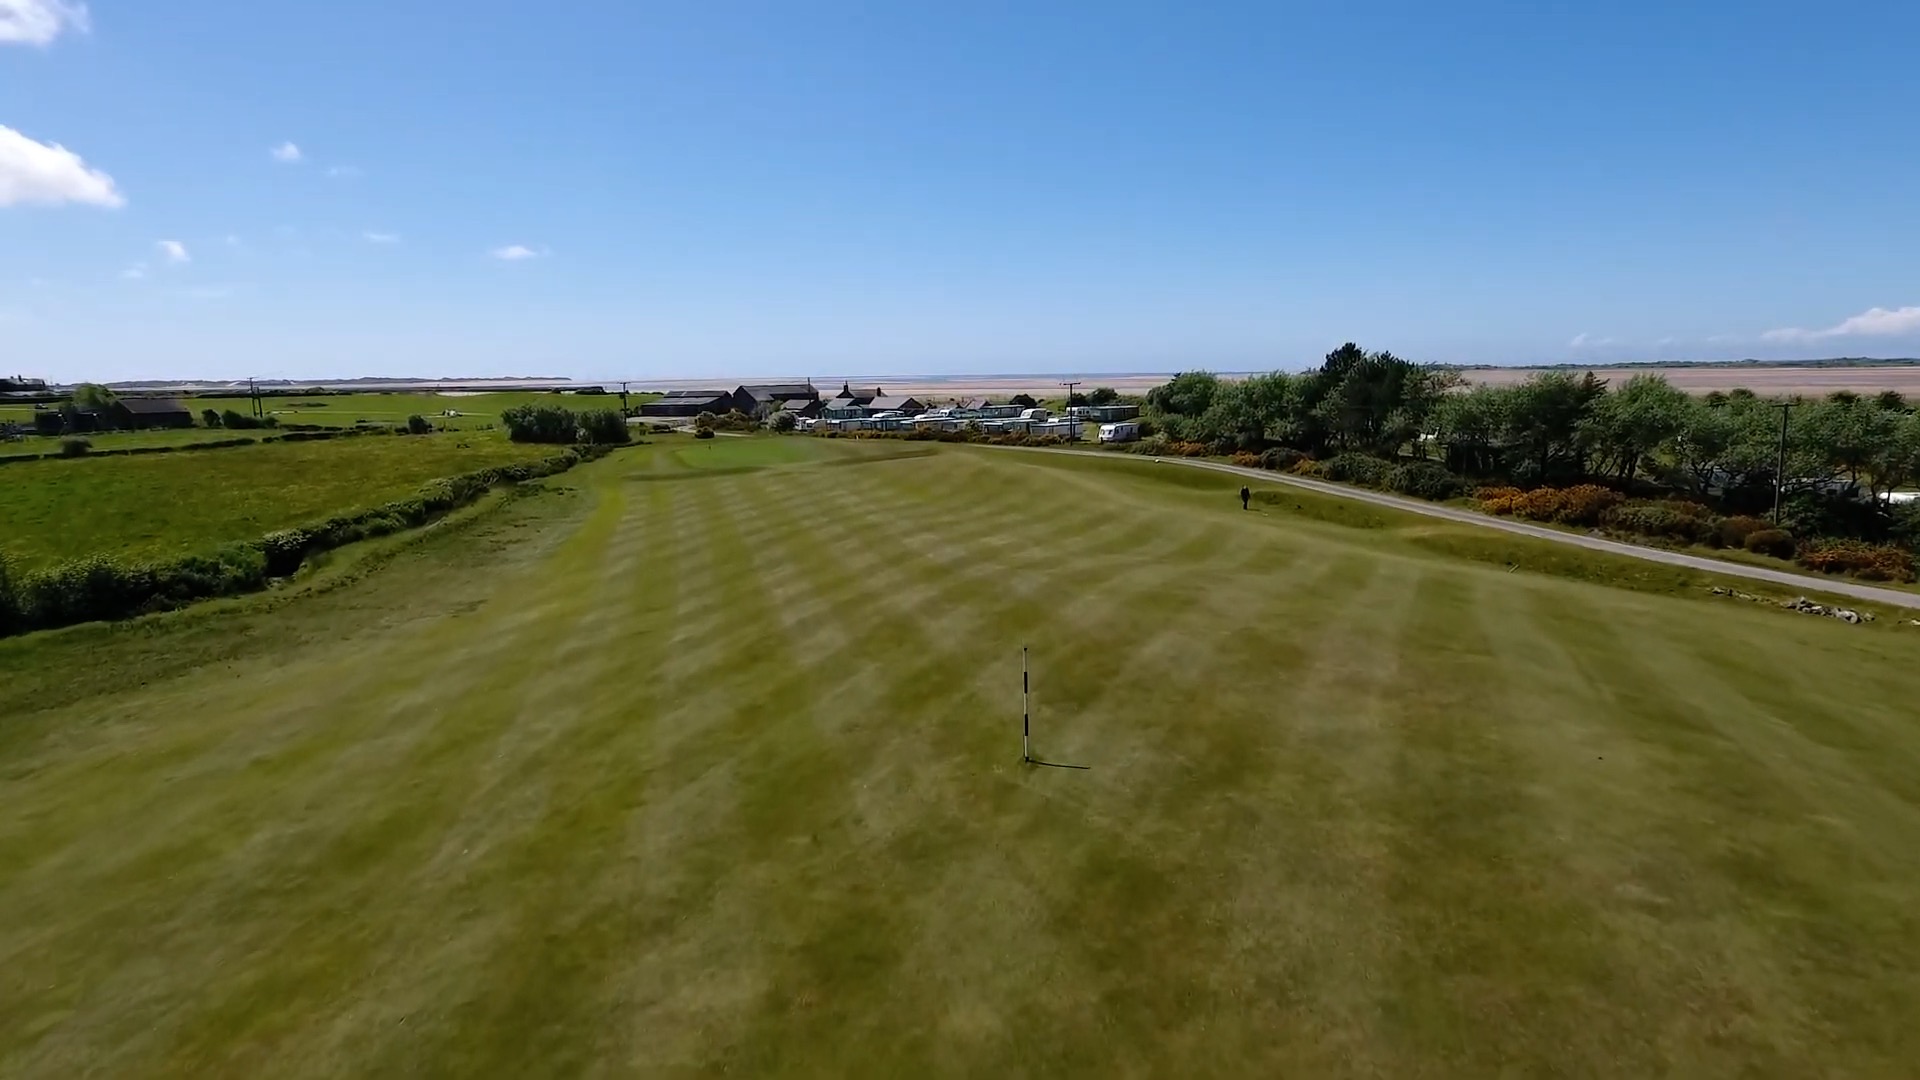
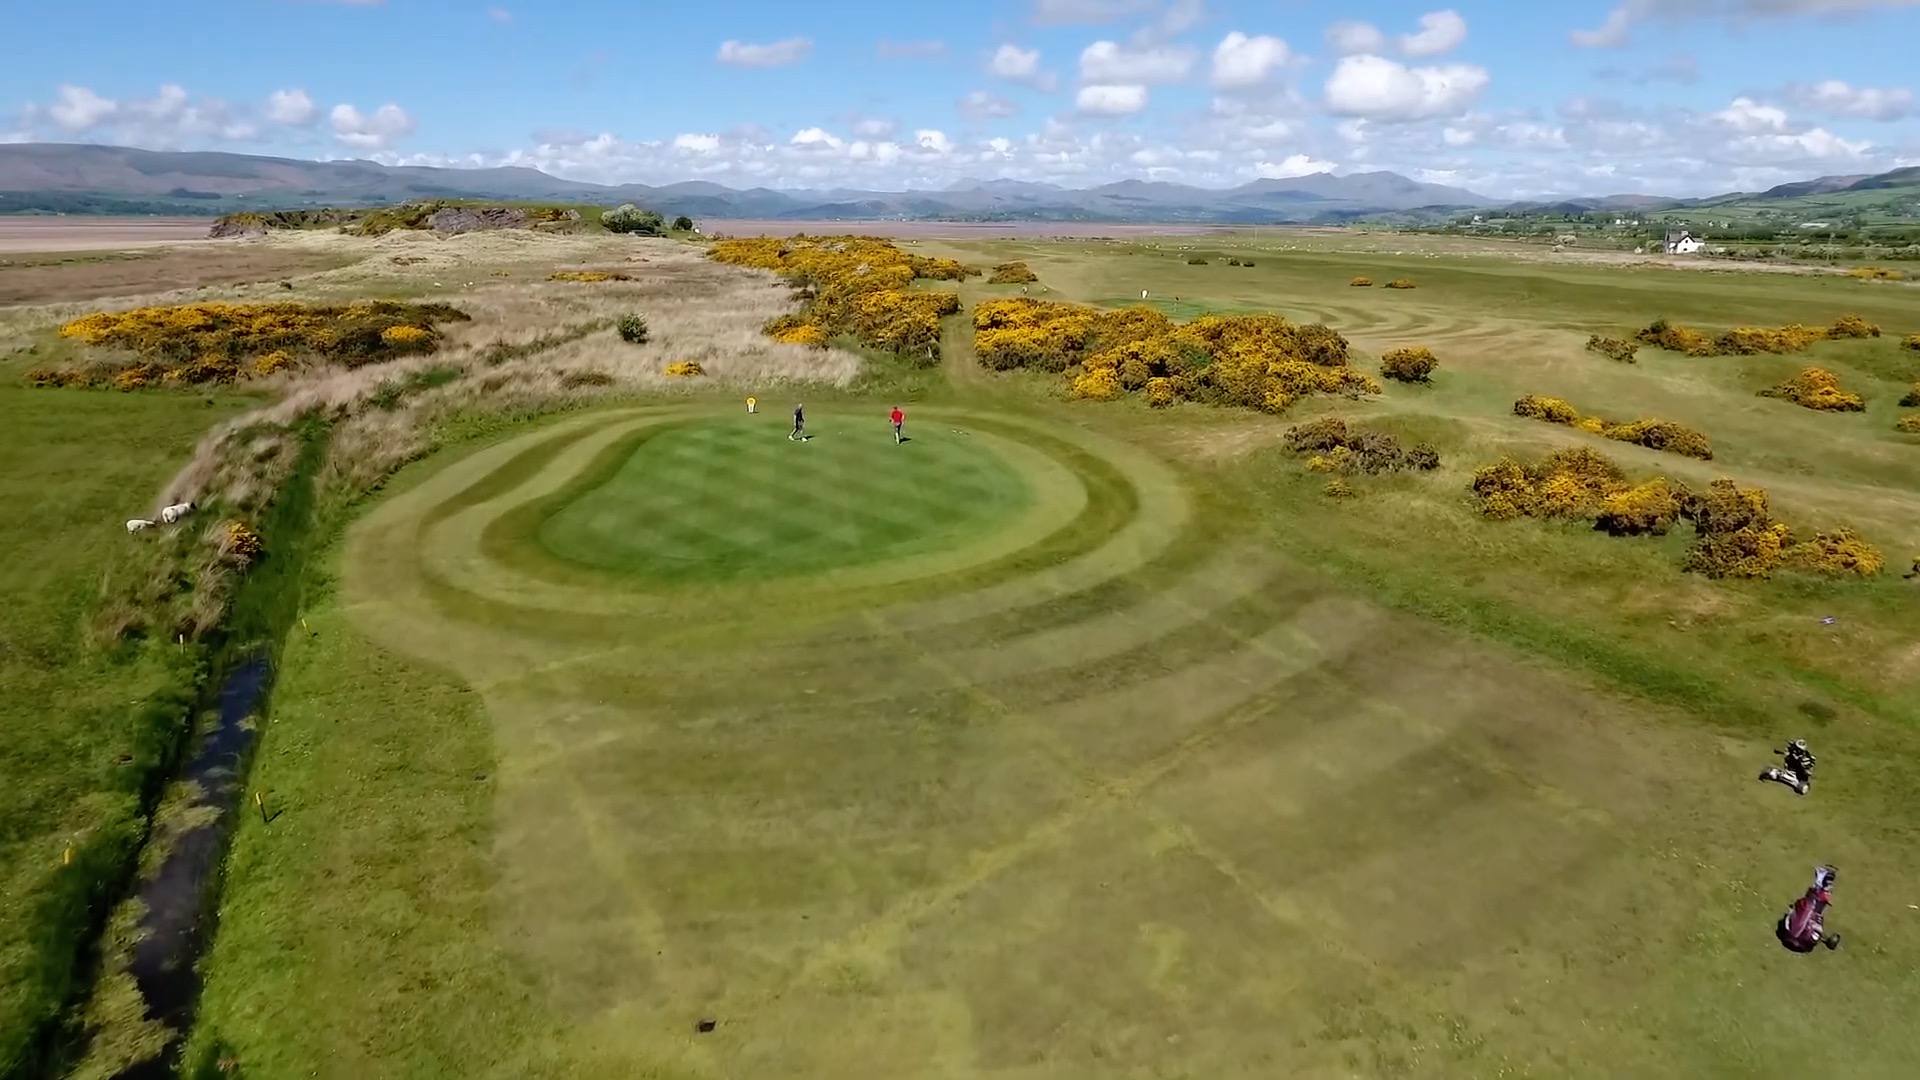
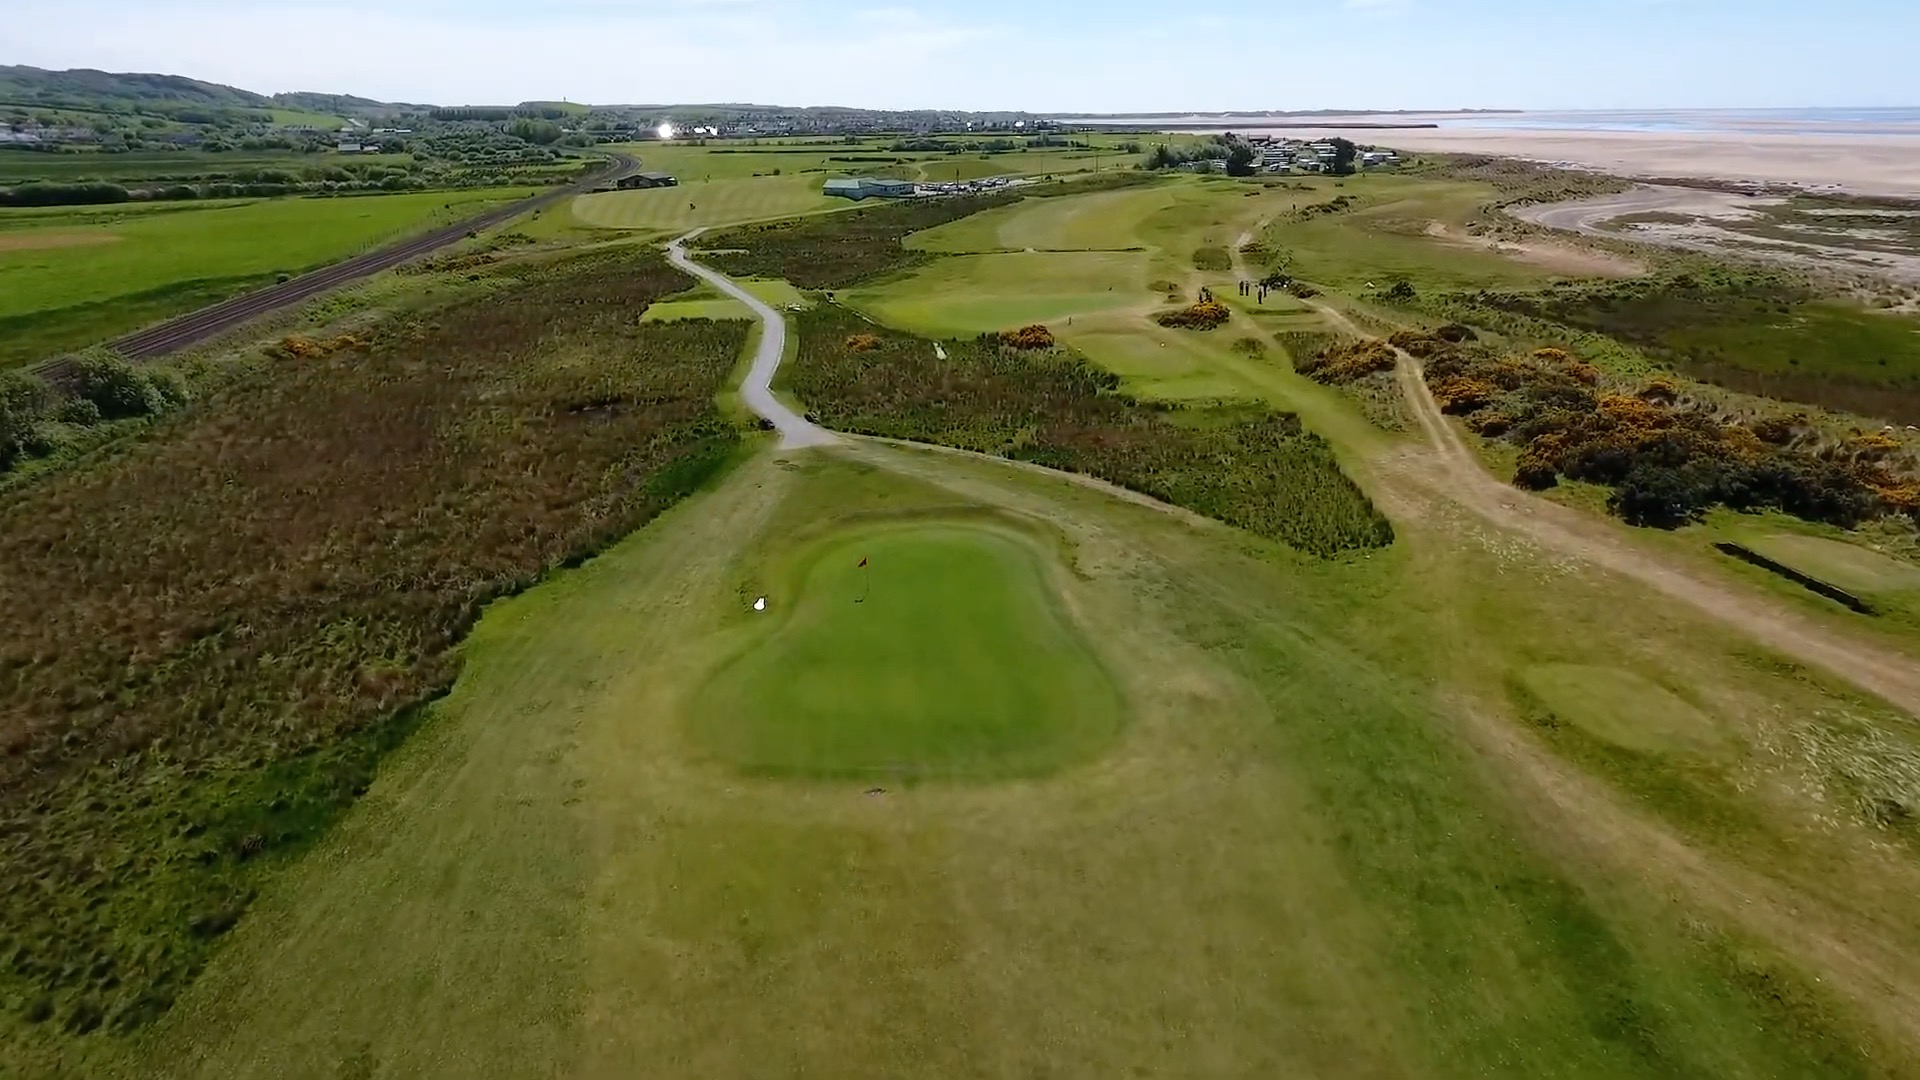
A par three requiring a good tee shot — make sure to note where the flag is positioned, as the green is long and undulating with a big slope from front to back.

View hole:  1   2   3   4   5   6   7   8   9  10  11  12  13  14  15  16  17  18  Map

Hole 5

Hole
Yards

Par 4 - SI 3

Yards

Par 4 - SI 3

Yards

Par 4 - SI 3

Notes for hole 5

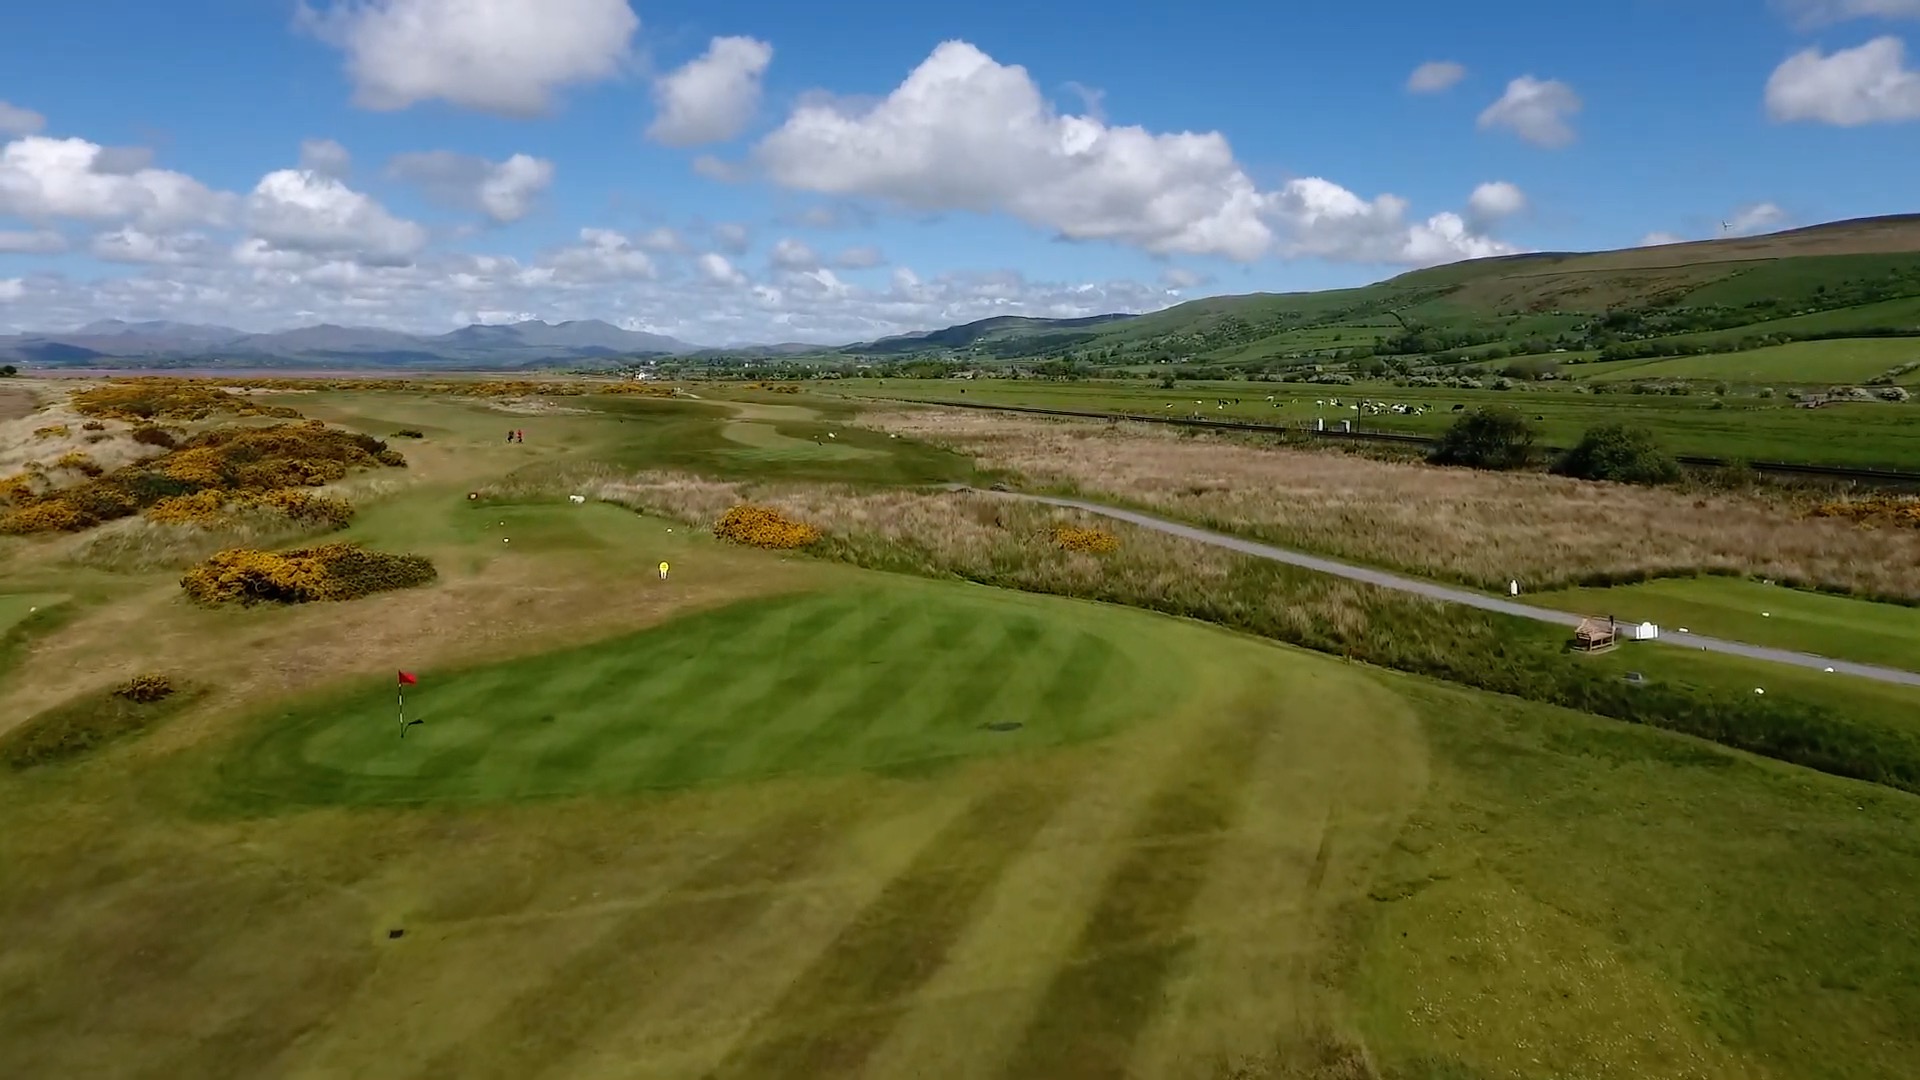
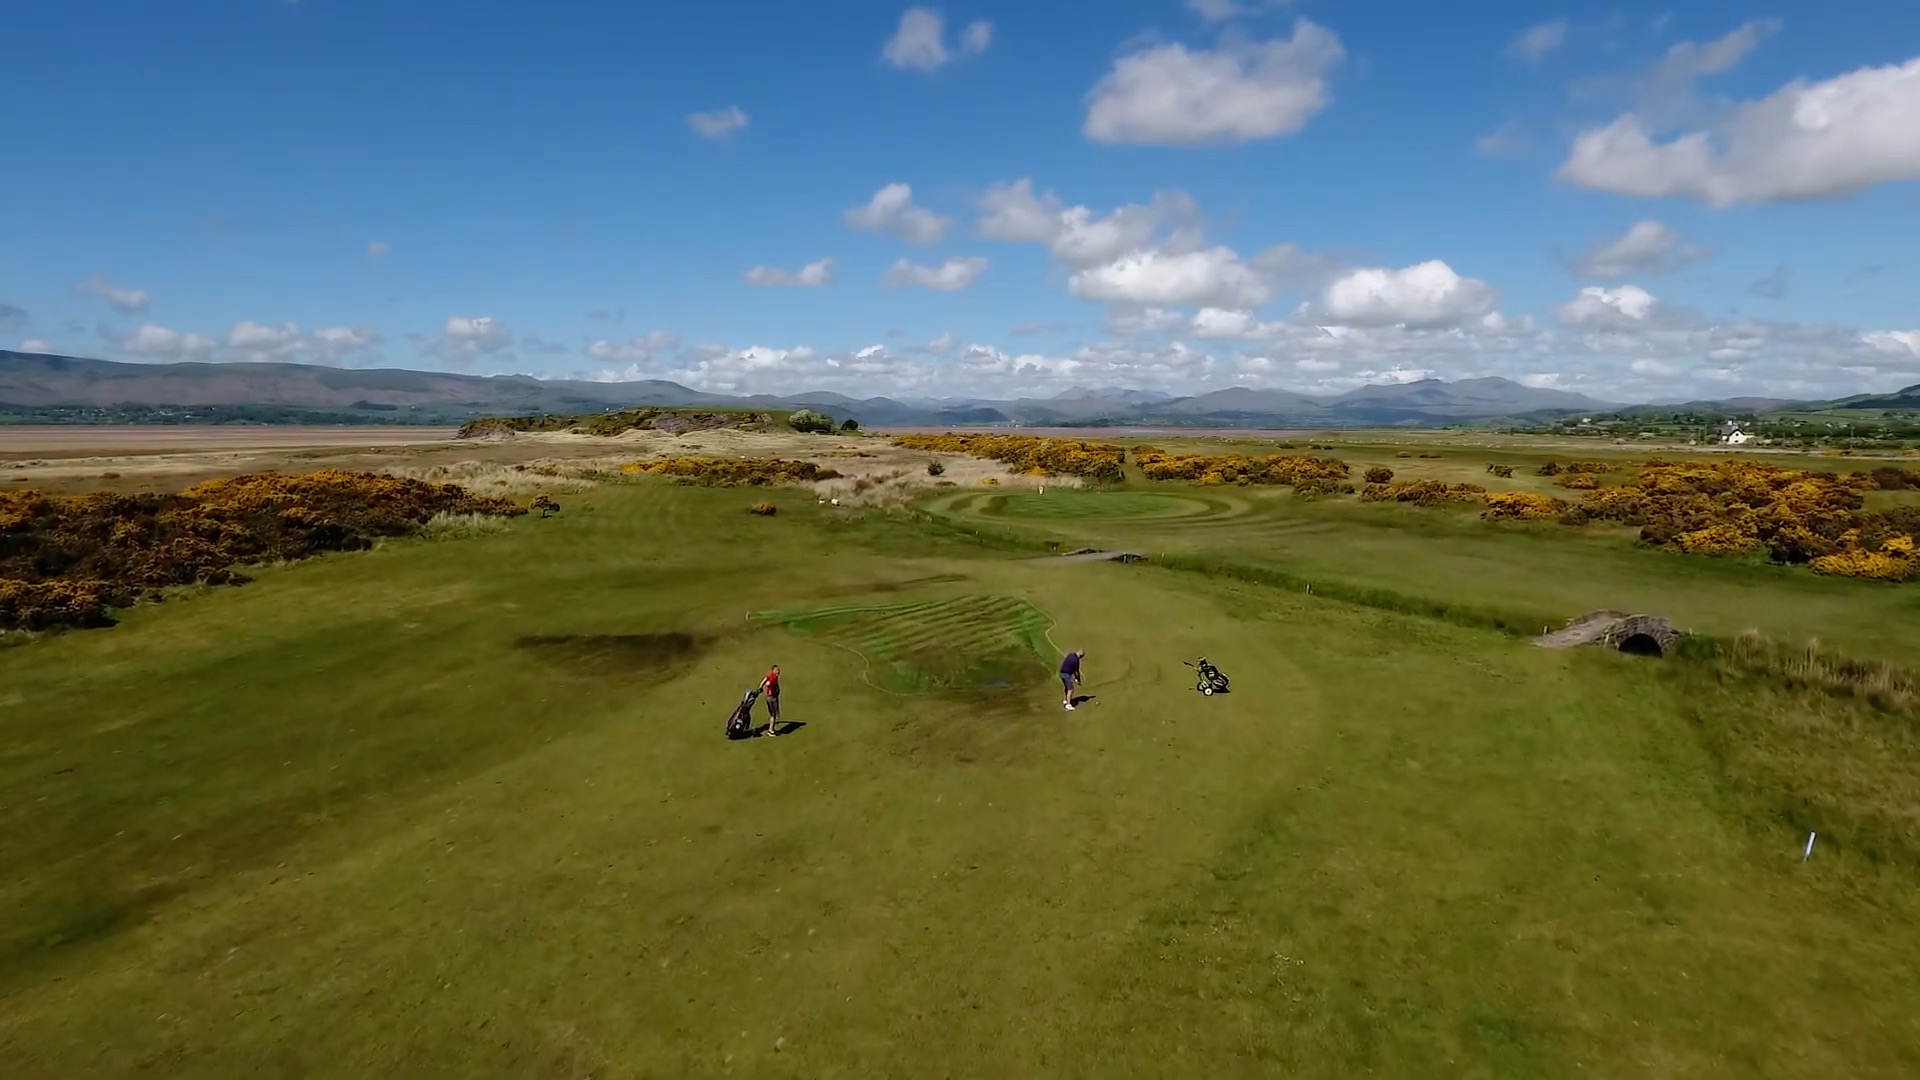
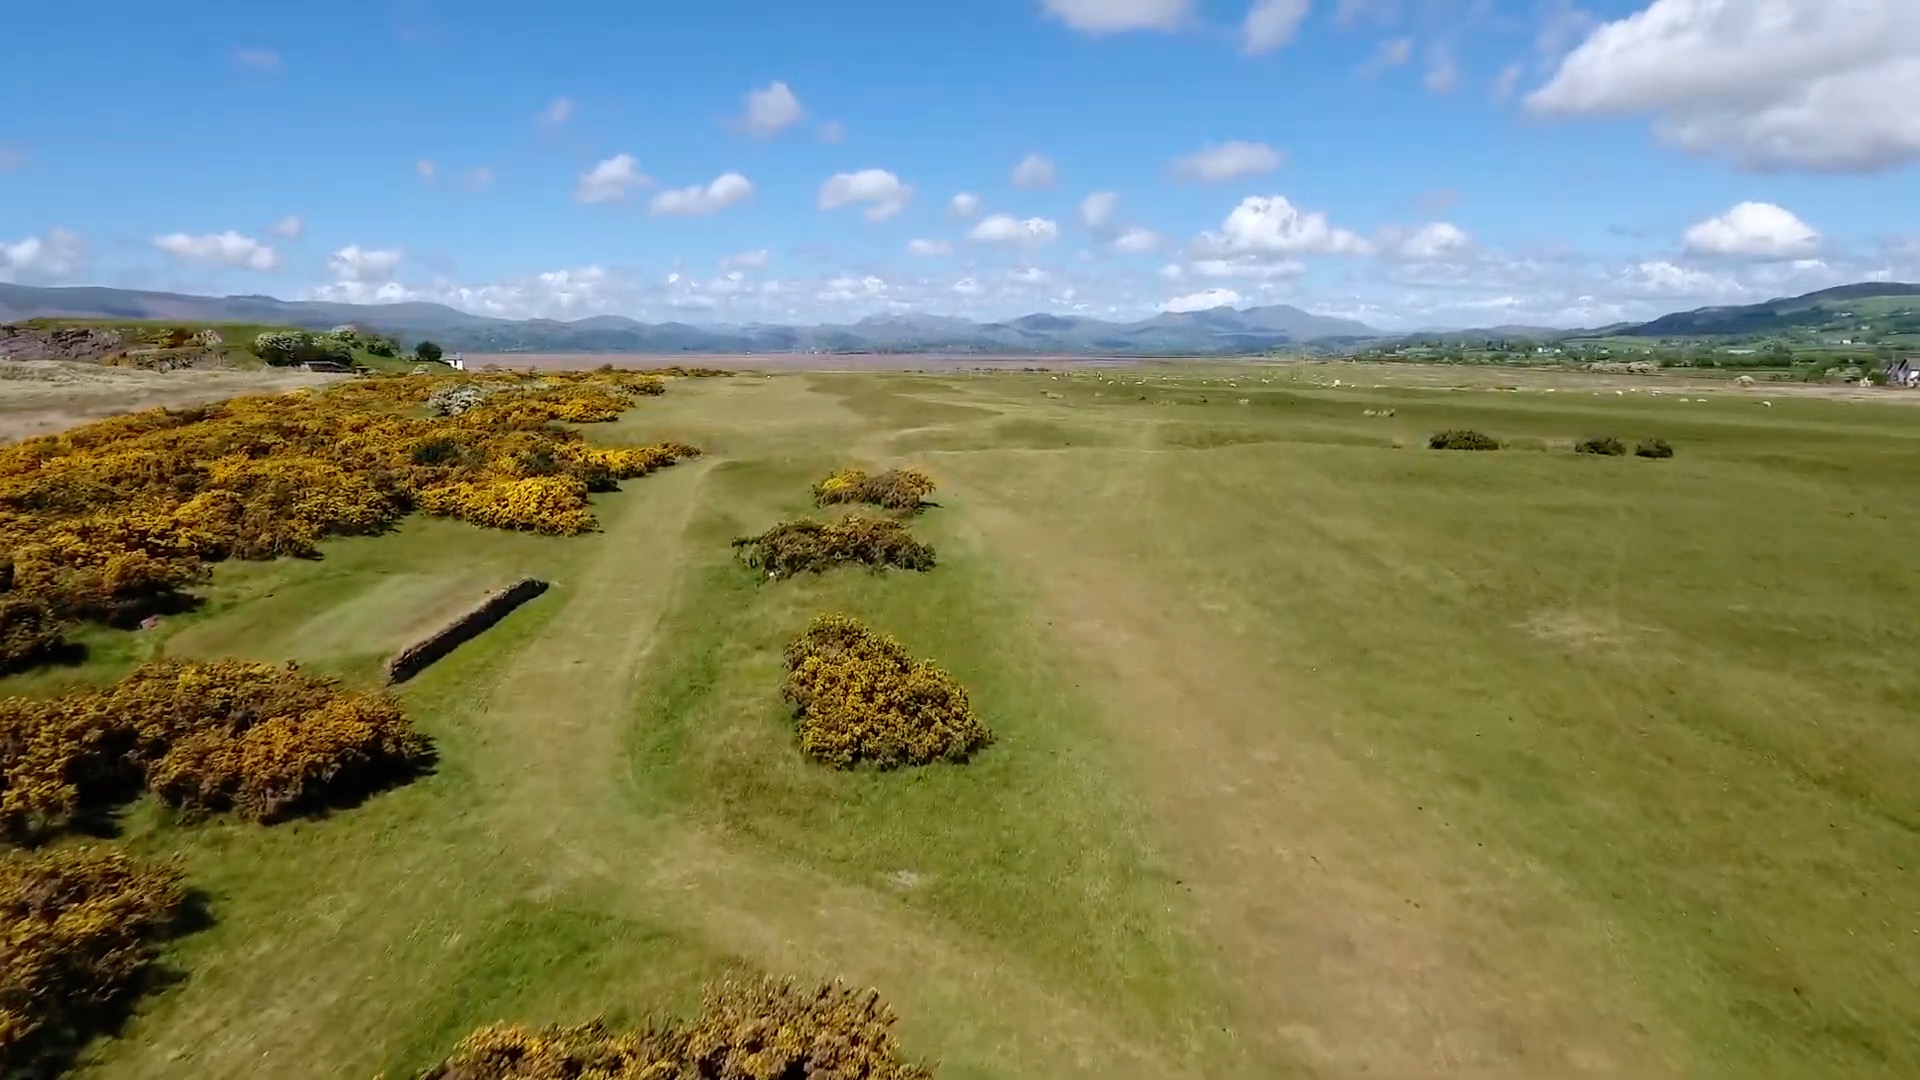
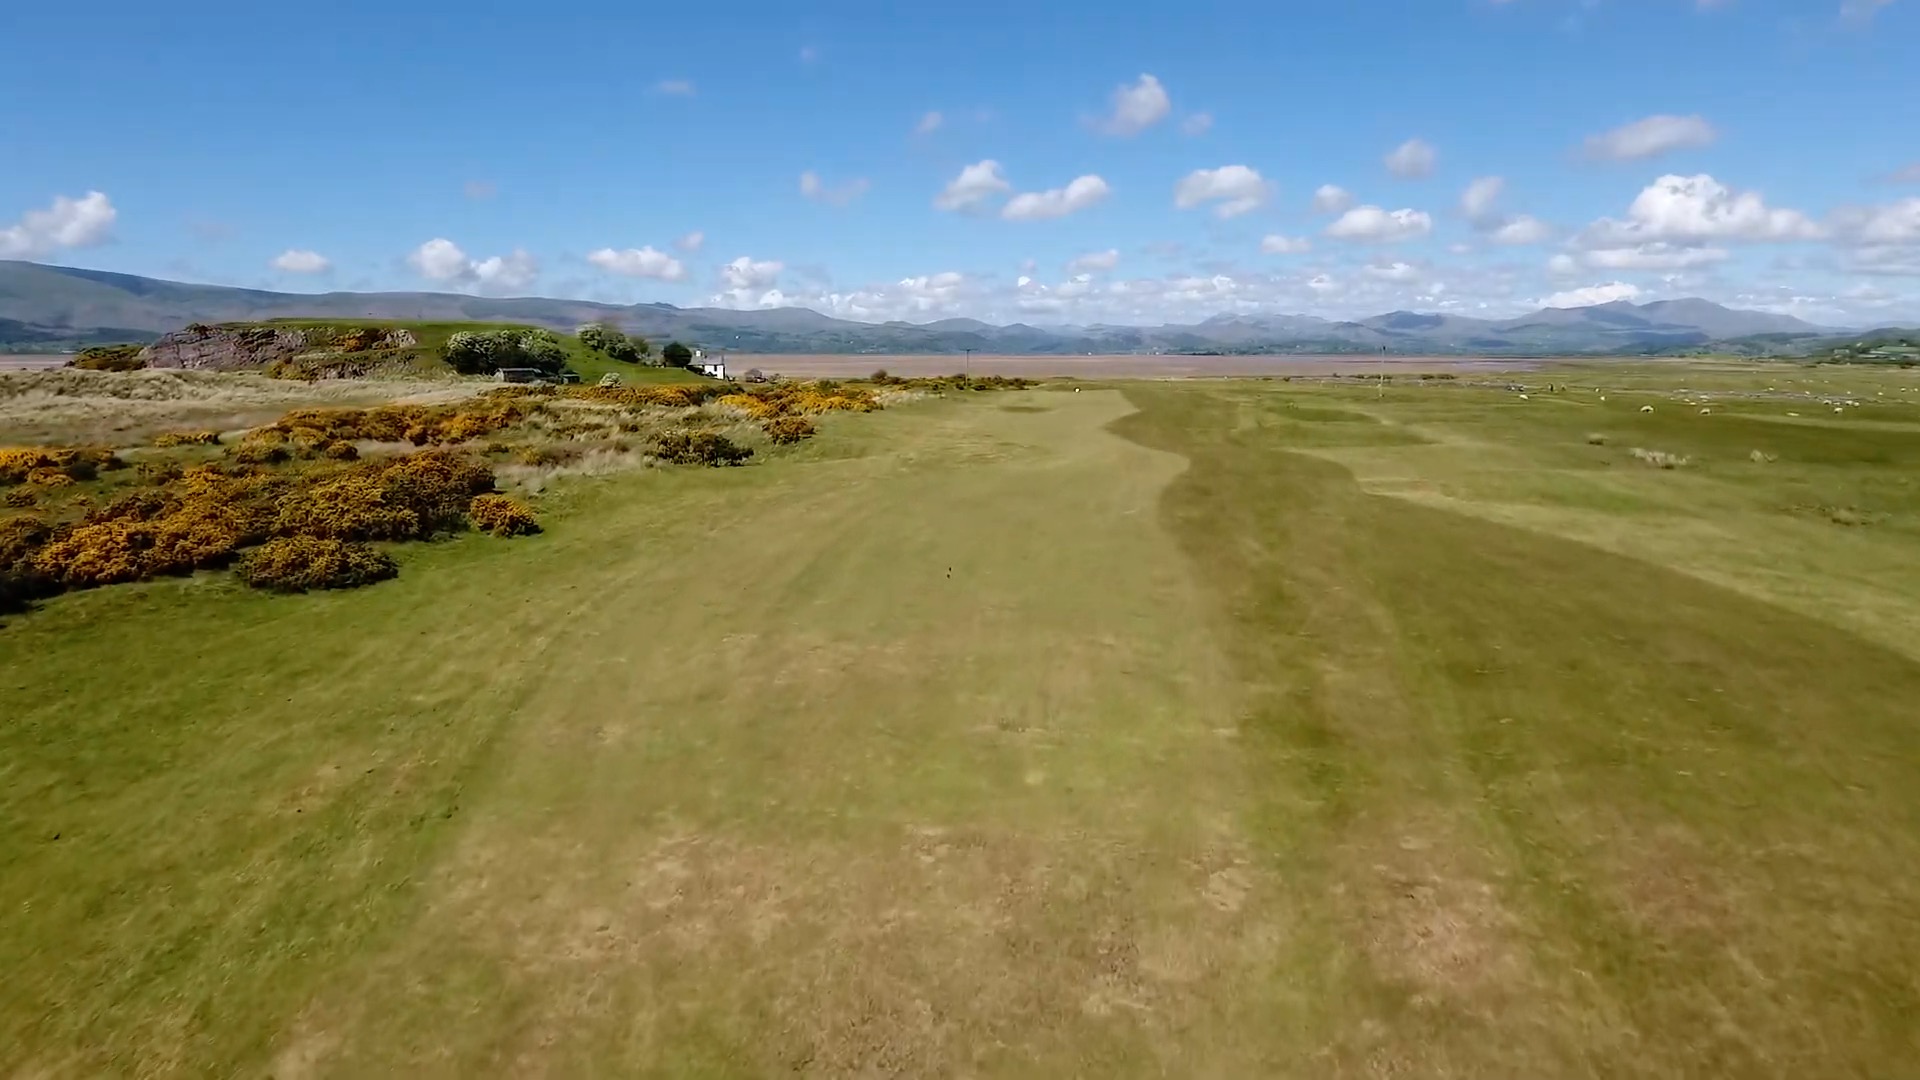
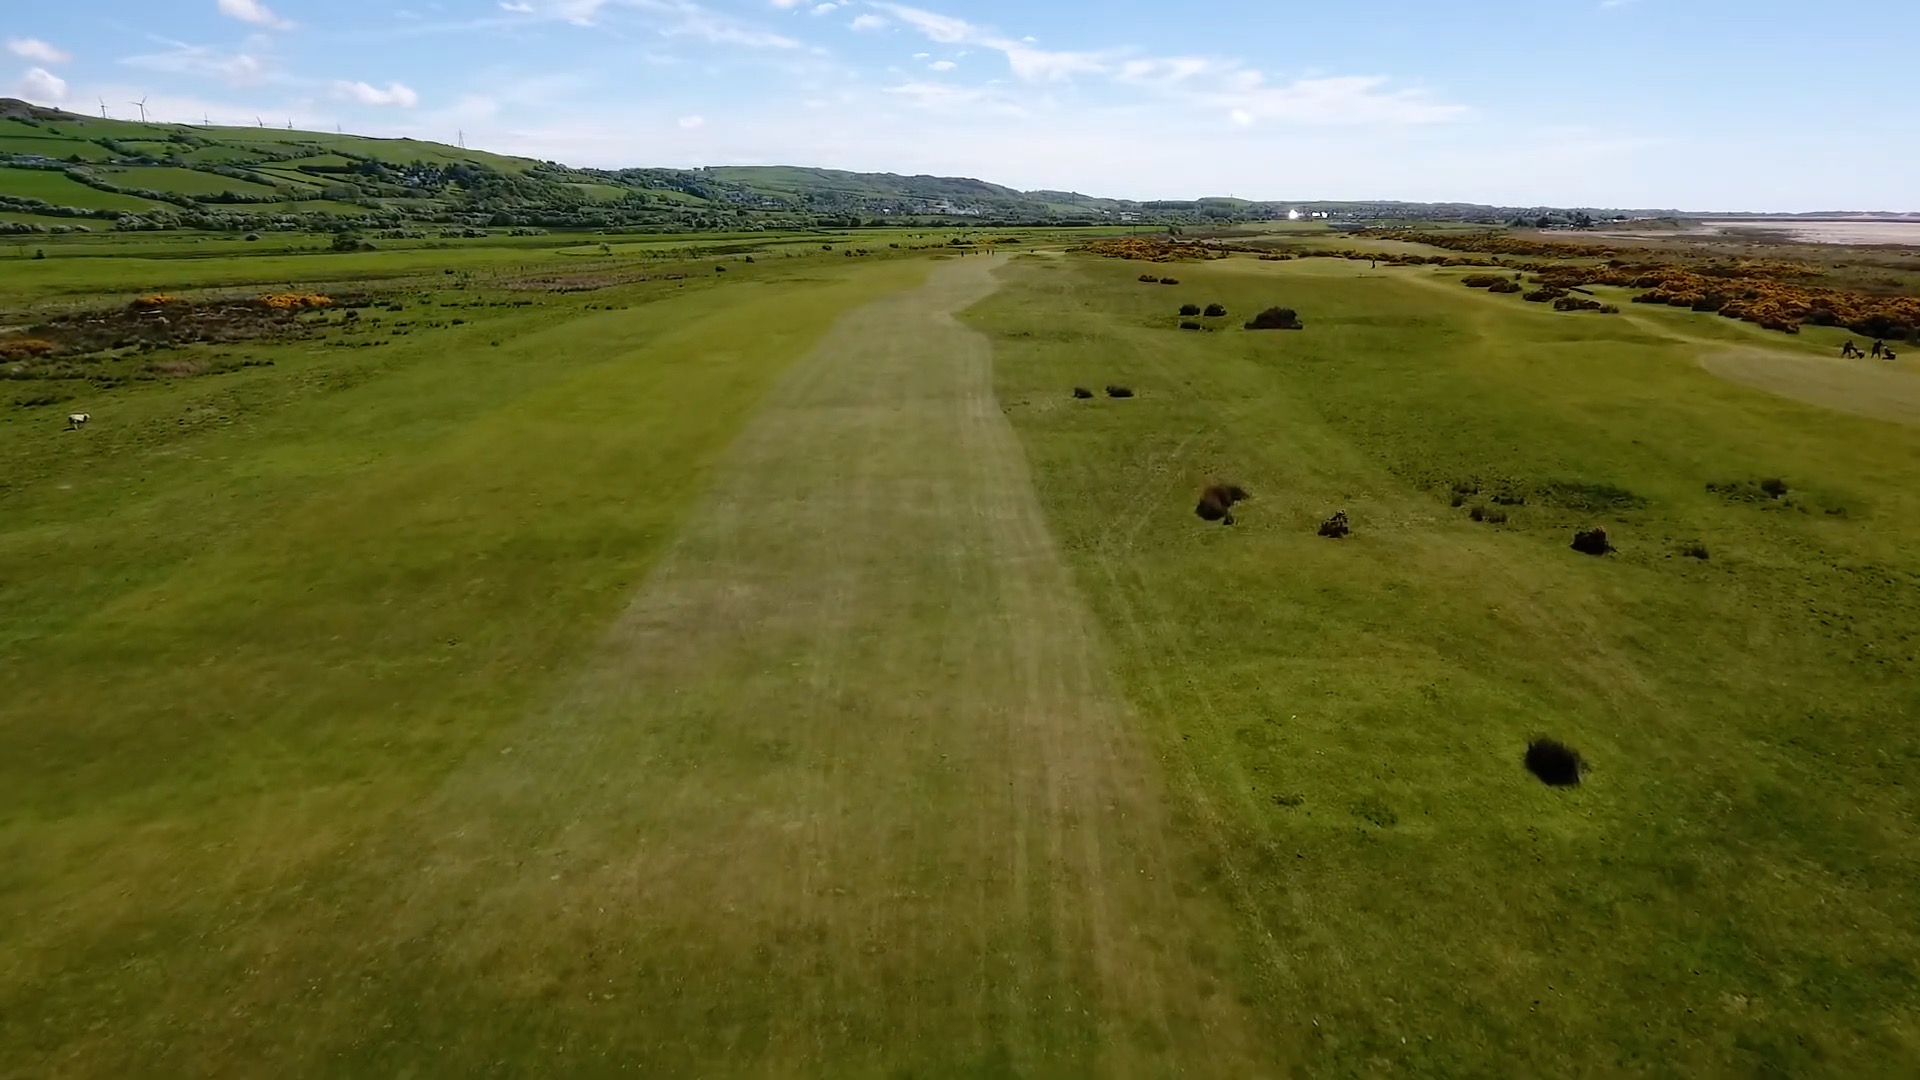
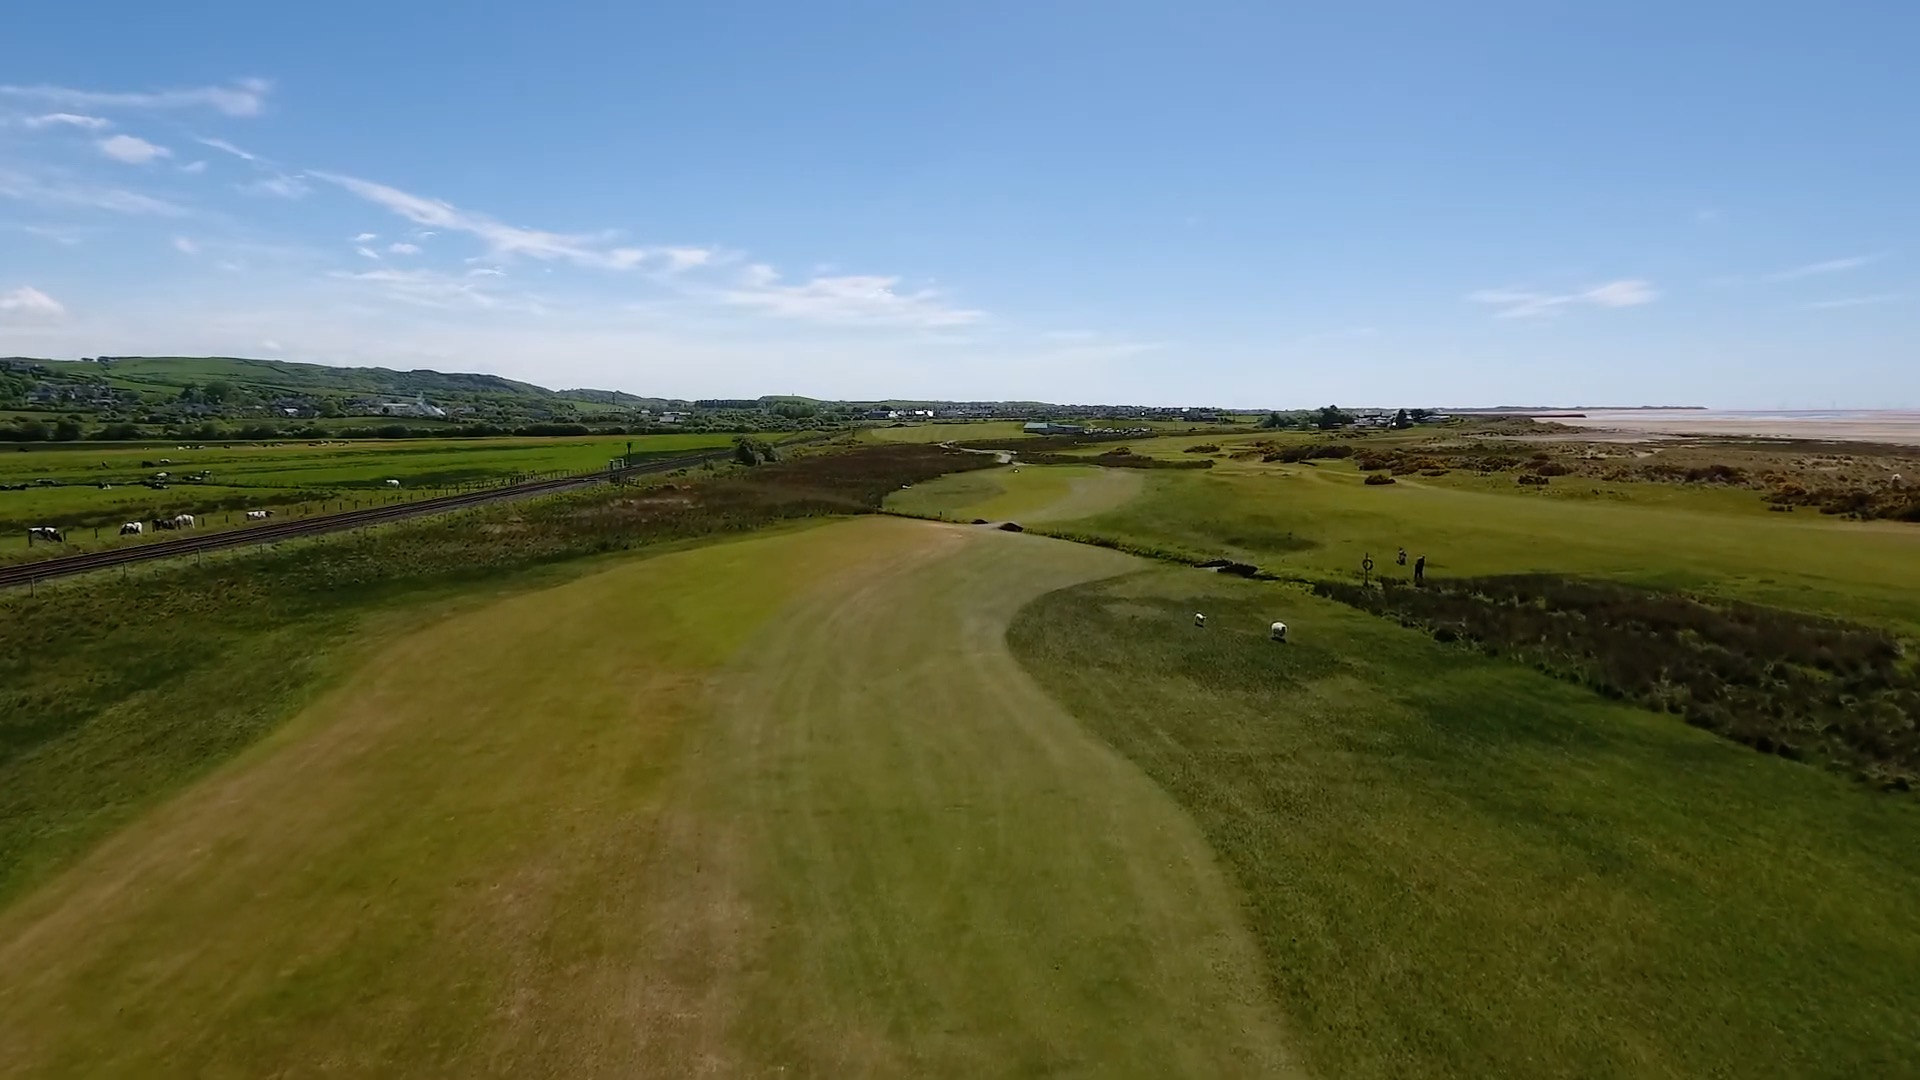
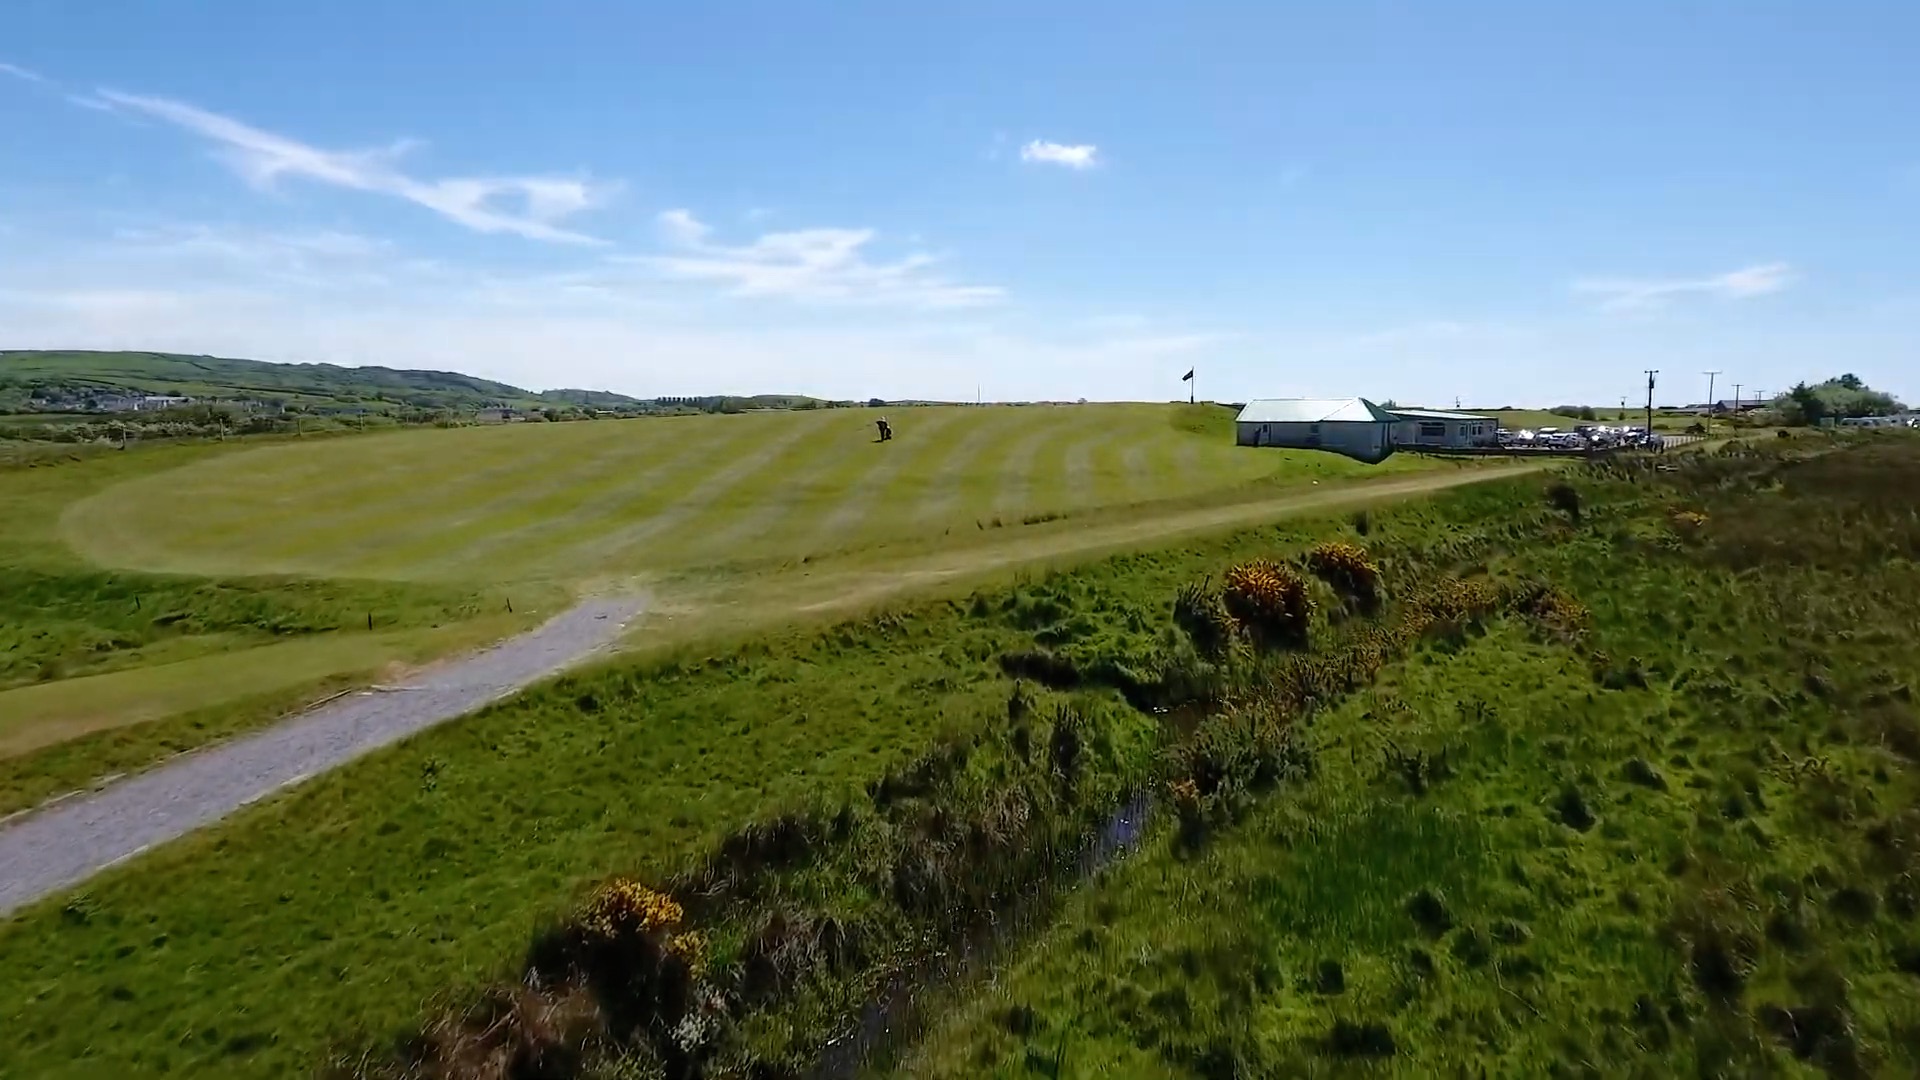
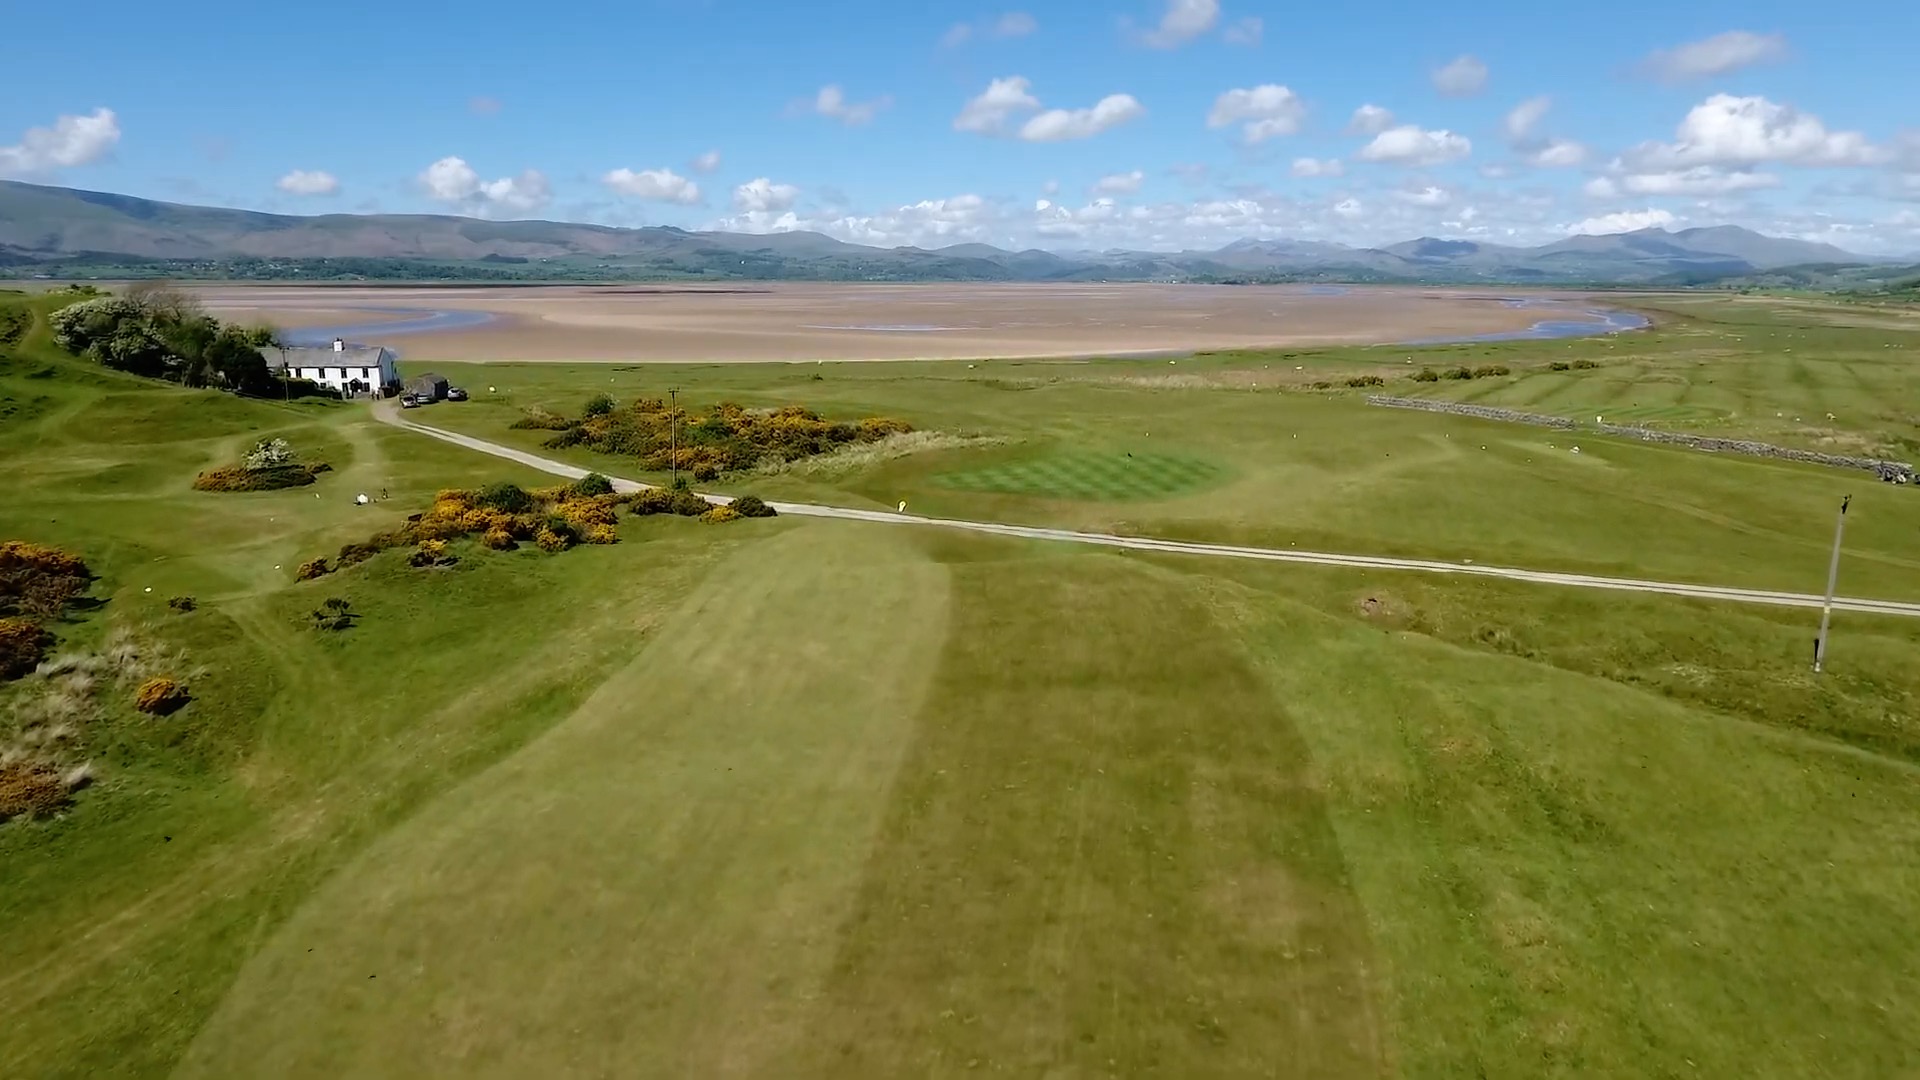
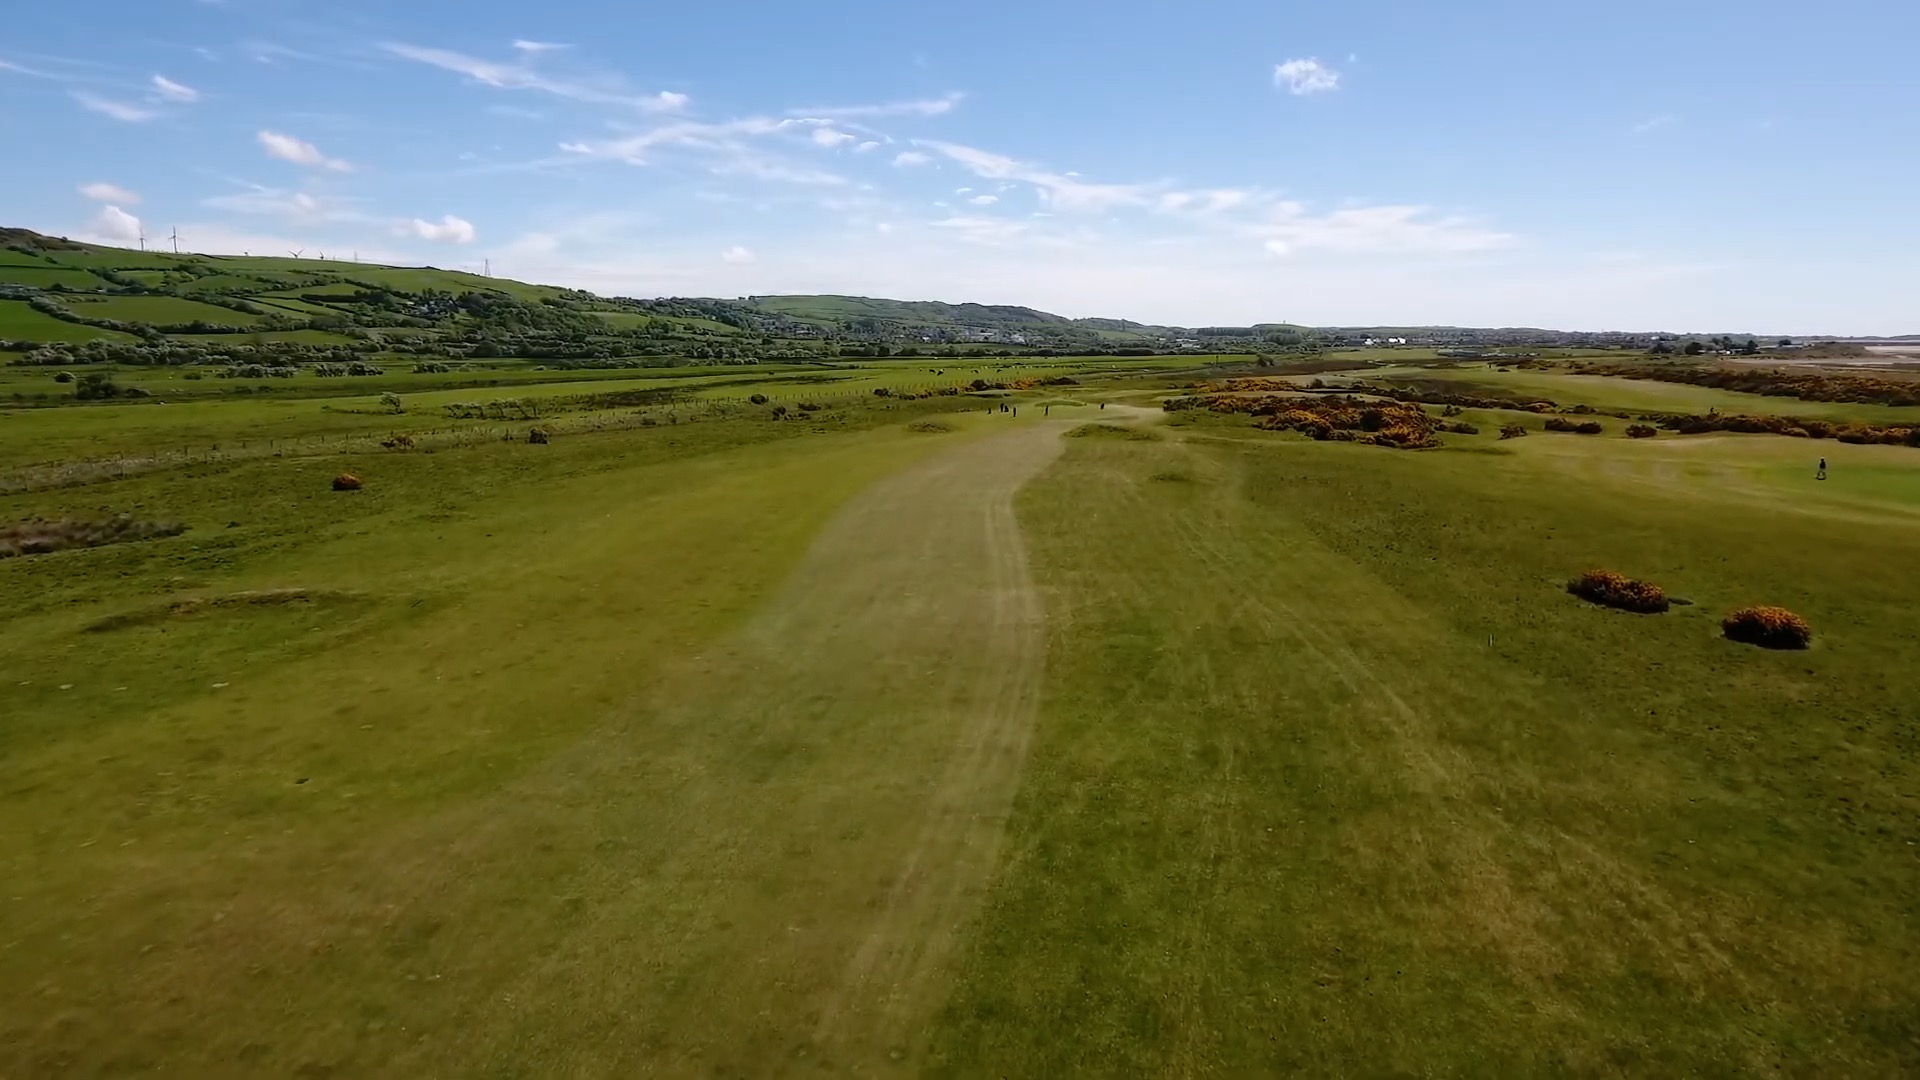
Another longer par four, with gorse and thick rough on the seaward side — there is room on the right with only light rough if you miss the fairway. 

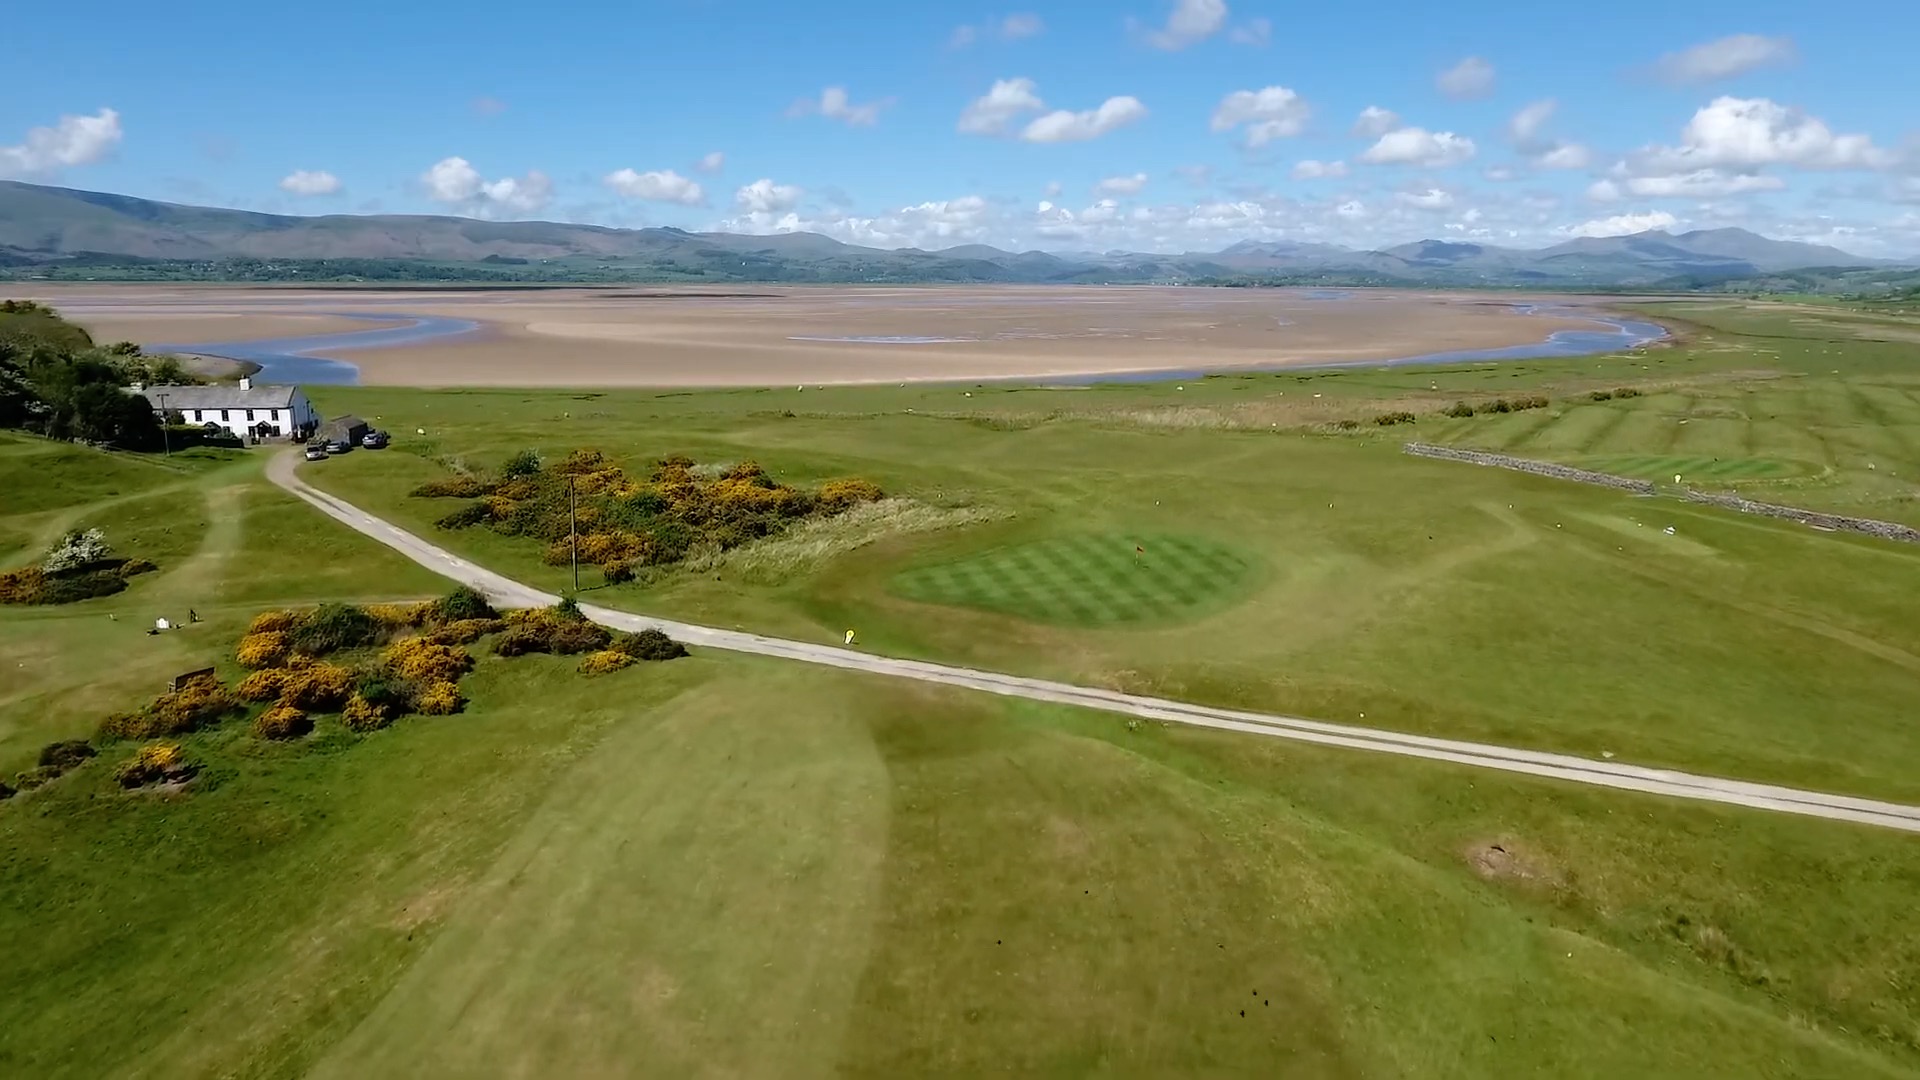
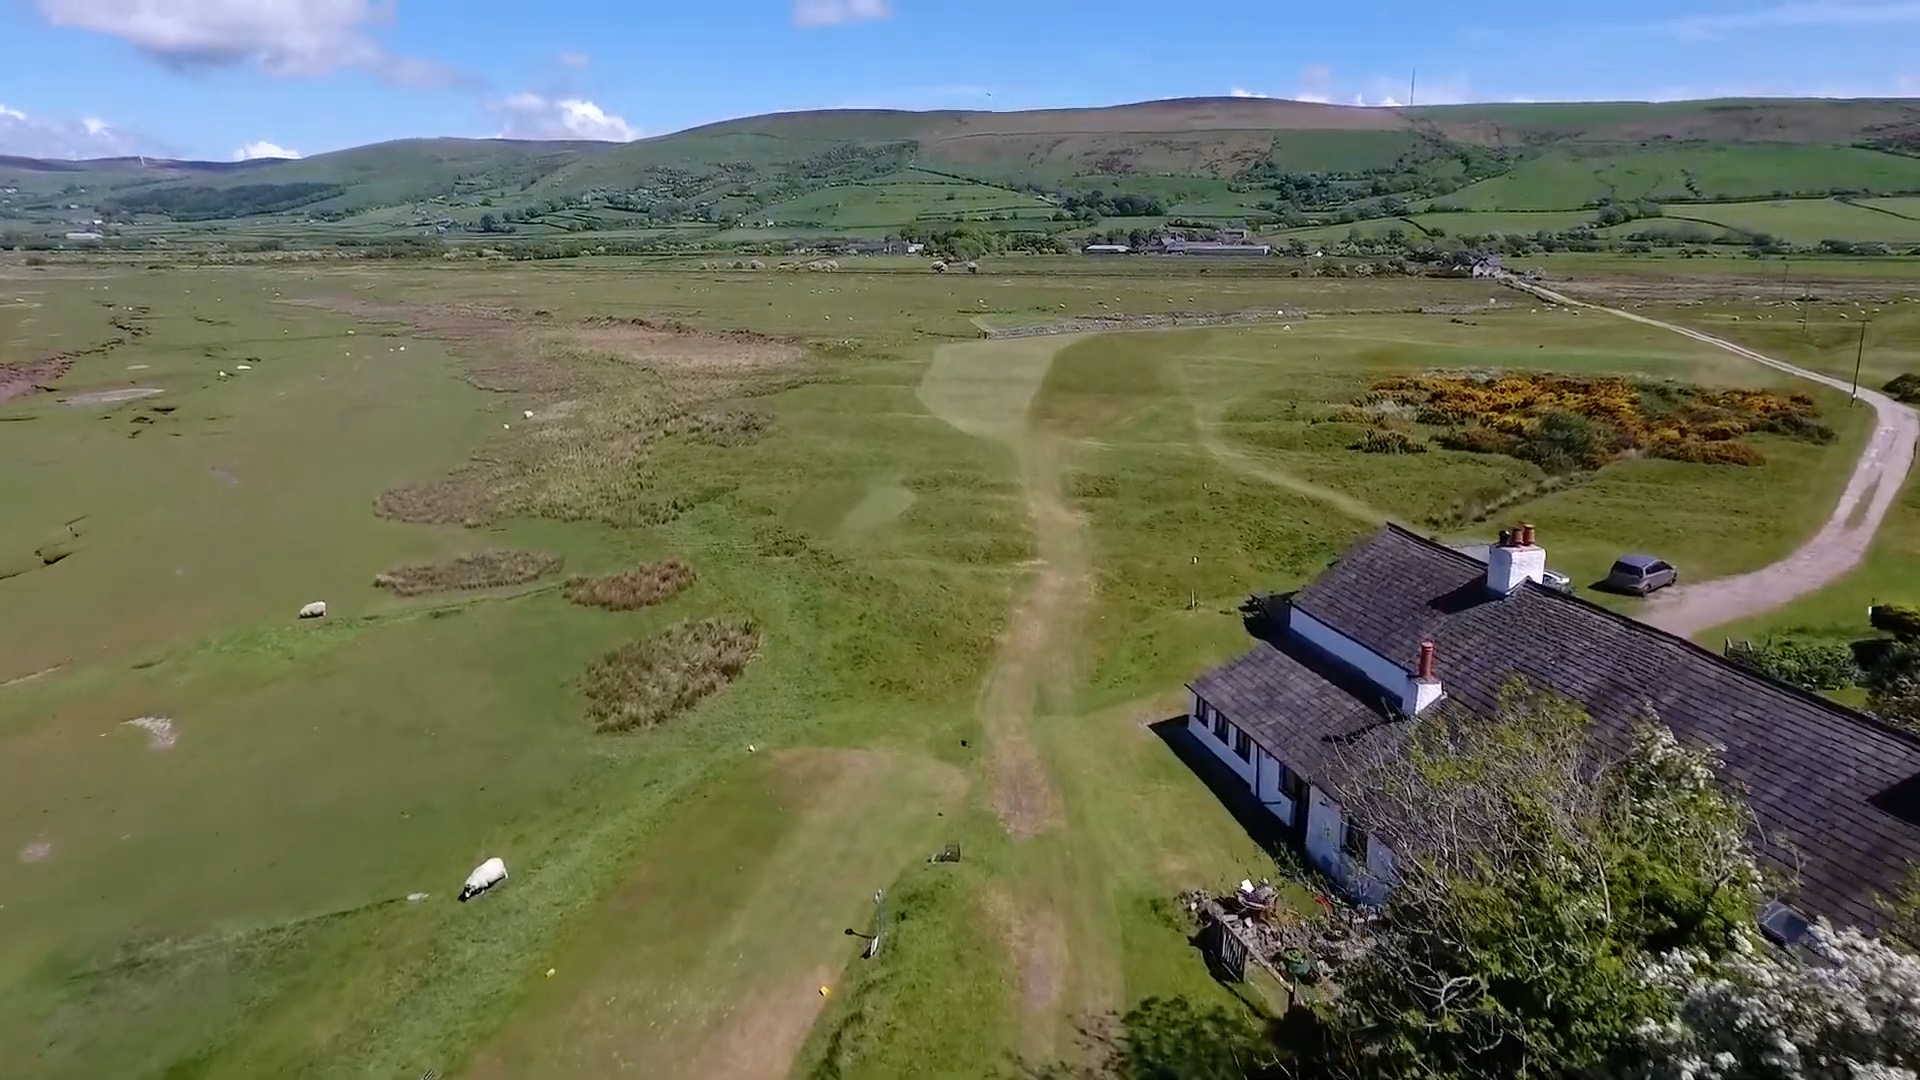
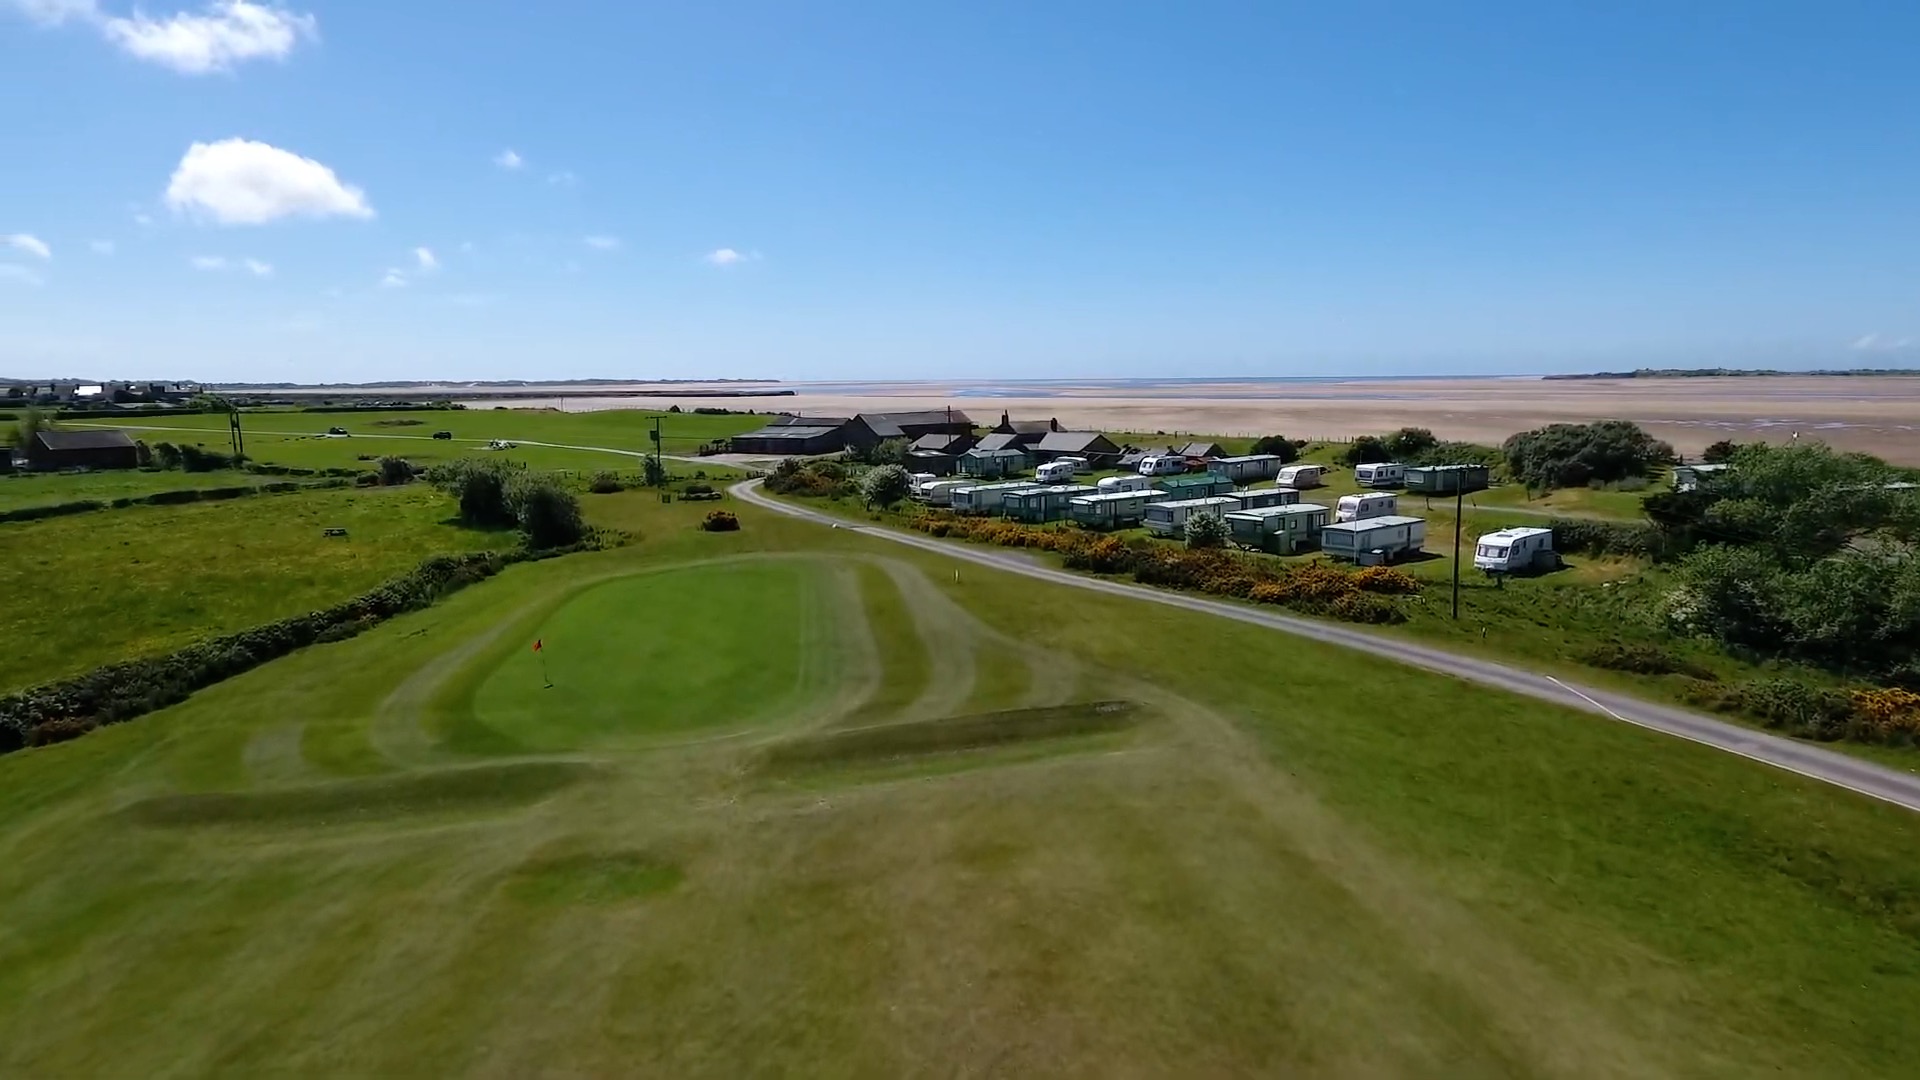
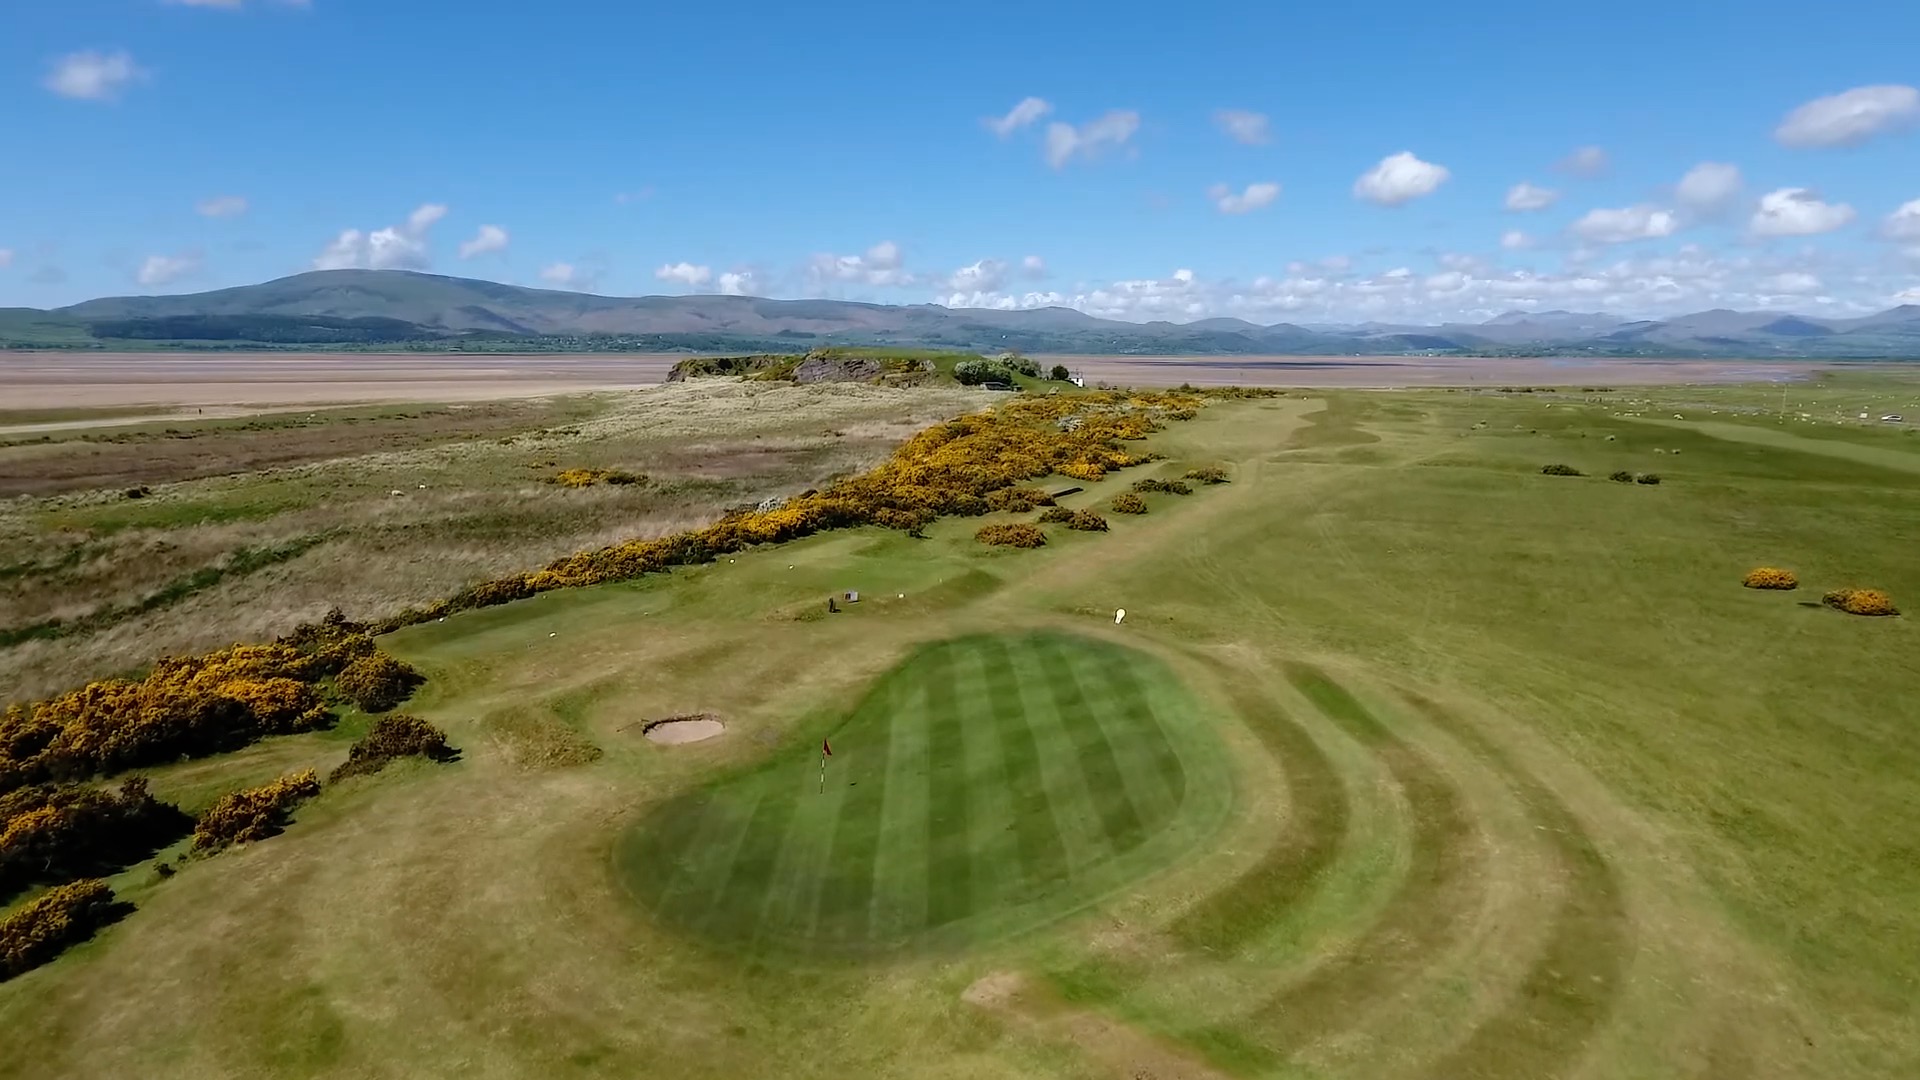
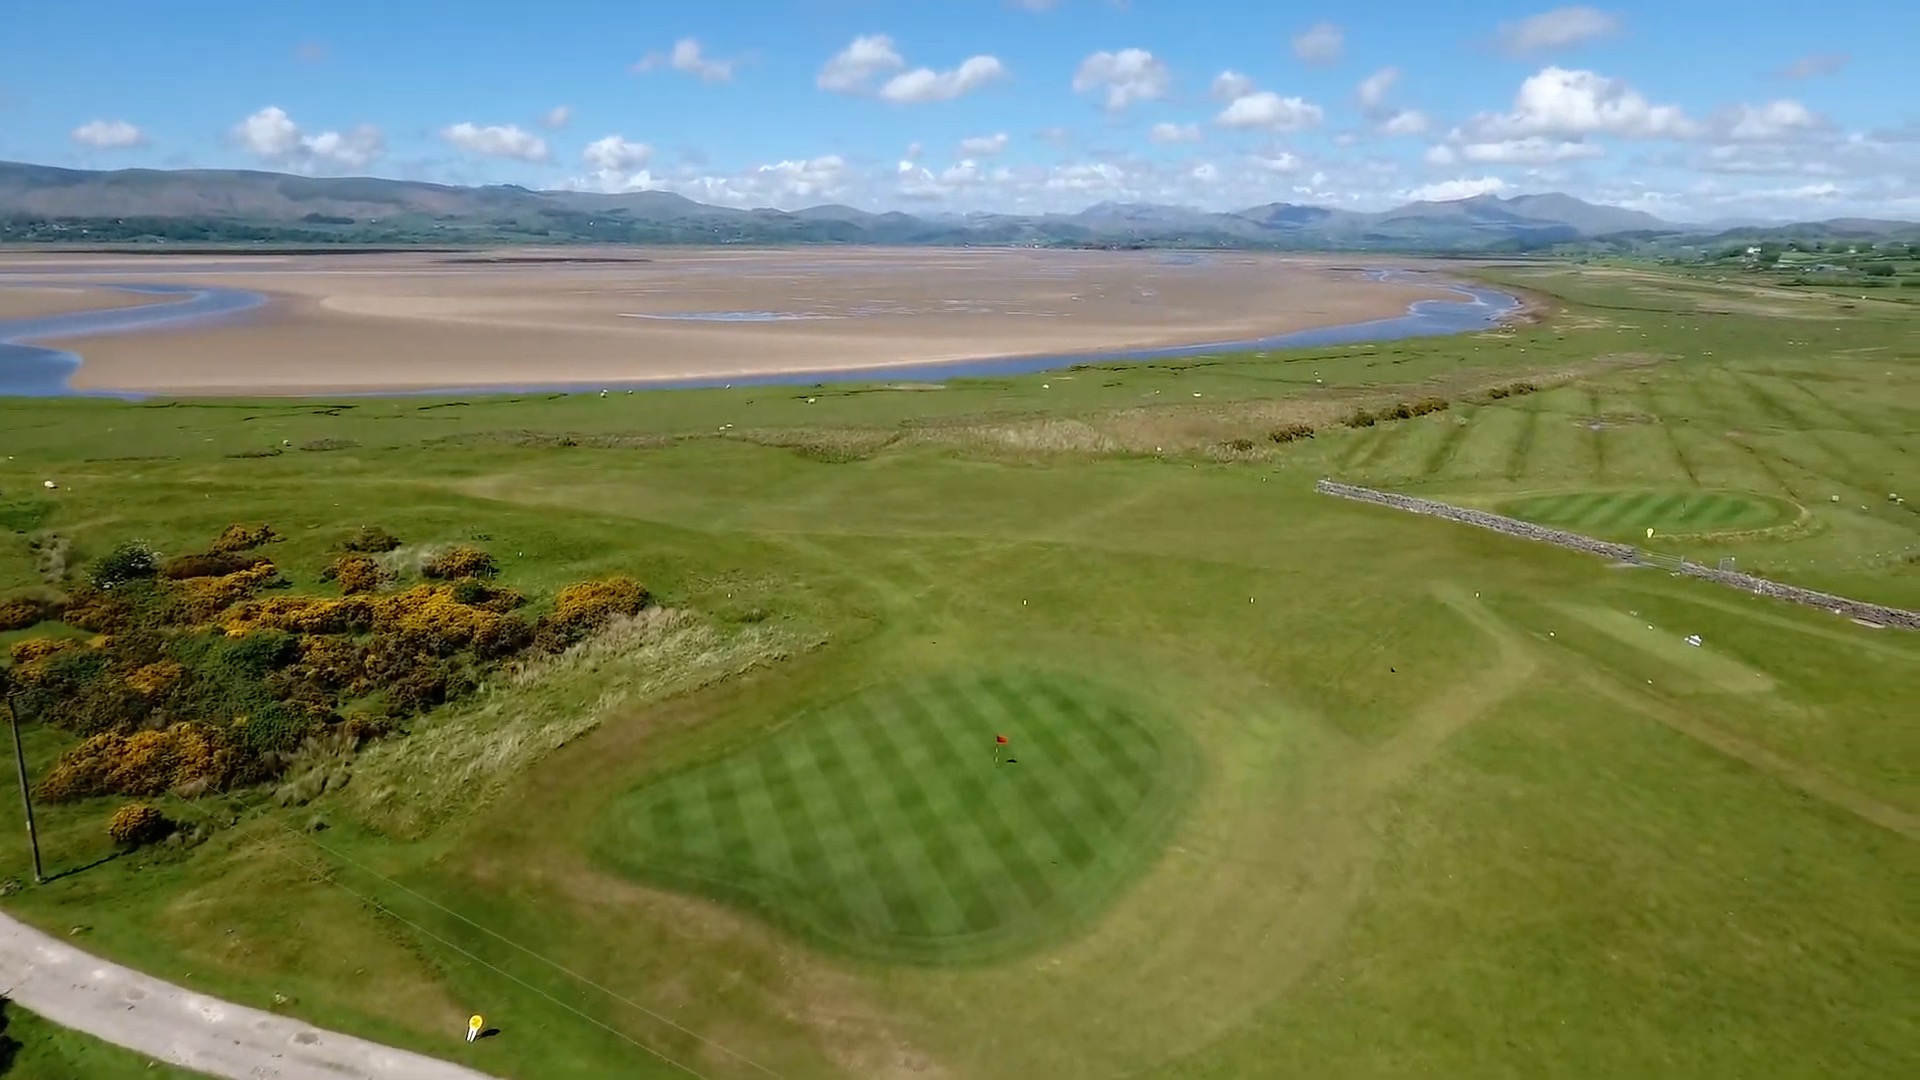
The road passes close to the front of the green and is lined by a bank, which makes the second shot tricky to judge with unpredictable lies if you are short. 

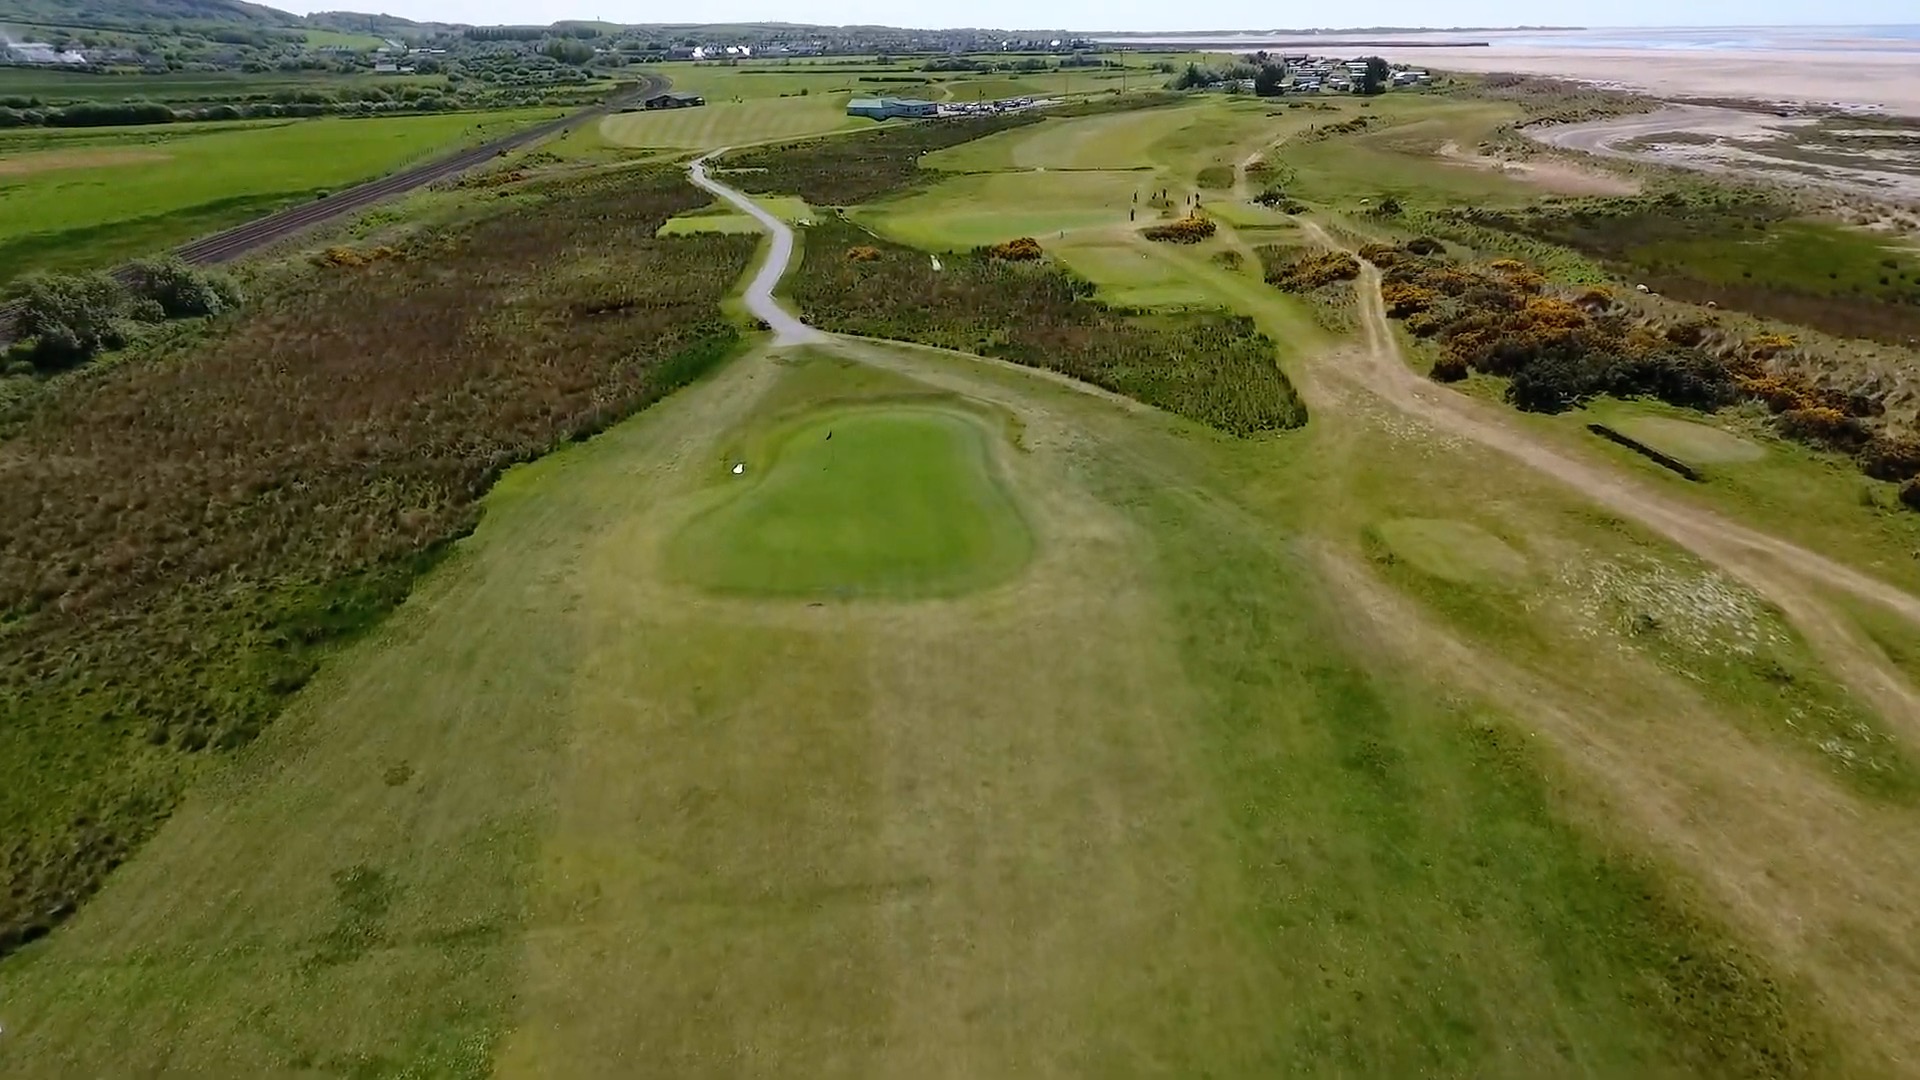
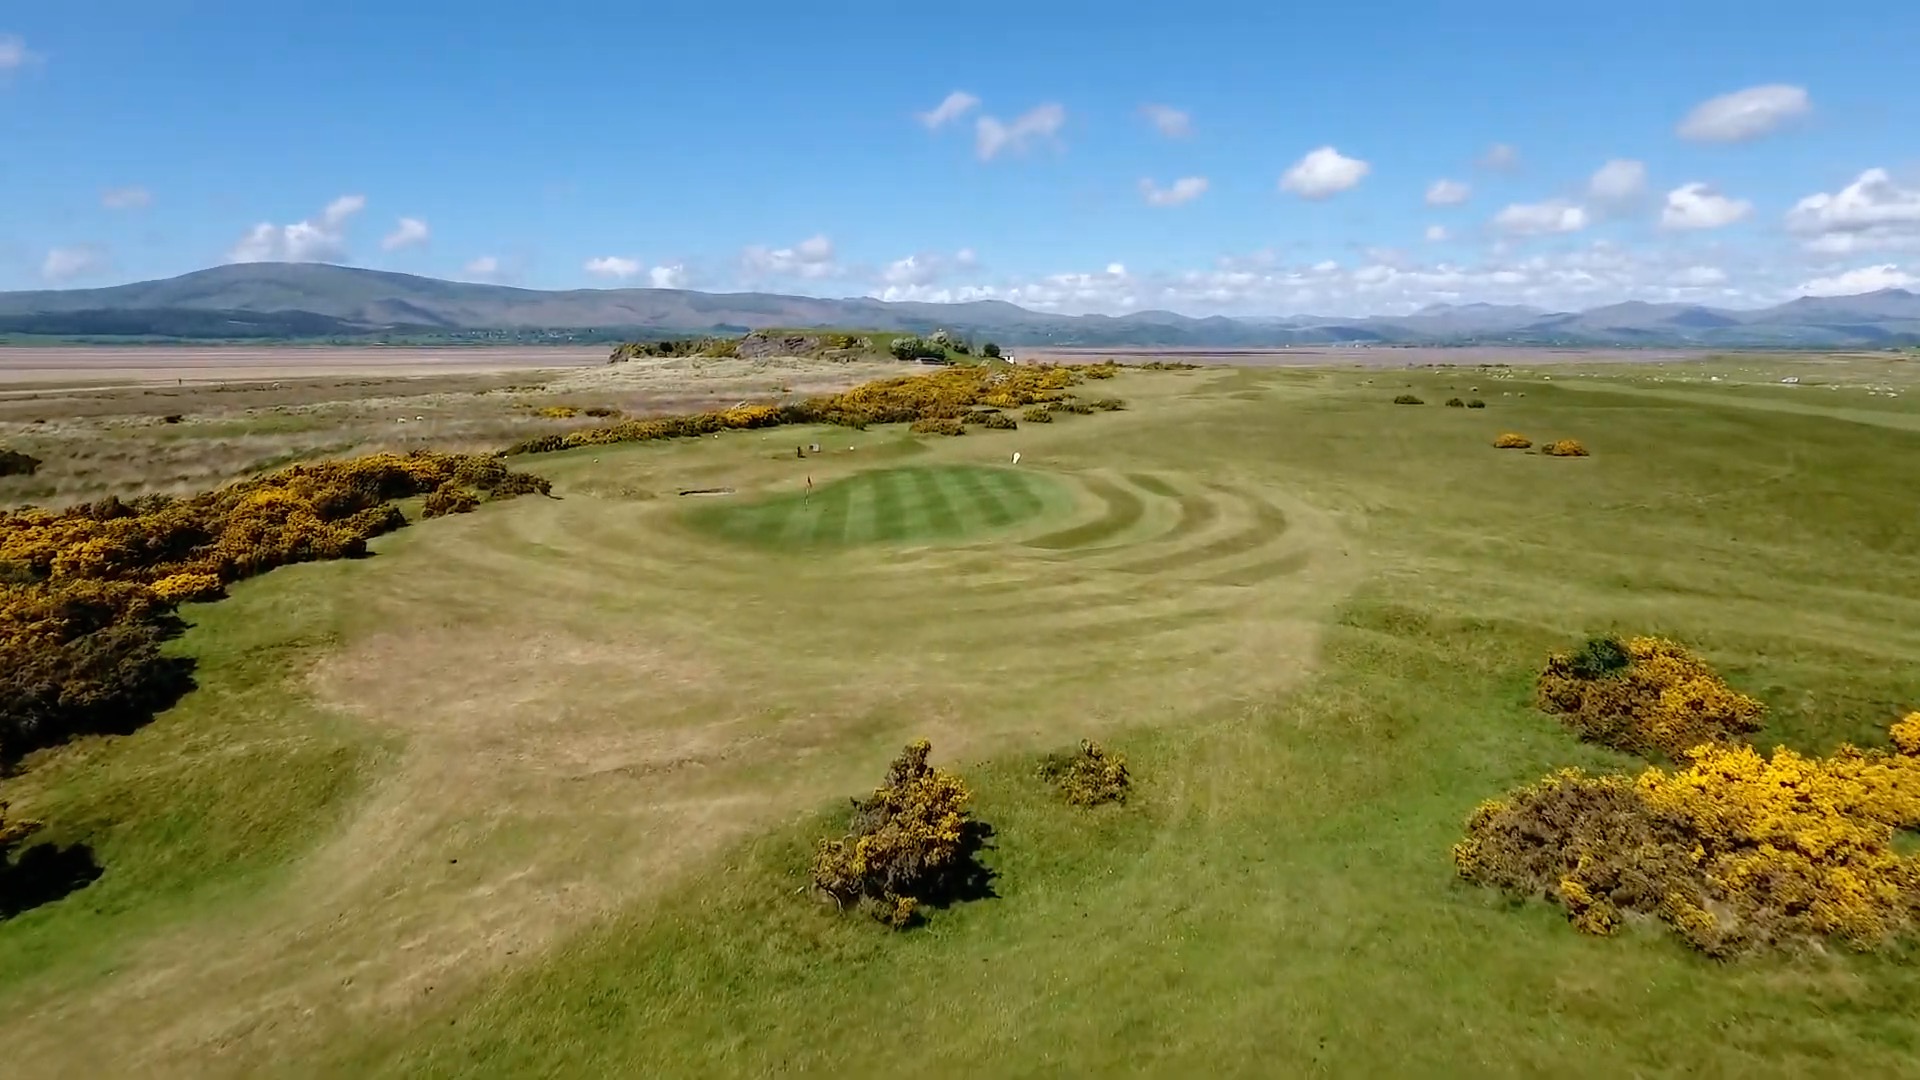
There is trouble to the left of the green but plenty of room to the right and behind.

.

View hole:  1   2   3   4   5   6   7   8   9  10  11  12  13  14  15  16  17  18  Map

Hole 6

Hole
Yards

Par 3 - SI 13

Yards

Par 3 - SI 13

Yards

Par 3 - SI 13

Notes for hole 6

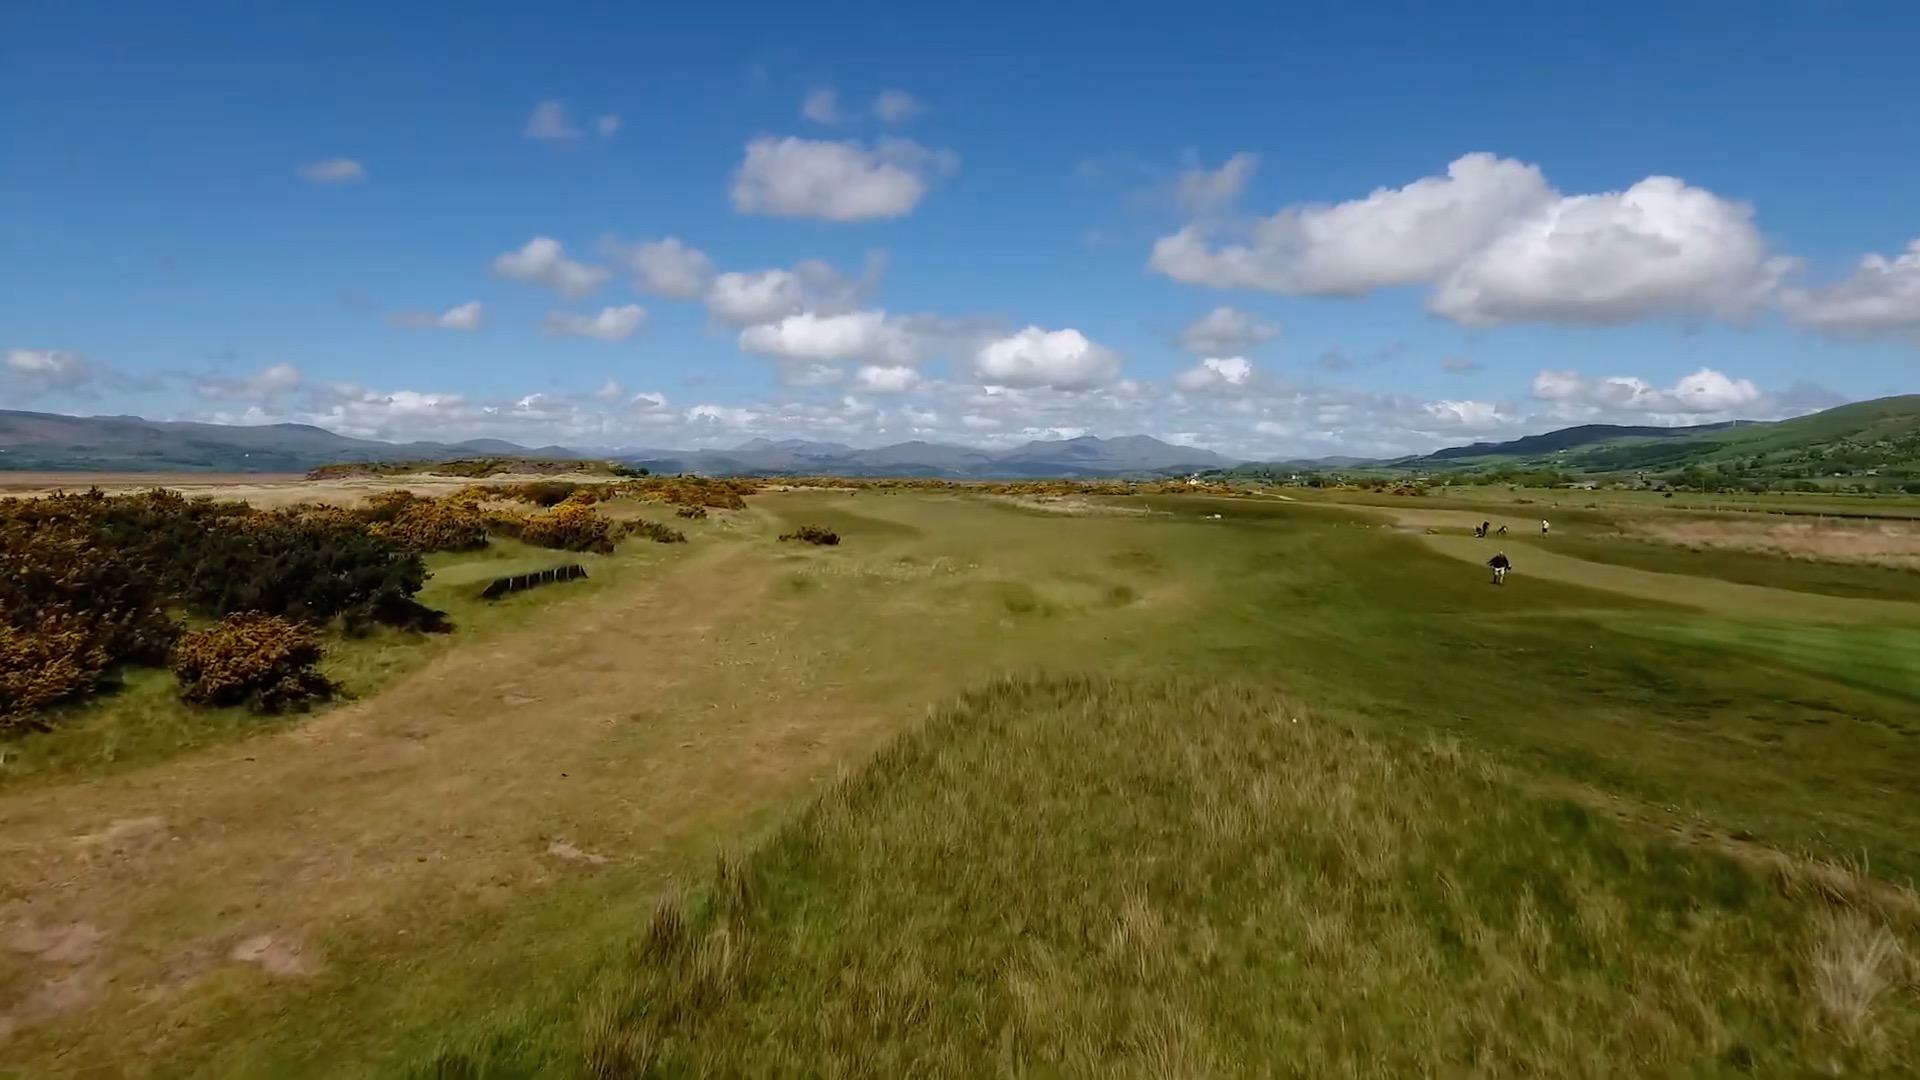
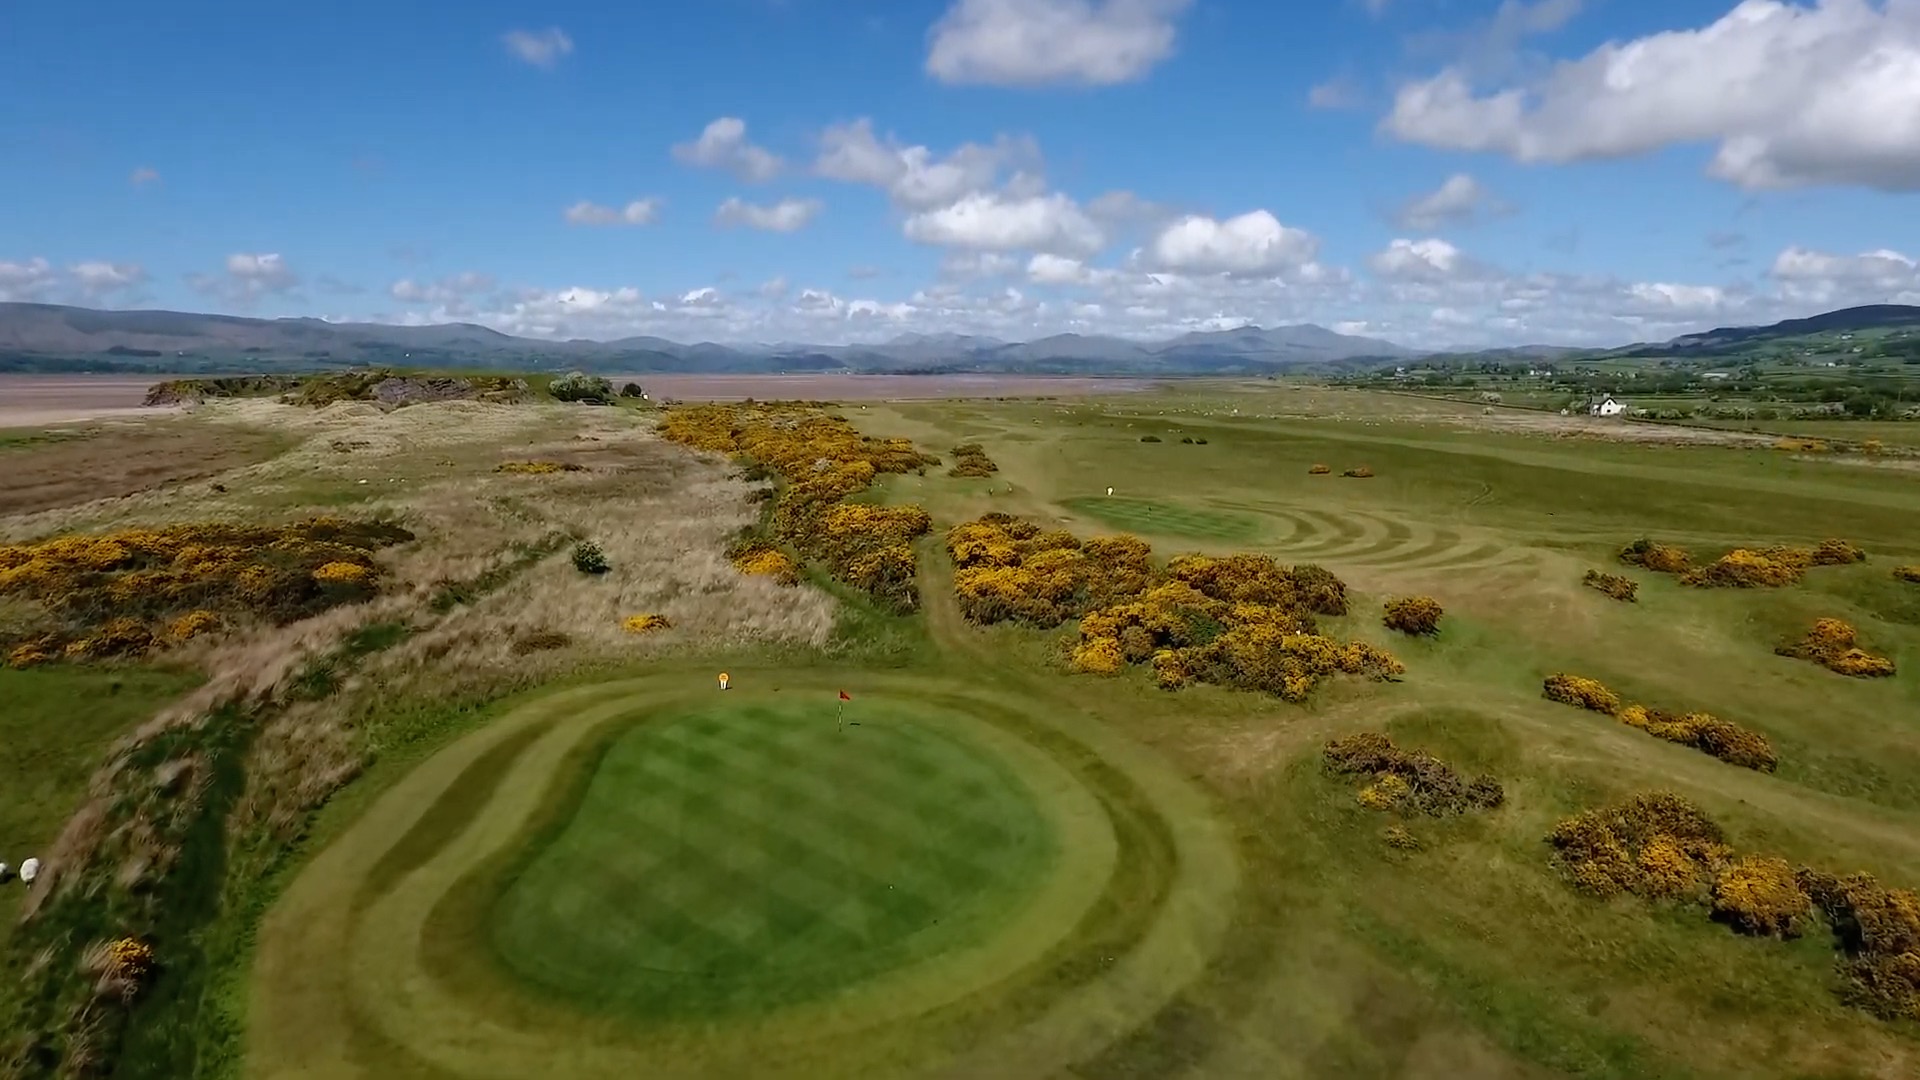
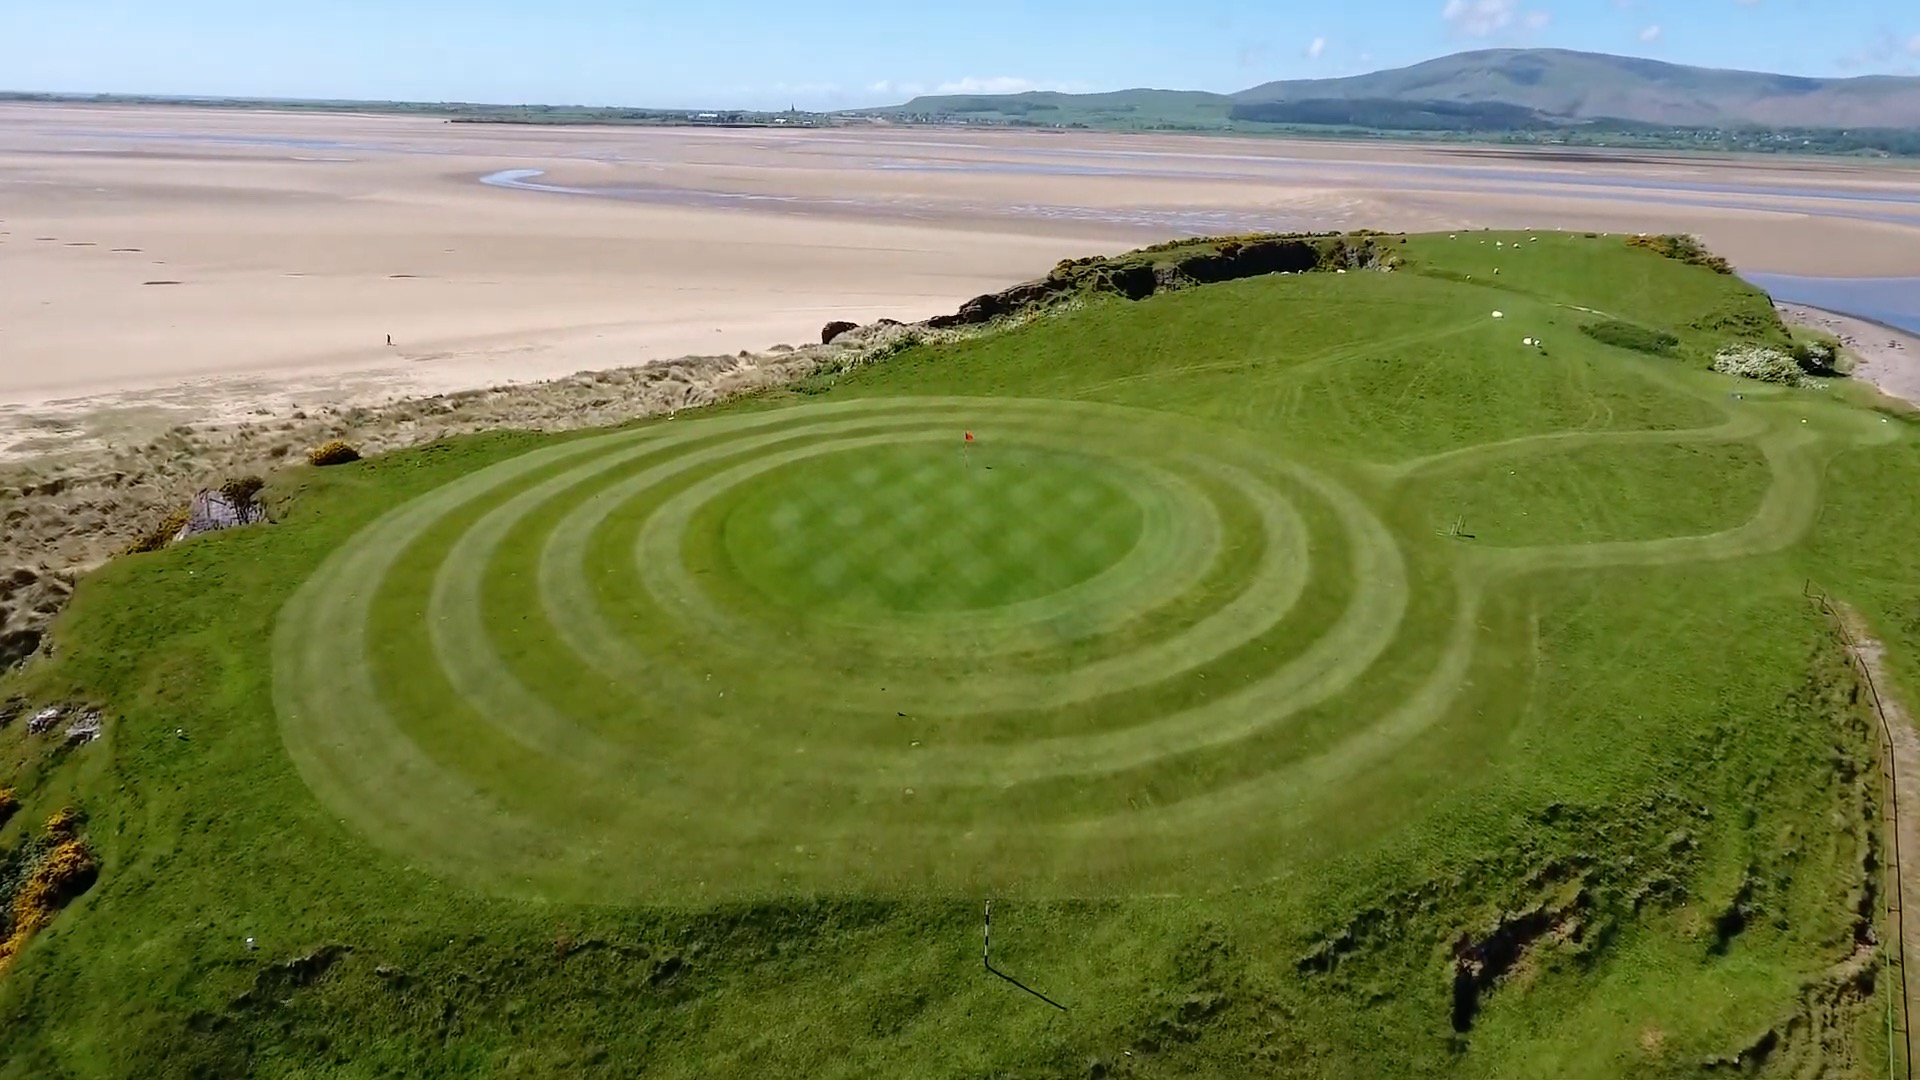
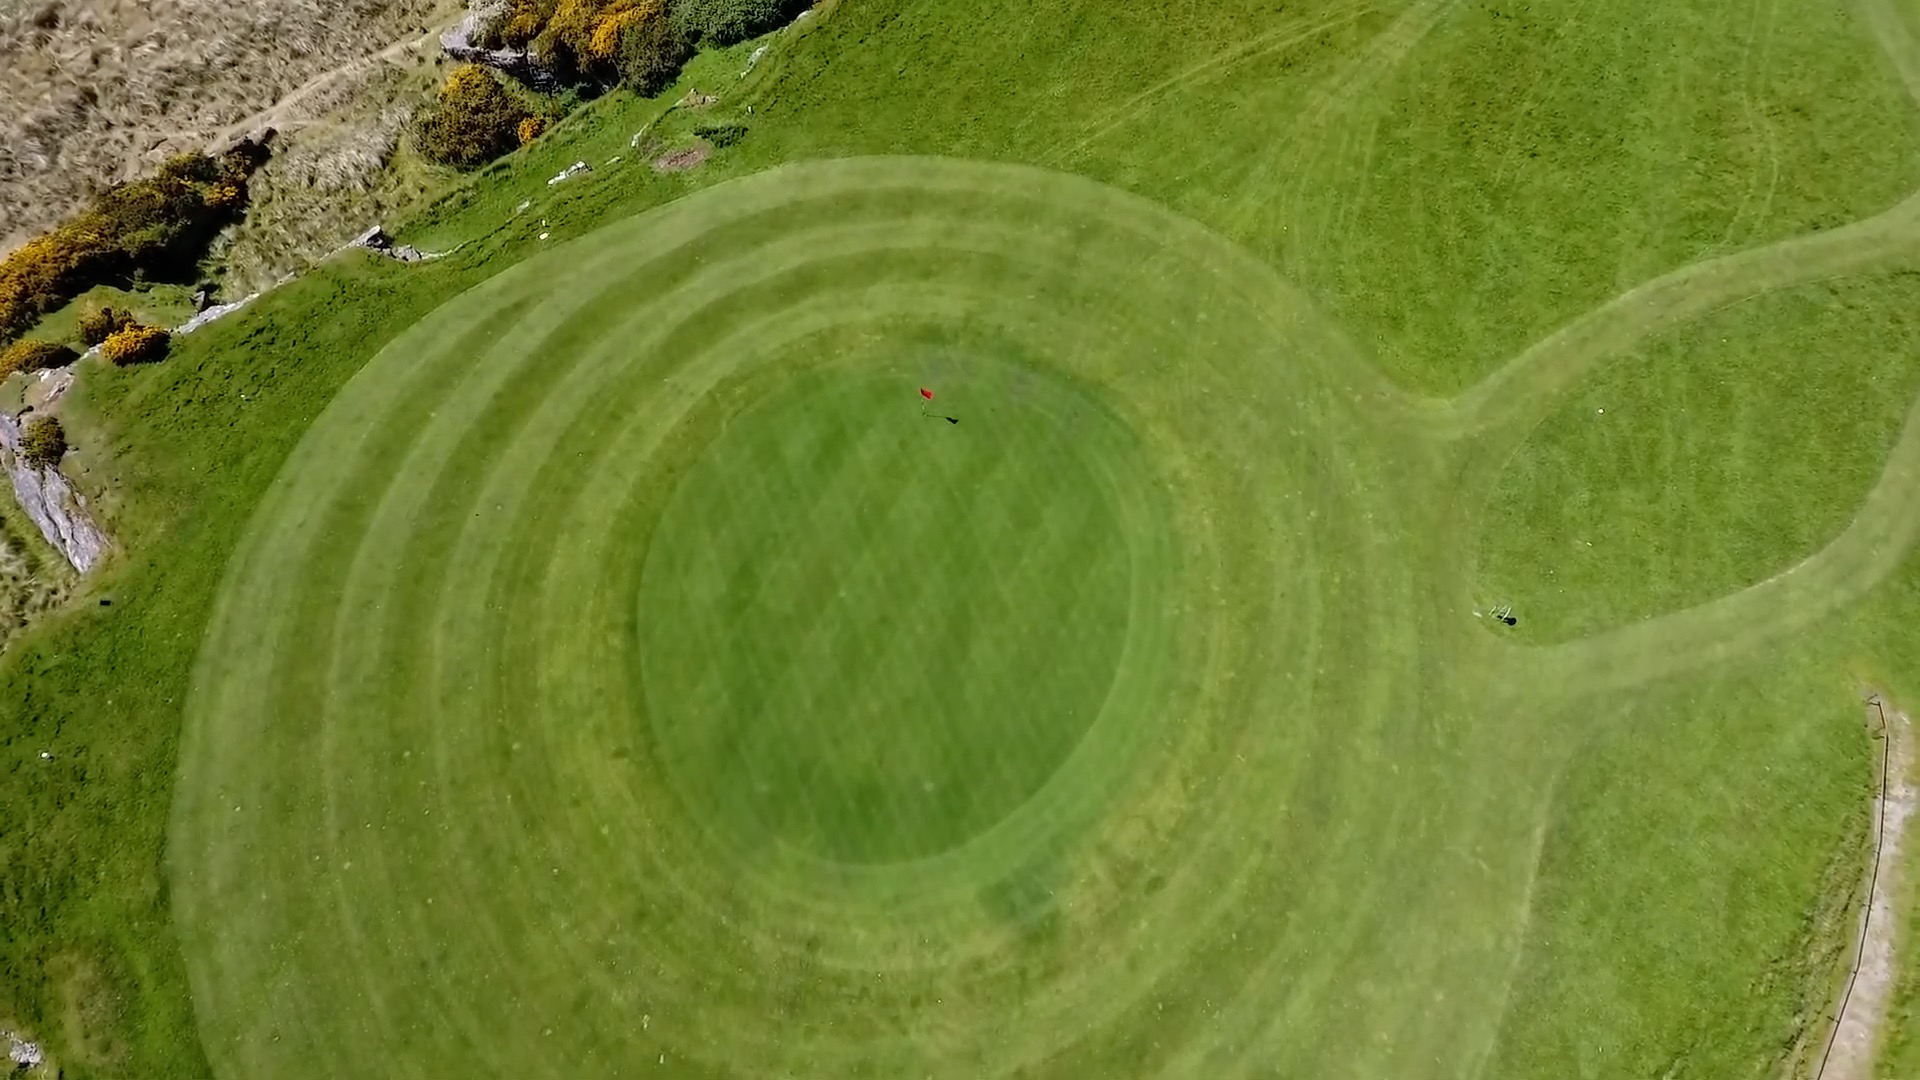
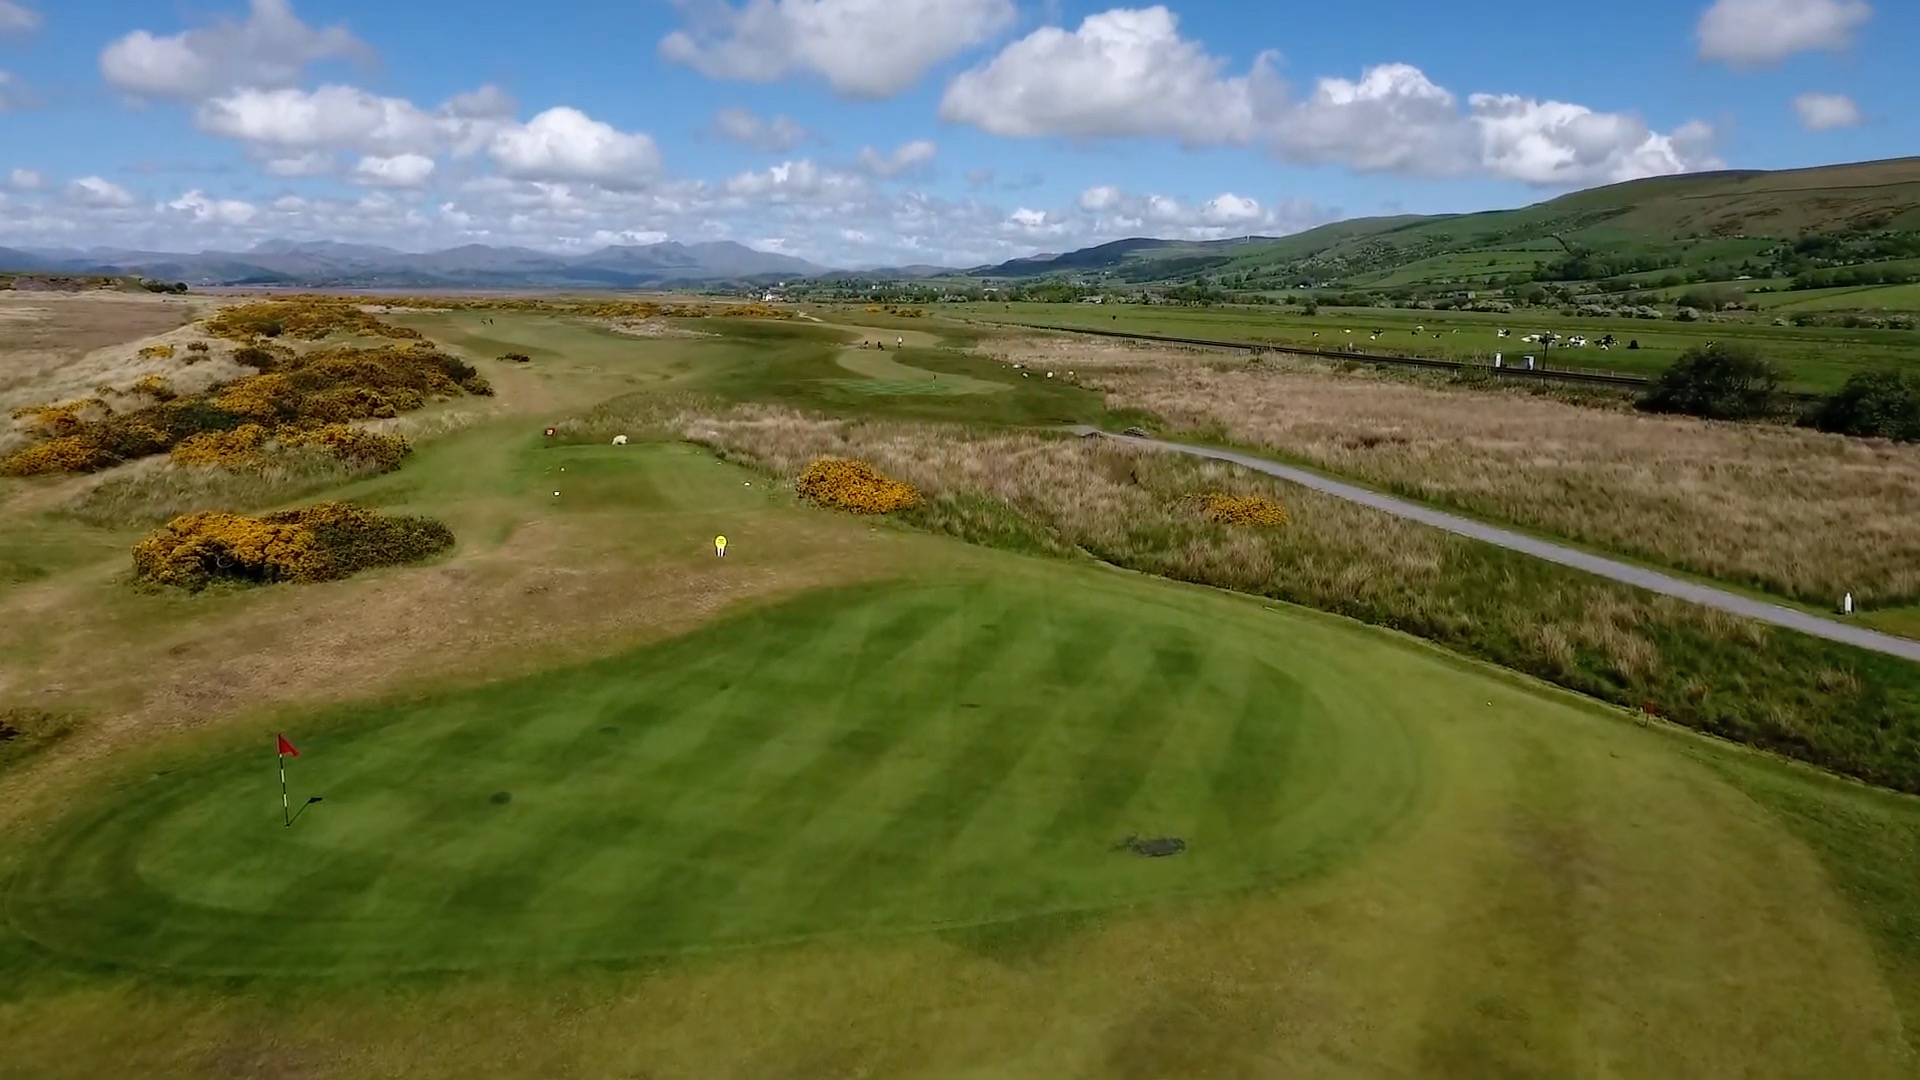
The signature par three plays up onto the top of Dunnerholme Rock itself — it’s challenging to get both distance and elevation right from the blind tee shot. 

The large green has no trouble around — you just need to focus on getting up! 

Enjoy the views from the top, as this hole is not revisited in an eighteen hole round.

View hole:  1   2   3   4   5   6   7   8   9  10  11  12  13  14  15  16  17  18  Map

Hole 7

Hole
Yards

Par 4 - SI 14

Yards

Par 4 - SI 14

Yards

Par 4 - SI 14

Notes for hole 7

A short par four with a dry stone wall passing very close to the front of the green.

Avoid the sea on the left with your drive and the gorse bounding the fifth green on your right.

The main choice is how close you want to be to the wall — or indeed if you want to risk going for the green.

View hole:  1   2   3   4   5   6   7   8   9  10  11  12  13  14  15  16  17  18  Map

Hole 8

Hole
Yards

Par 5 - SI 6

Yards

Par 5 - SI 6

Yards

Par 5 - SI 7

Notes for hole 8

One of the longest holes — a long straight drive with no real trouble, just rough to left and right. 

Mounds guard the fairway and green.

View hole:  1   2   3   4   5   6   7   8   9  10  11  12  13  14  15  16  17  18  Map

Hole 9

Hole
Yards

Par 4 - SI 5

Yards

Par 4 - SI 5

Yards

Par 4 - SI 2

Notes for hole 9

The decision from the tee is whether to risk flying the stream crossing the fairway. 

There is heavy rough on both sides of the hole. 

A bank to the sides and rear of the green can both help and hinder.

View hole:  1   2   3   4   5   6   7   8   9  10  11  12  13  14  15  16  17  18  Map

Hole 10

Hole
Yards

Par 4 - SI 17

Yards

Par 4 - SI 17

Yards

Par 4 - SI 15

Notes for hole 10

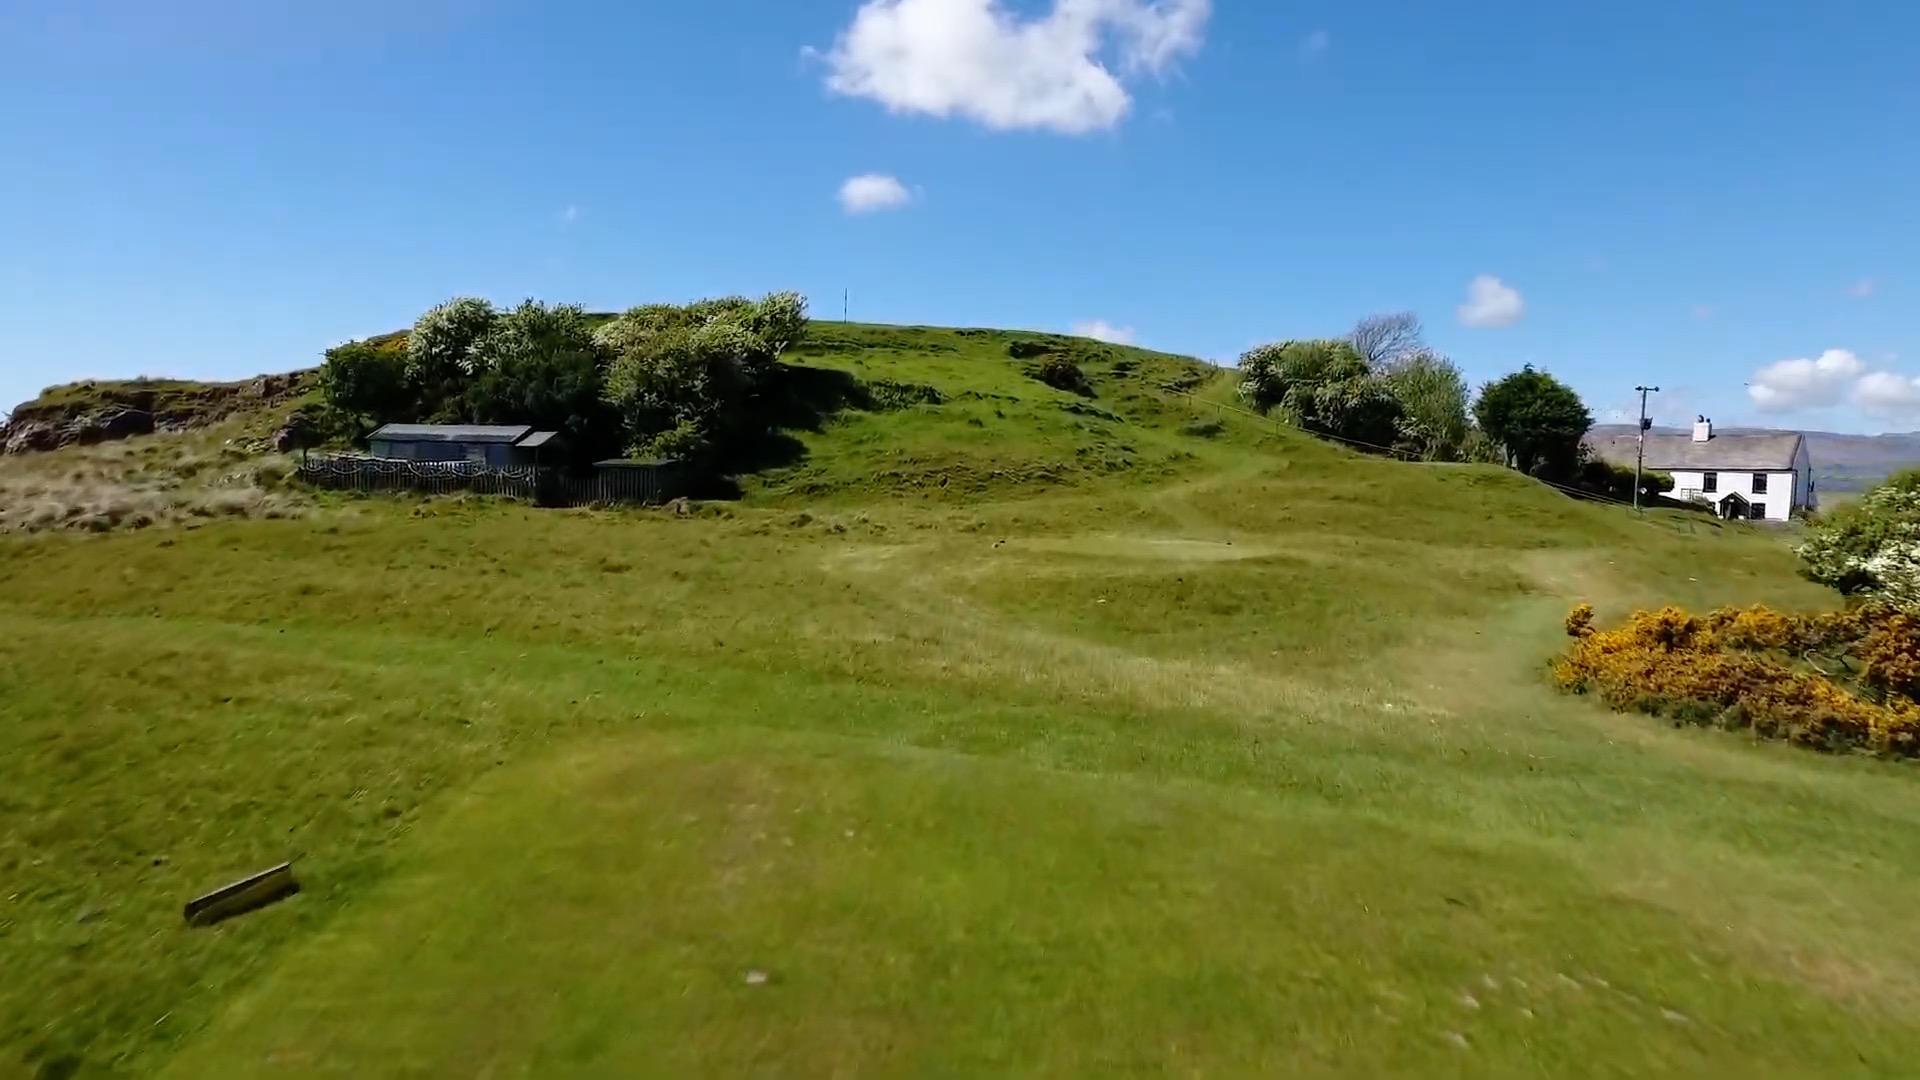
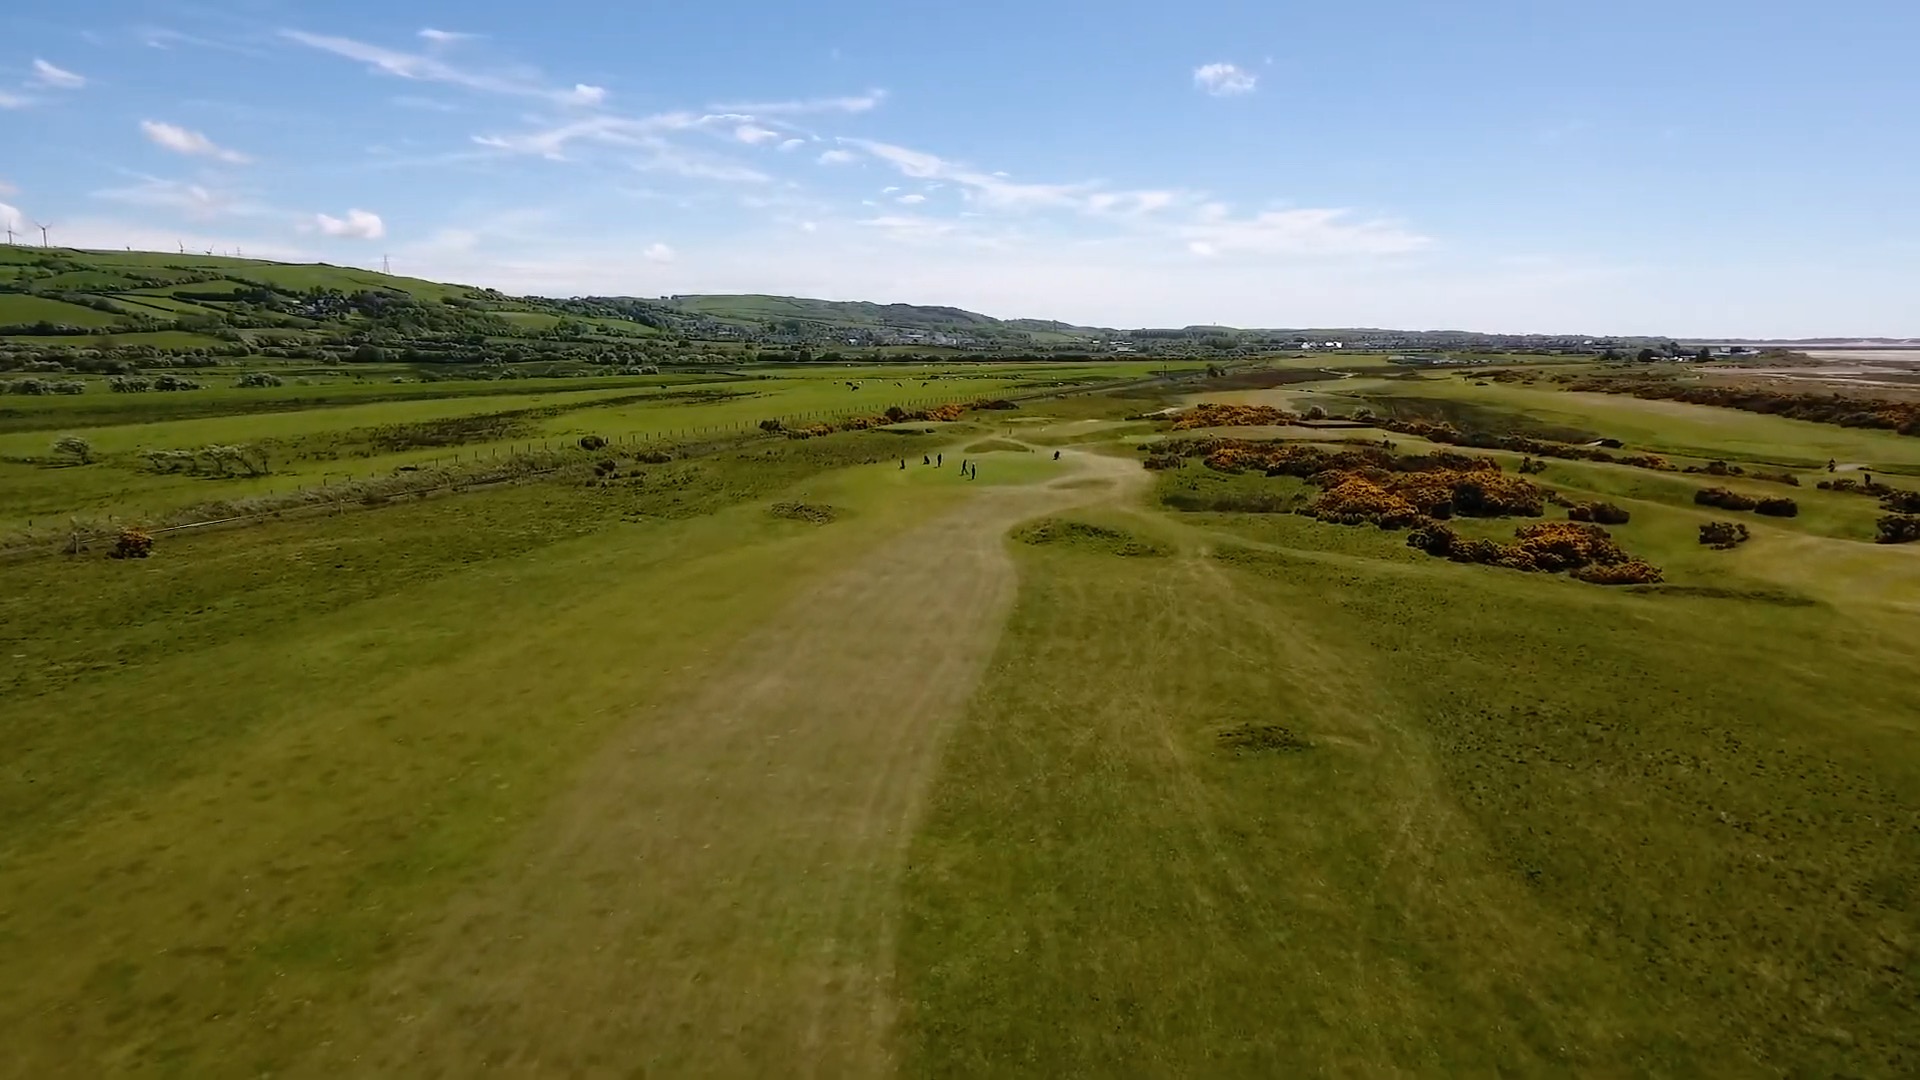
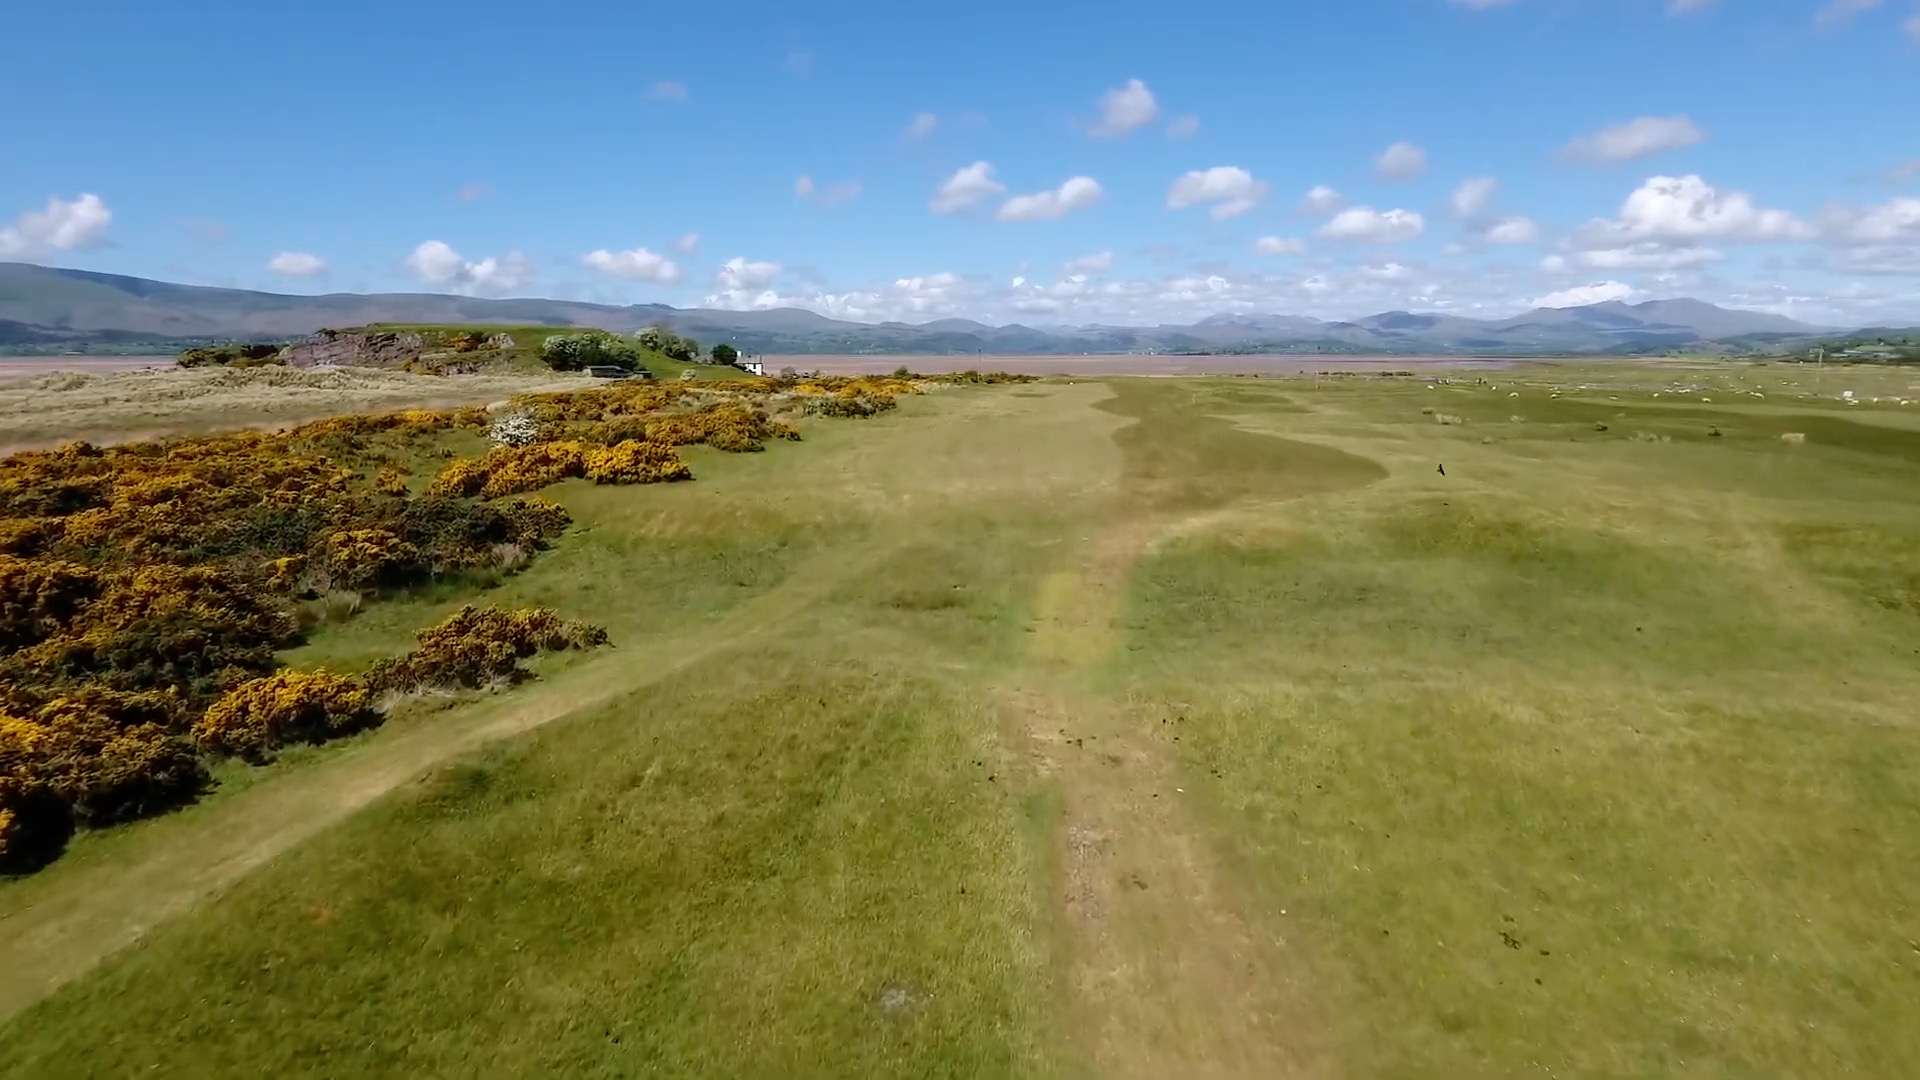
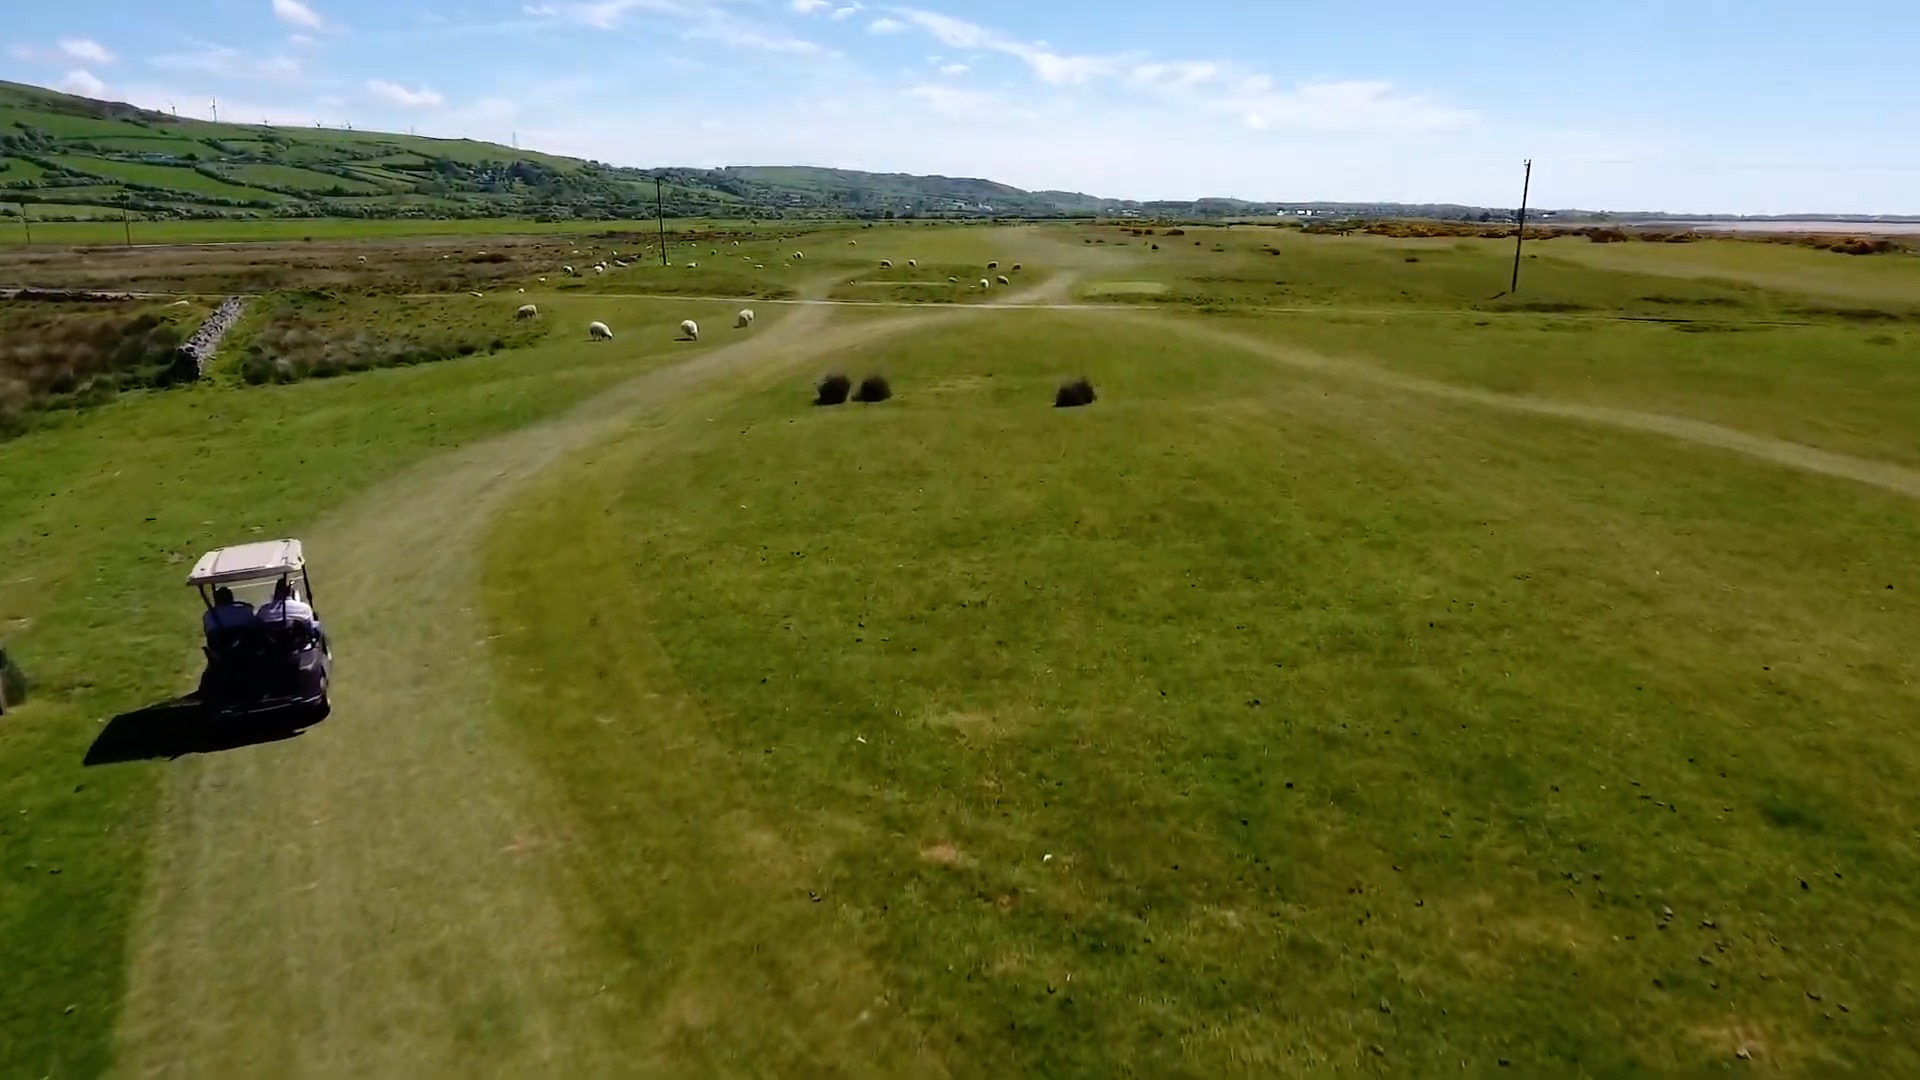
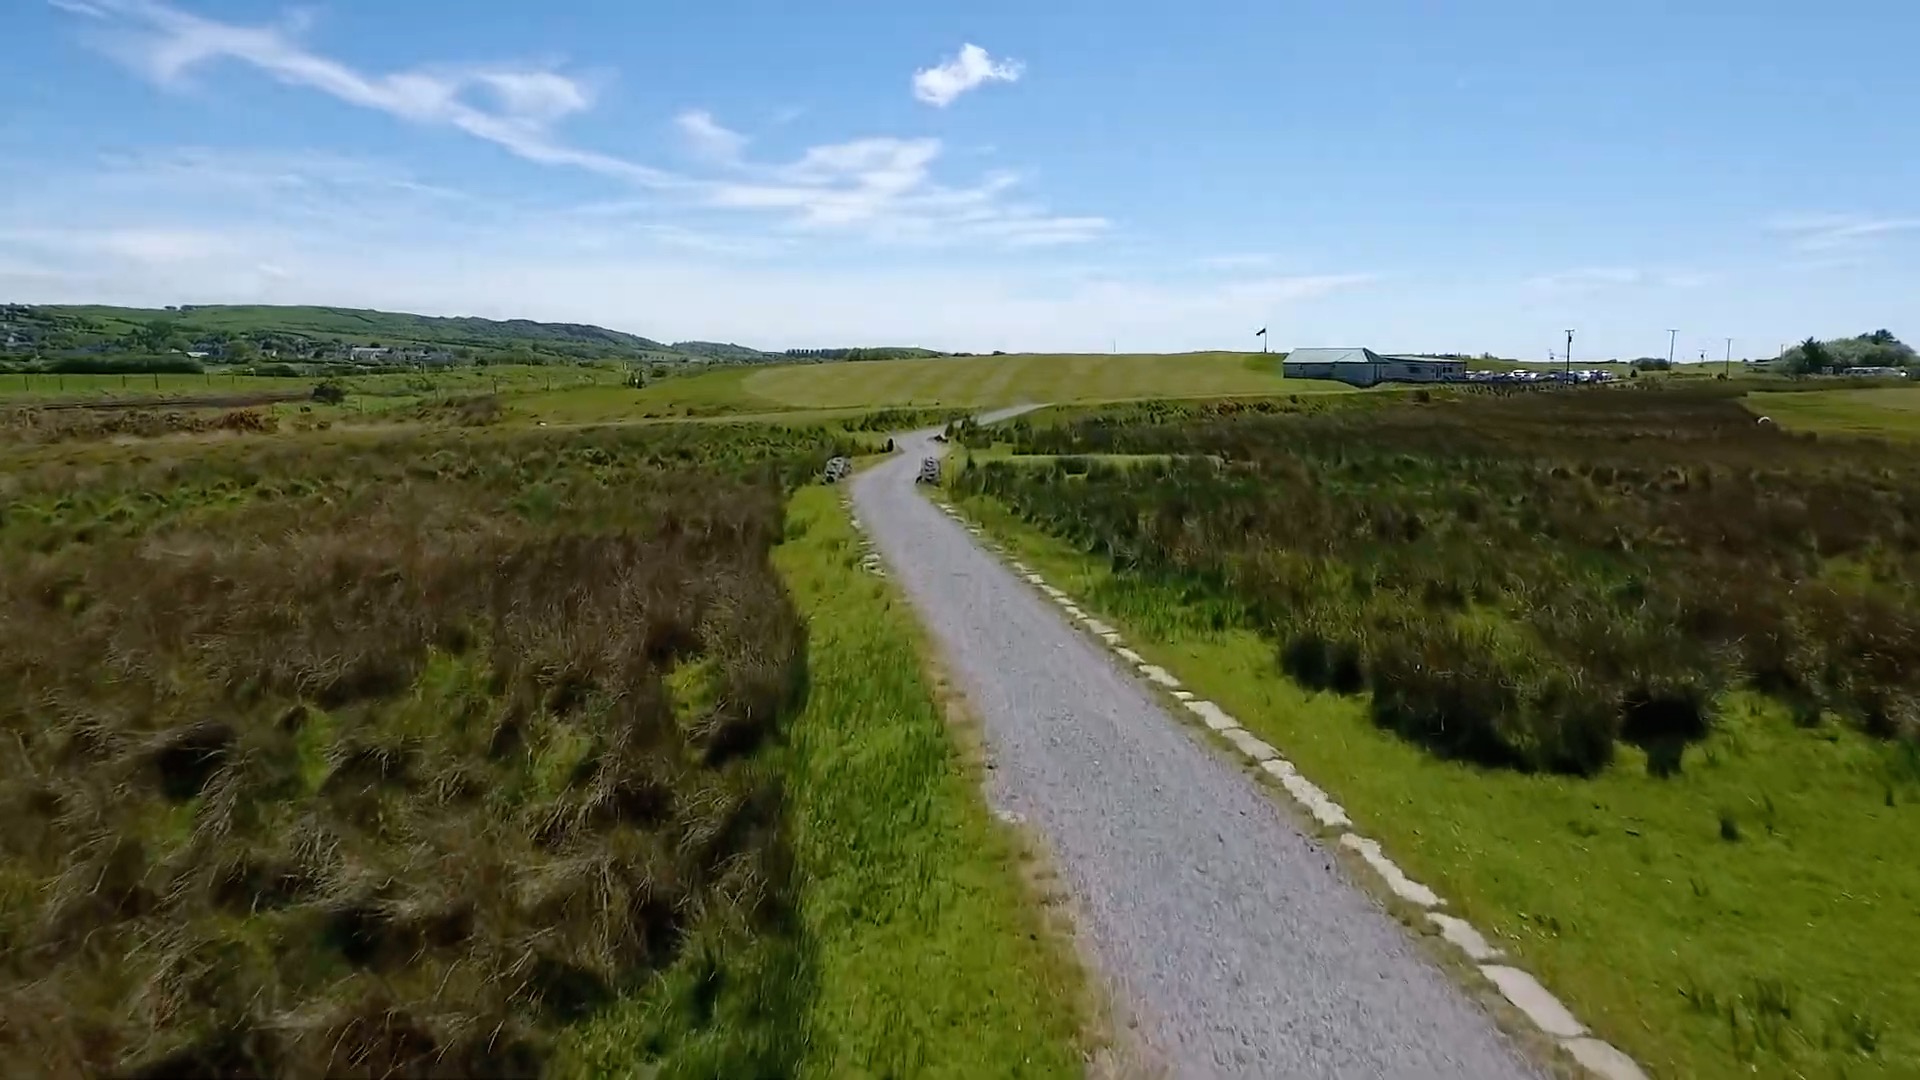
A short par four with a hill hiding the green — play it safe and leave a second shot from the top of the hill or risk the unpredictable landing over the hill.

View hole:  1   2   3   4   5   6   7   8   9  10  11  12  13  14  15  16  17  18  Map

Hole 11

Hole
Yards

Par 4 - SI 12

Yards

Par 4 - SI 12

Yards

Par 4 - SI 9

Notes for hole 11

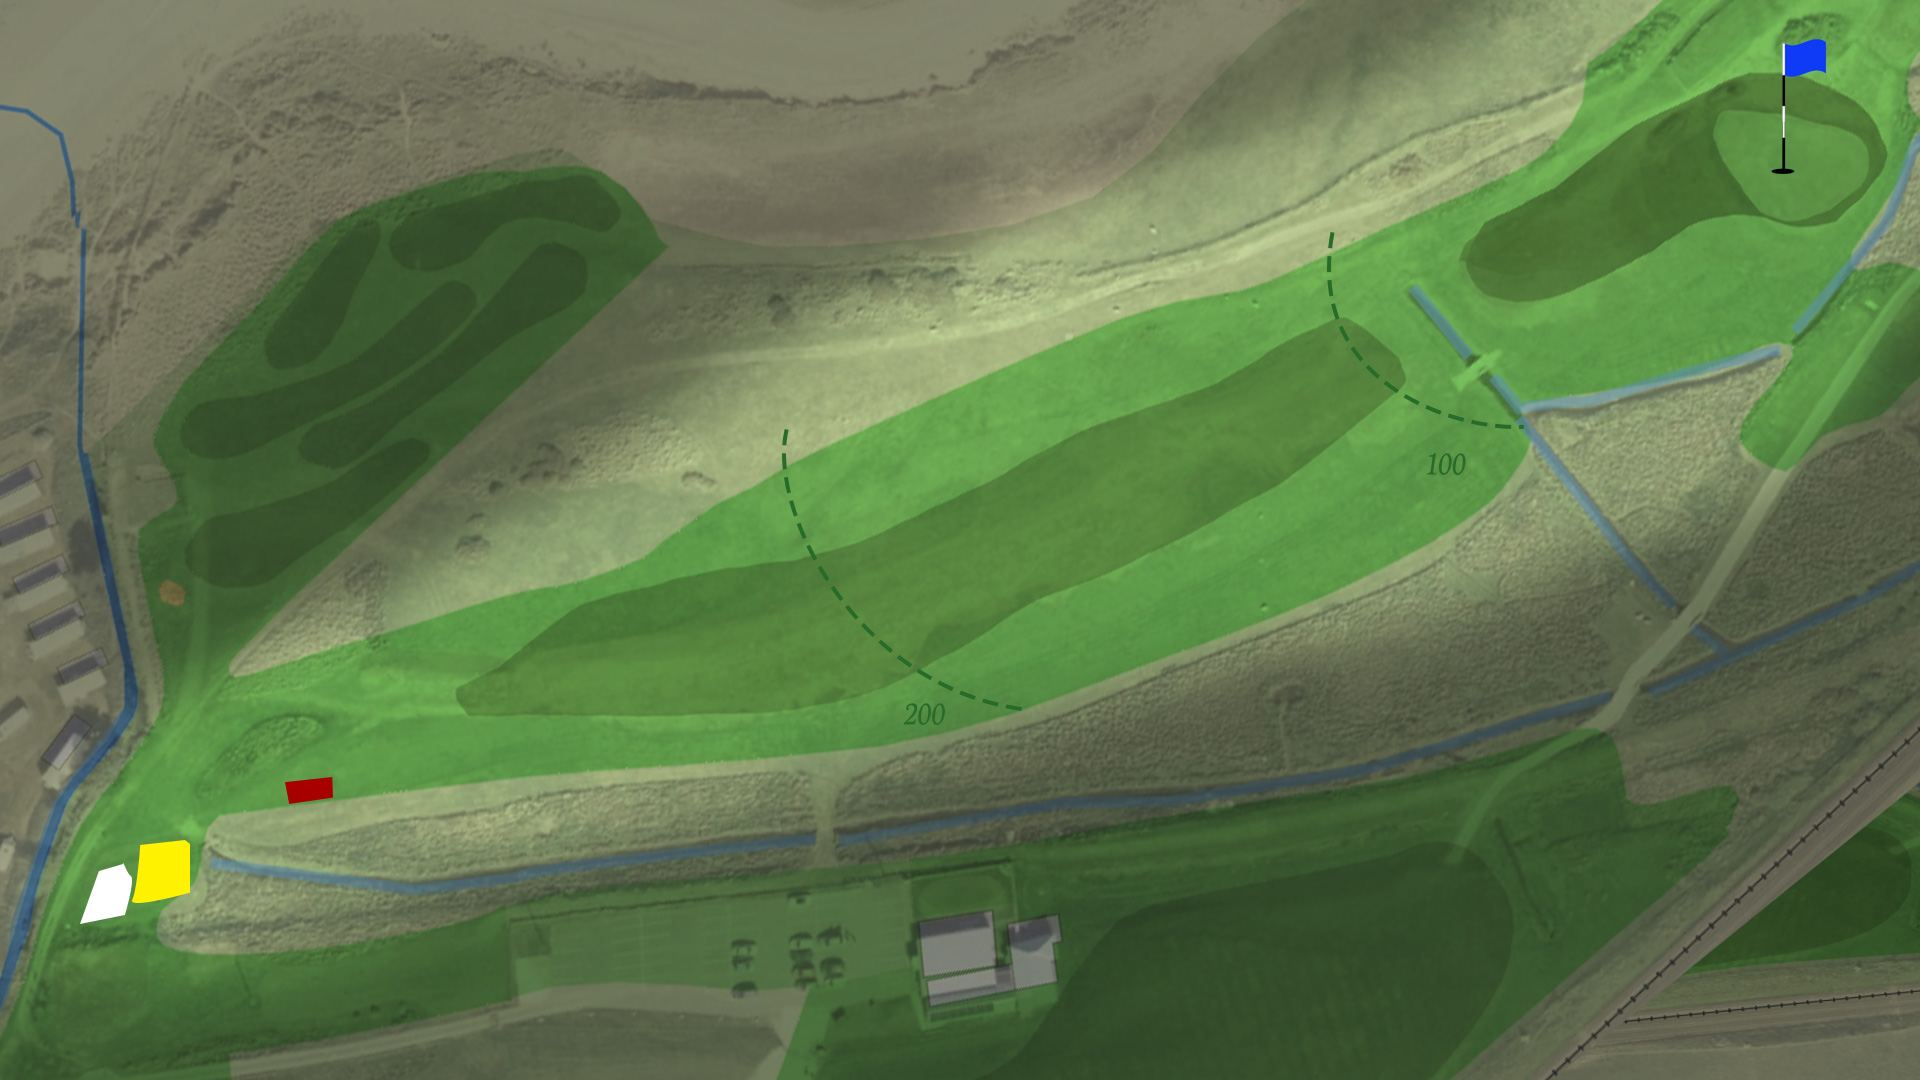
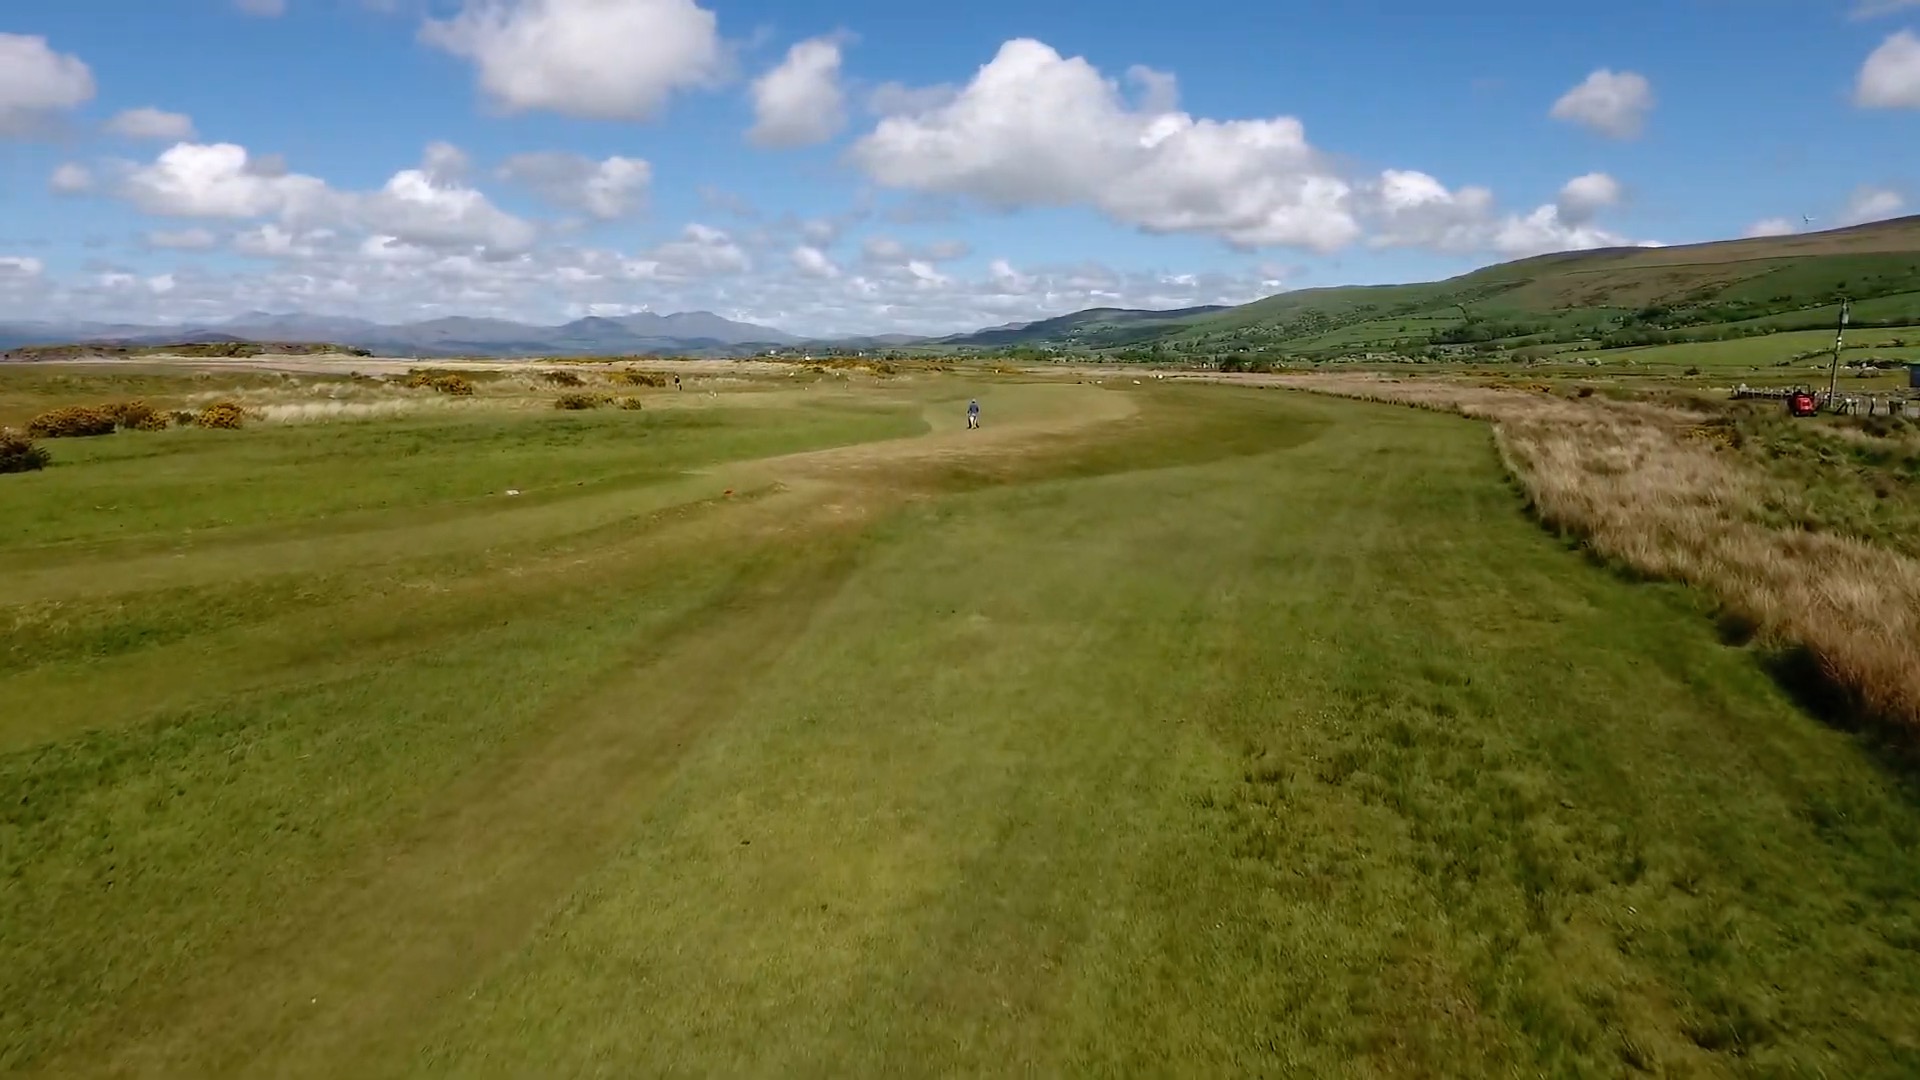
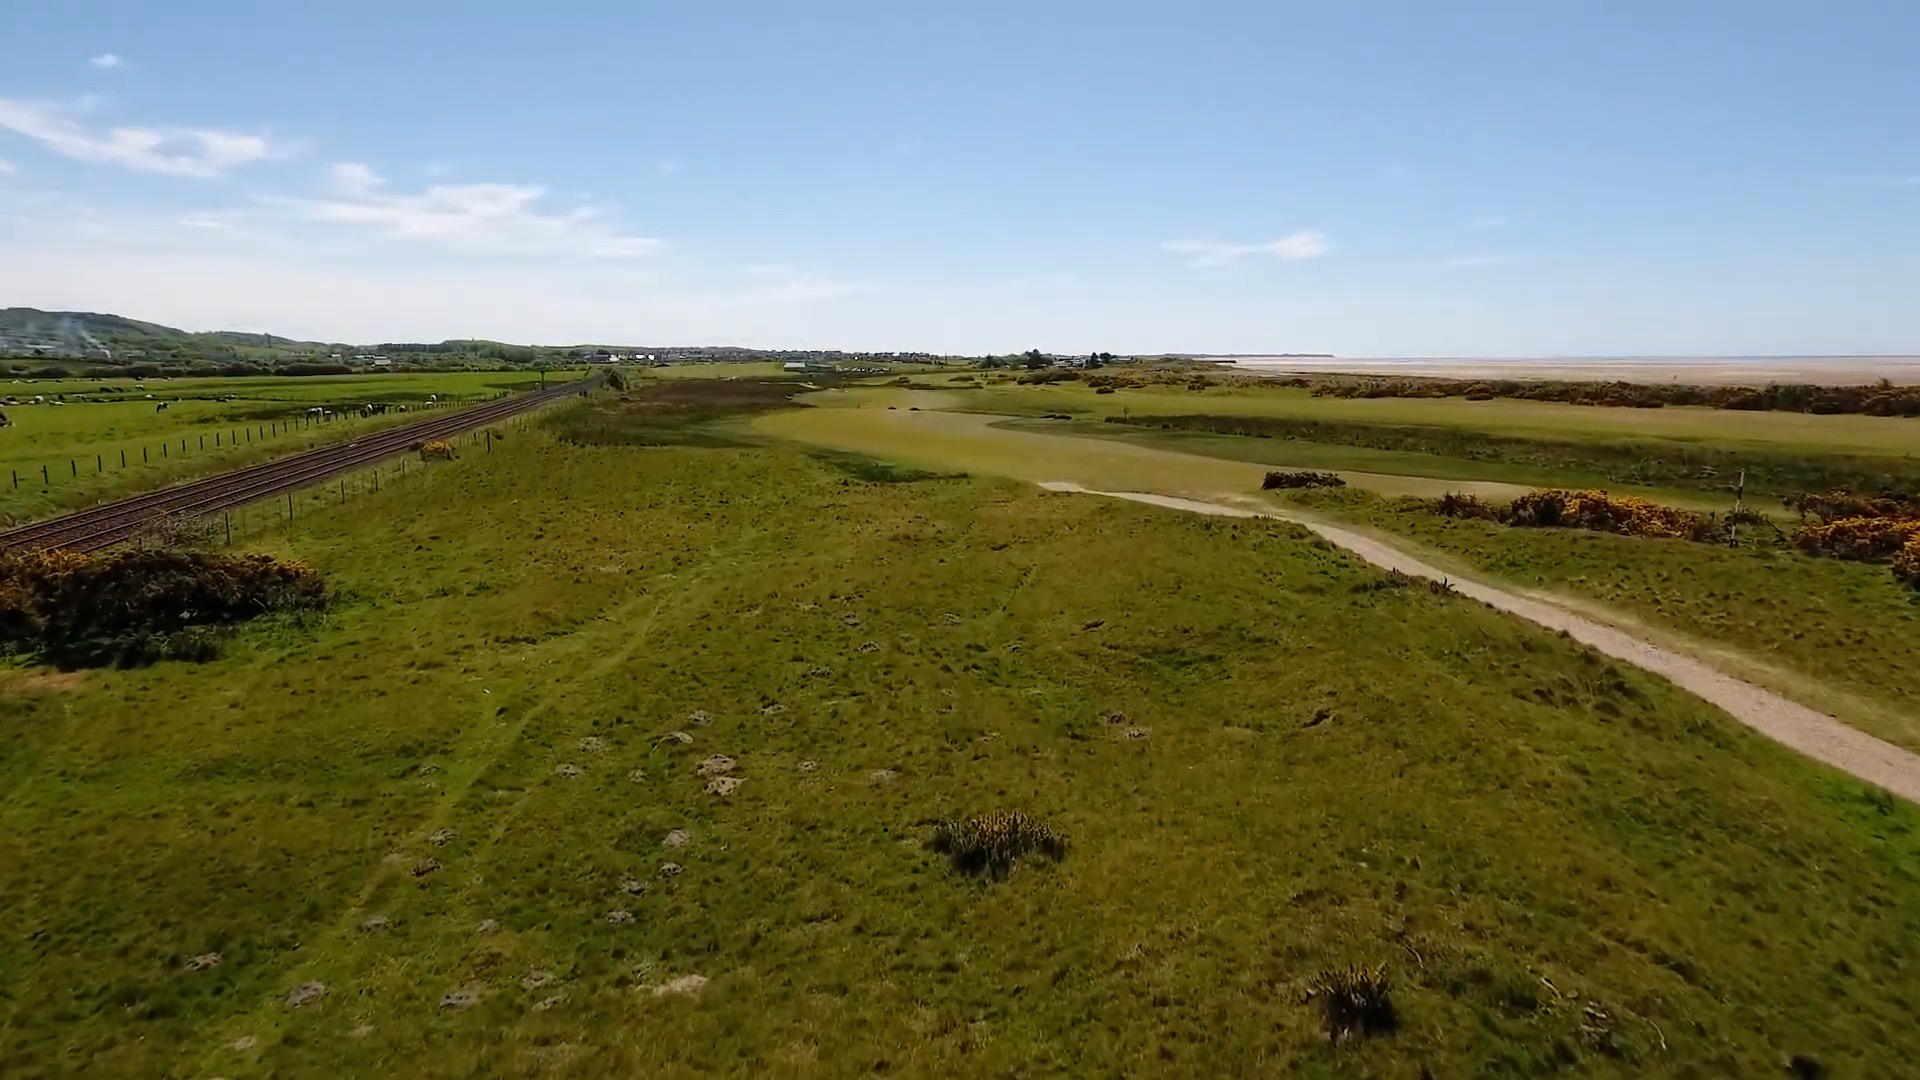
The change of tee completely changes this hole from the 1st — the drive now risks the stream all the way down the left, and a misplaced shot rolling out of bounds on the right.

View hole:  1   2   3   4   5   6   7   8   9  10  11  12  13  14  15  16  17  18  Map

Hole 12

Hole
Yards

Par 4 - SI 7

Yards

Par 4 - SI 7

Yards

Par 4 - SI 11

Notes for hole 12

The tee makes this hole more of a dog leg, with the decision how far to risk hitting up the fairway playing directly towards the rough.

View hole:  1   2   3   4   5   6   7   8   9  10  11  12  13  14  15  16  17  18  Map

Hole 13

Hole
Yards

Par 5 - SI 11

Yards

Par 5 - SI 11

Yards

Par 4 - SI 1

Notes for hole 13

This hole is a par five this time. 

The gorse is more in play from the drive and can intimidate you into a mistake — there should be room to aim to the right without going too far towards the stream. 

You can lay up with your second shot before the stream, leaving a simple wedge into the green.

View hole:  1   2   3   4   5   6   7   8   9  10  11  12  13  14  15  16  17  18  Map

Hole 14

Hole
Yards

Par 3 - SI 18

Yards

Par 3 - SI 18

Yards

Par 3 - SI 17

Notes for hole 14

A change of angle brings a different approach to the undulating slopes on the green.

View hole:  1   2   3   4   5   6   7   8   9  10  11  12  13  14  15  16  17  18  Map

Hole 15

Hole
Yards

Par 4 - SI 2

Yards

Par 4 - SI 2

Yards

Par 4 - SI 5

Notes for hole 15

Another intimidating drive over gorse, but plenty of room down the right, still leaving a tricky shot over the road.

View hole:  1   2   3   4   5   6   7   8   9  10  11  12  13  14  15  16  17  18  Map

Hole 16

Hole
Yards

Par 5 - SI 9

Yards

Par 5 - SI 9

Yards

Par 5 - SI 6

Notes for hole 16

This is the longest hole the second time around. Good drives, fairway woods and a wedge shot usually required to reach the green.

View hole:  1   2   3   4   5   6   7   8   9  10  11  12  13  14  15  16  17  18  Map

Hole 17

Hole
Yards

Par 4 - SI 4

Yards

Par 4 - SI 4

Yards

Par 4 - SI 8

Notes for hole 17

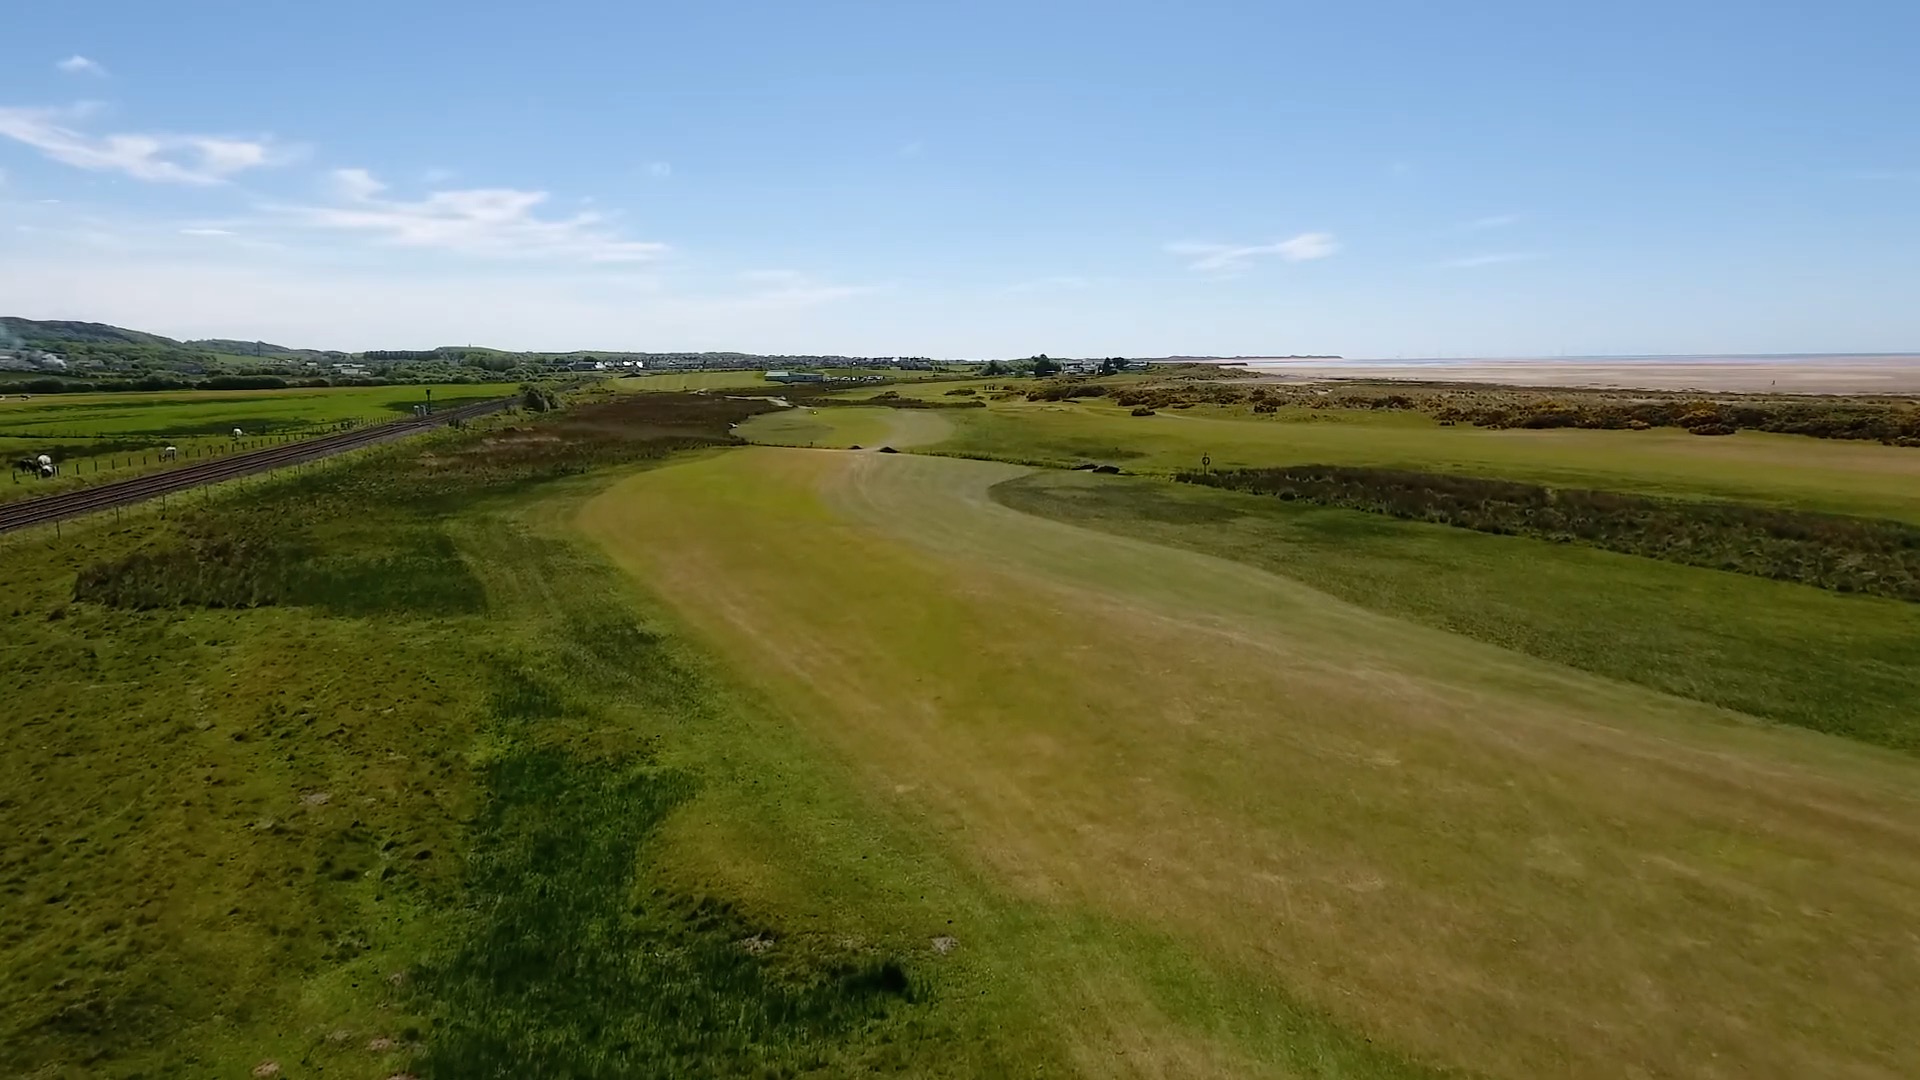
Another change of angle which makes the landing area seem more difficult to hit, requiring a good, accurate iron from the tee or a very long drive to carry the stream.

View hole:  1   2   3   4   5   6   7   8   9  10  11  12  13  14  15  16  17  18  Map

Hole 18

Hole
Yards

Par 4 - SI 16

Yards

Par 4 - SI 16

Yards

Par 4 - SI 16

Notes for hole 18

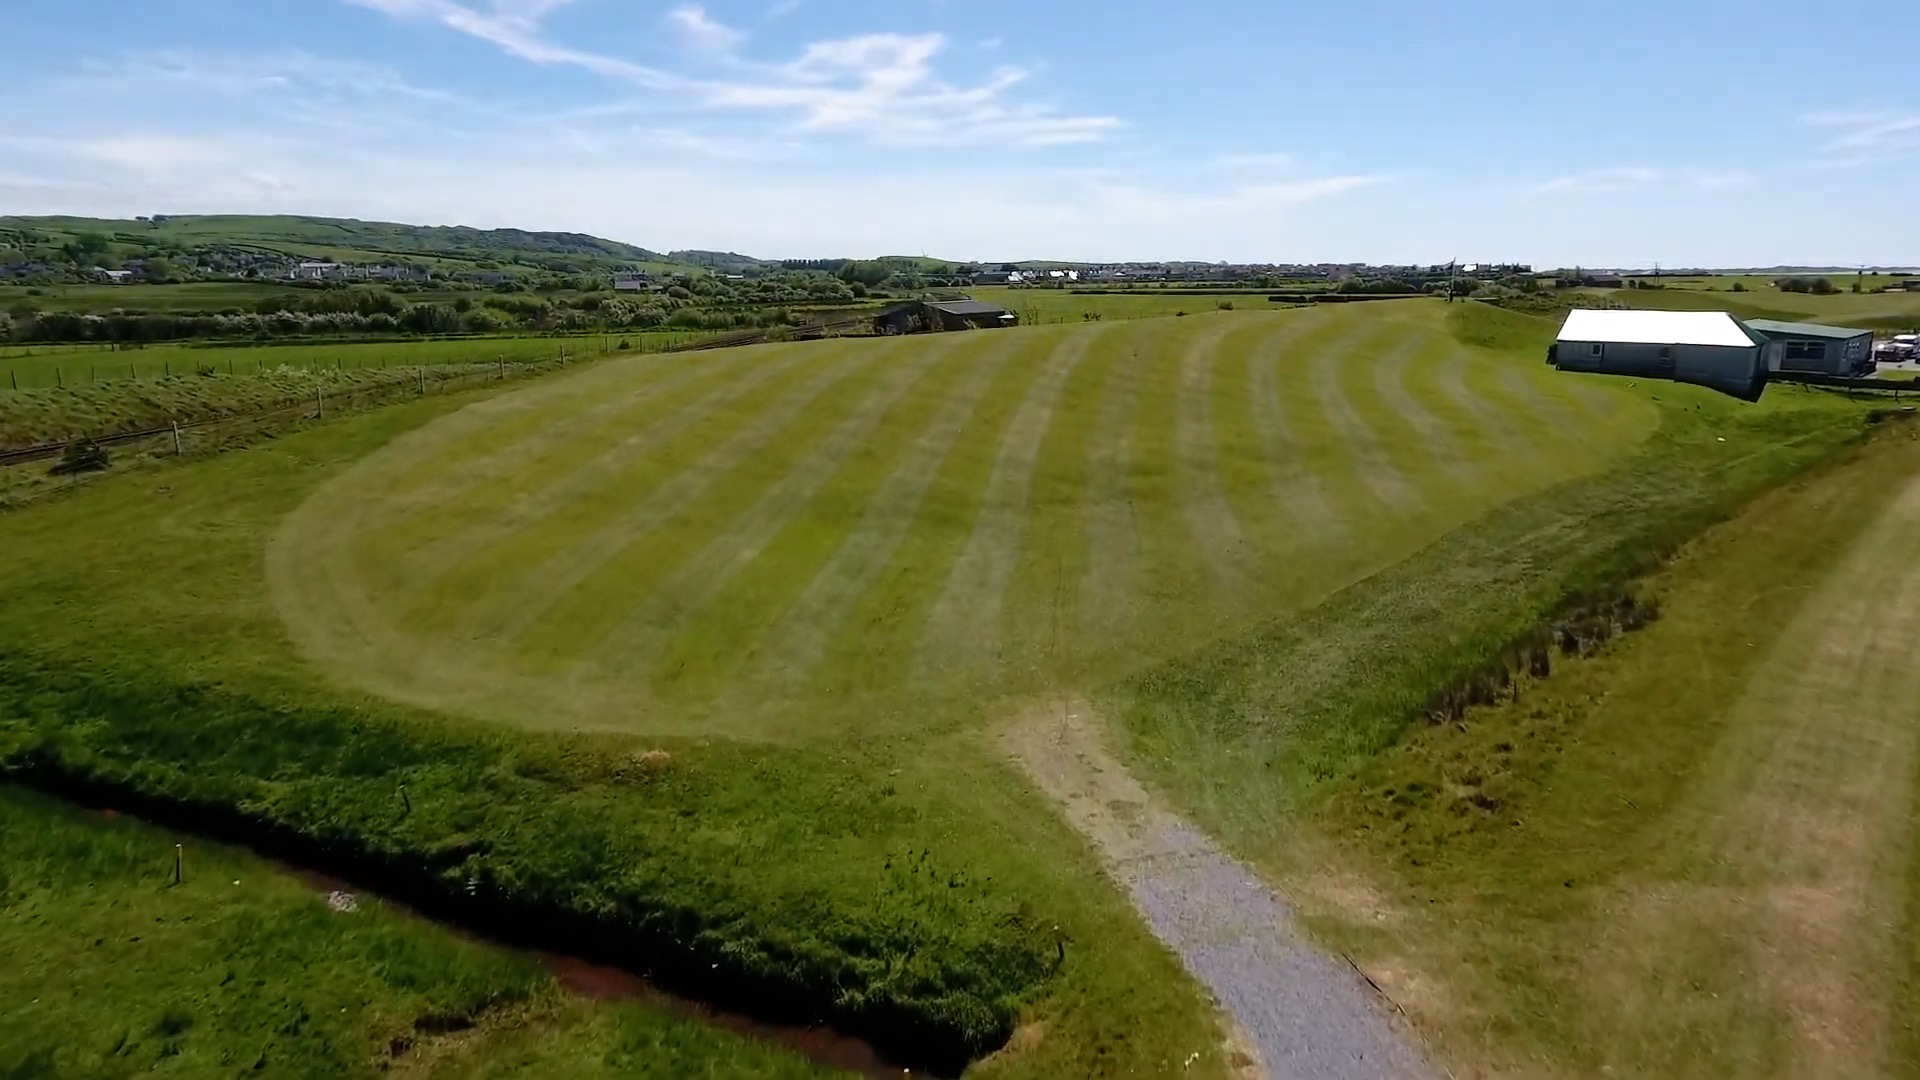
A slightly longer hole may make the decision to lay up on top of the hill easier. 

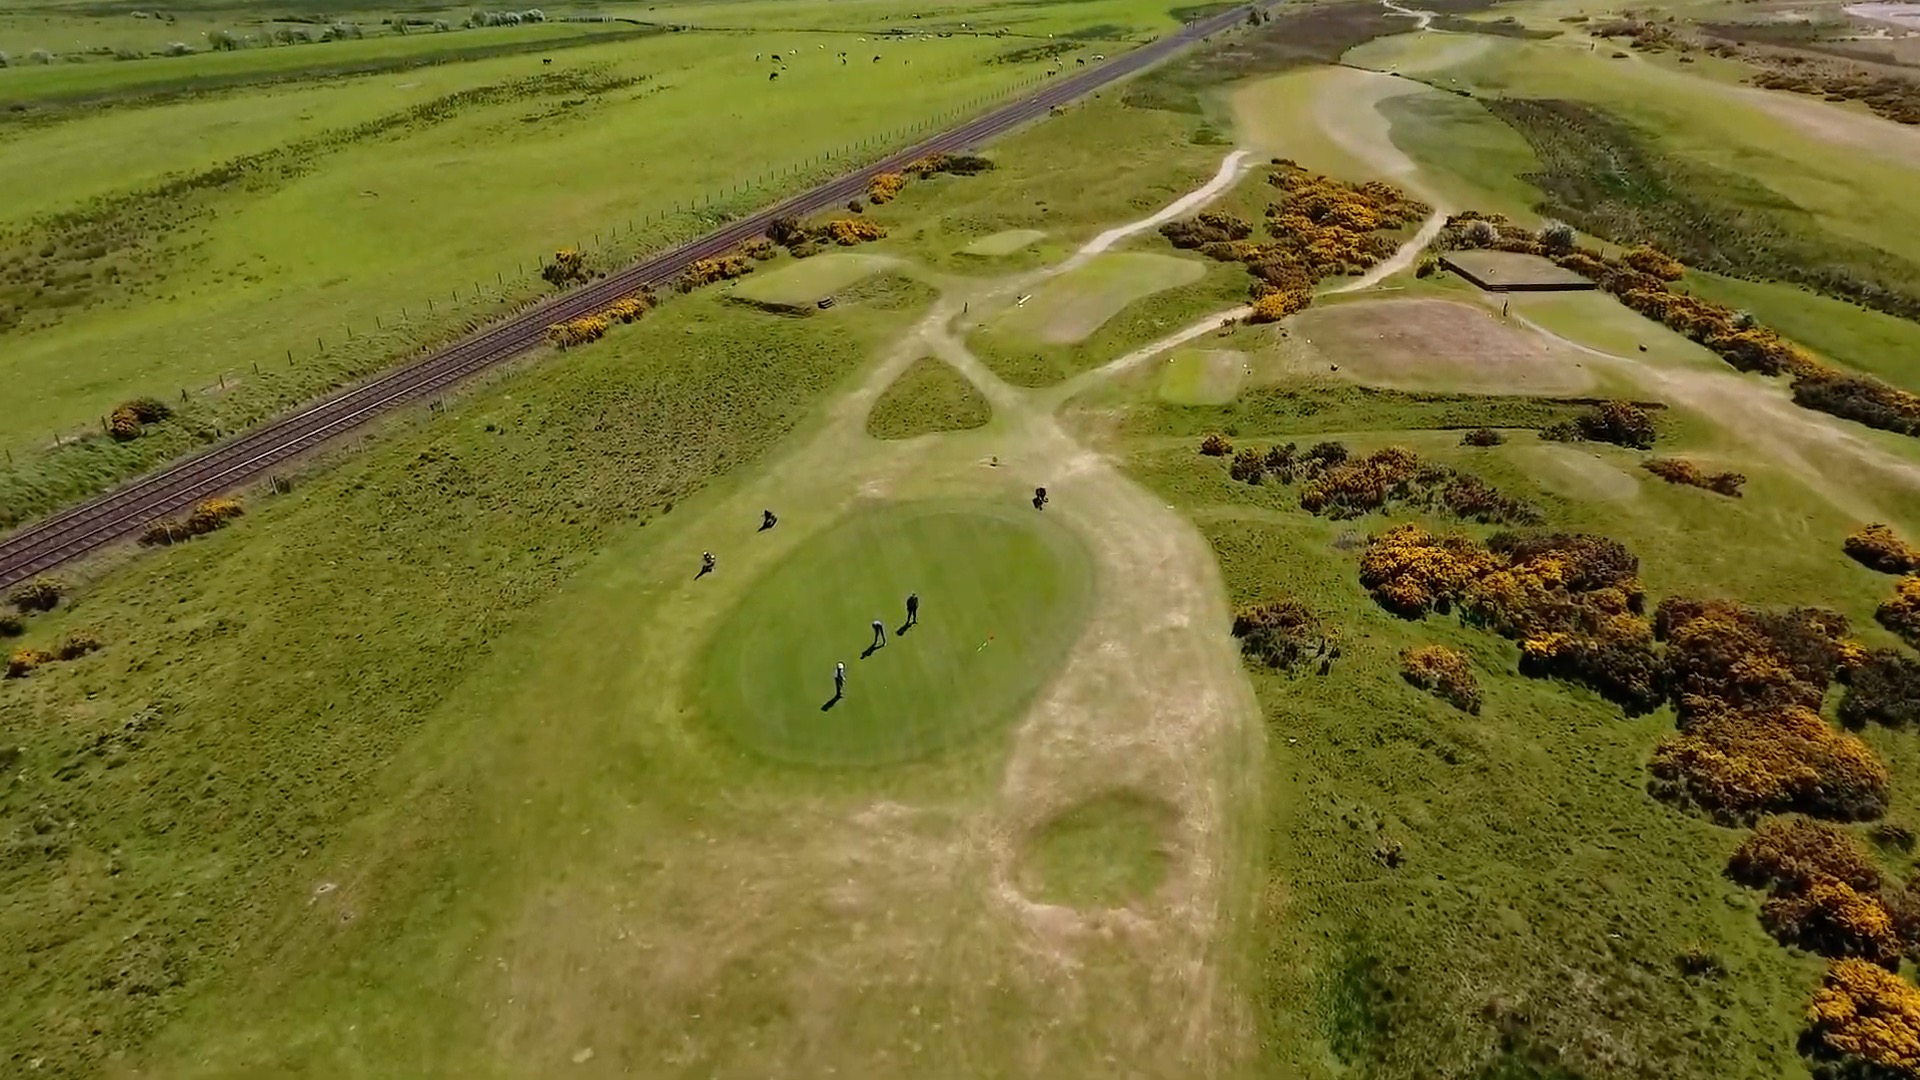
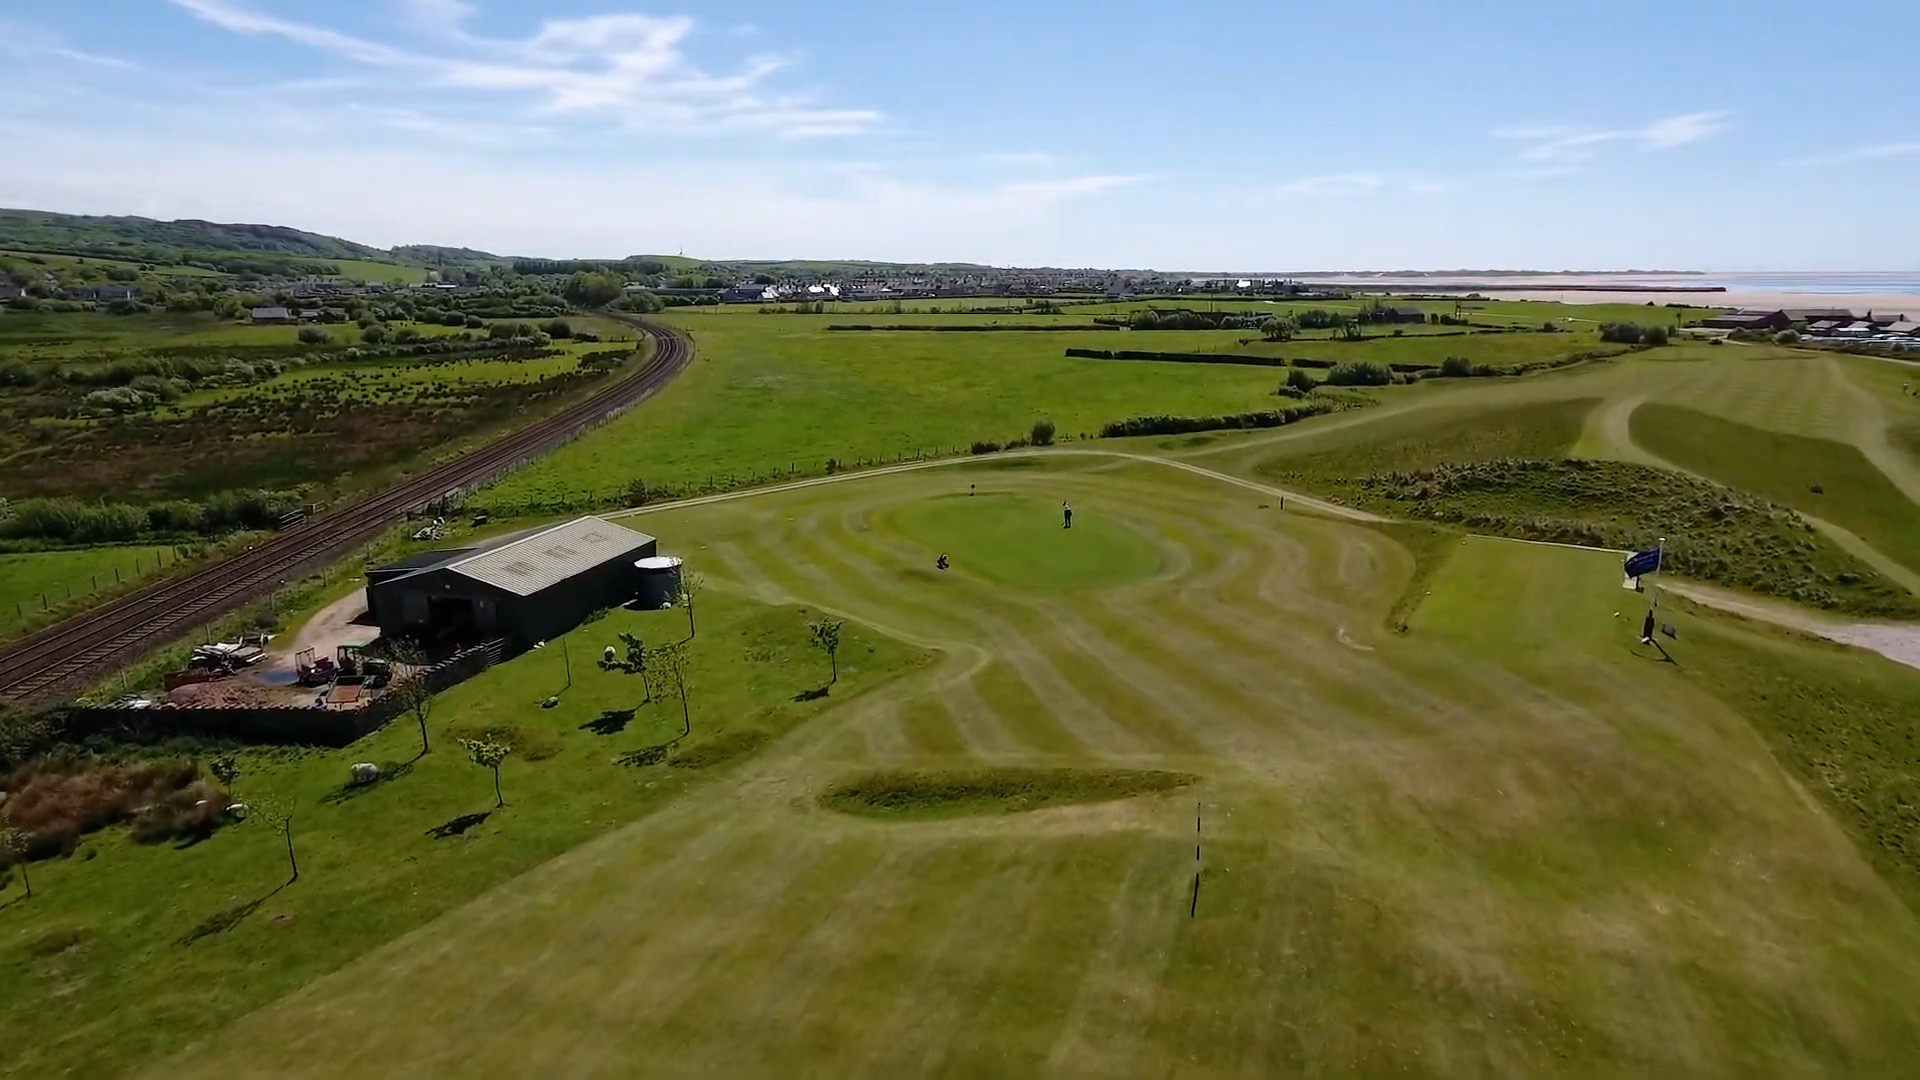
If you do go for it, there is a lot of trouble to the left, with the railway and greenkeeper’s sheds out of bounds — the clubhouse to the right is also out of bounds. 

Straight drives required!

View hole:  1   2   3   4   5   6   7   8   9  10  11  12  13  14  15  16  17  18  Map