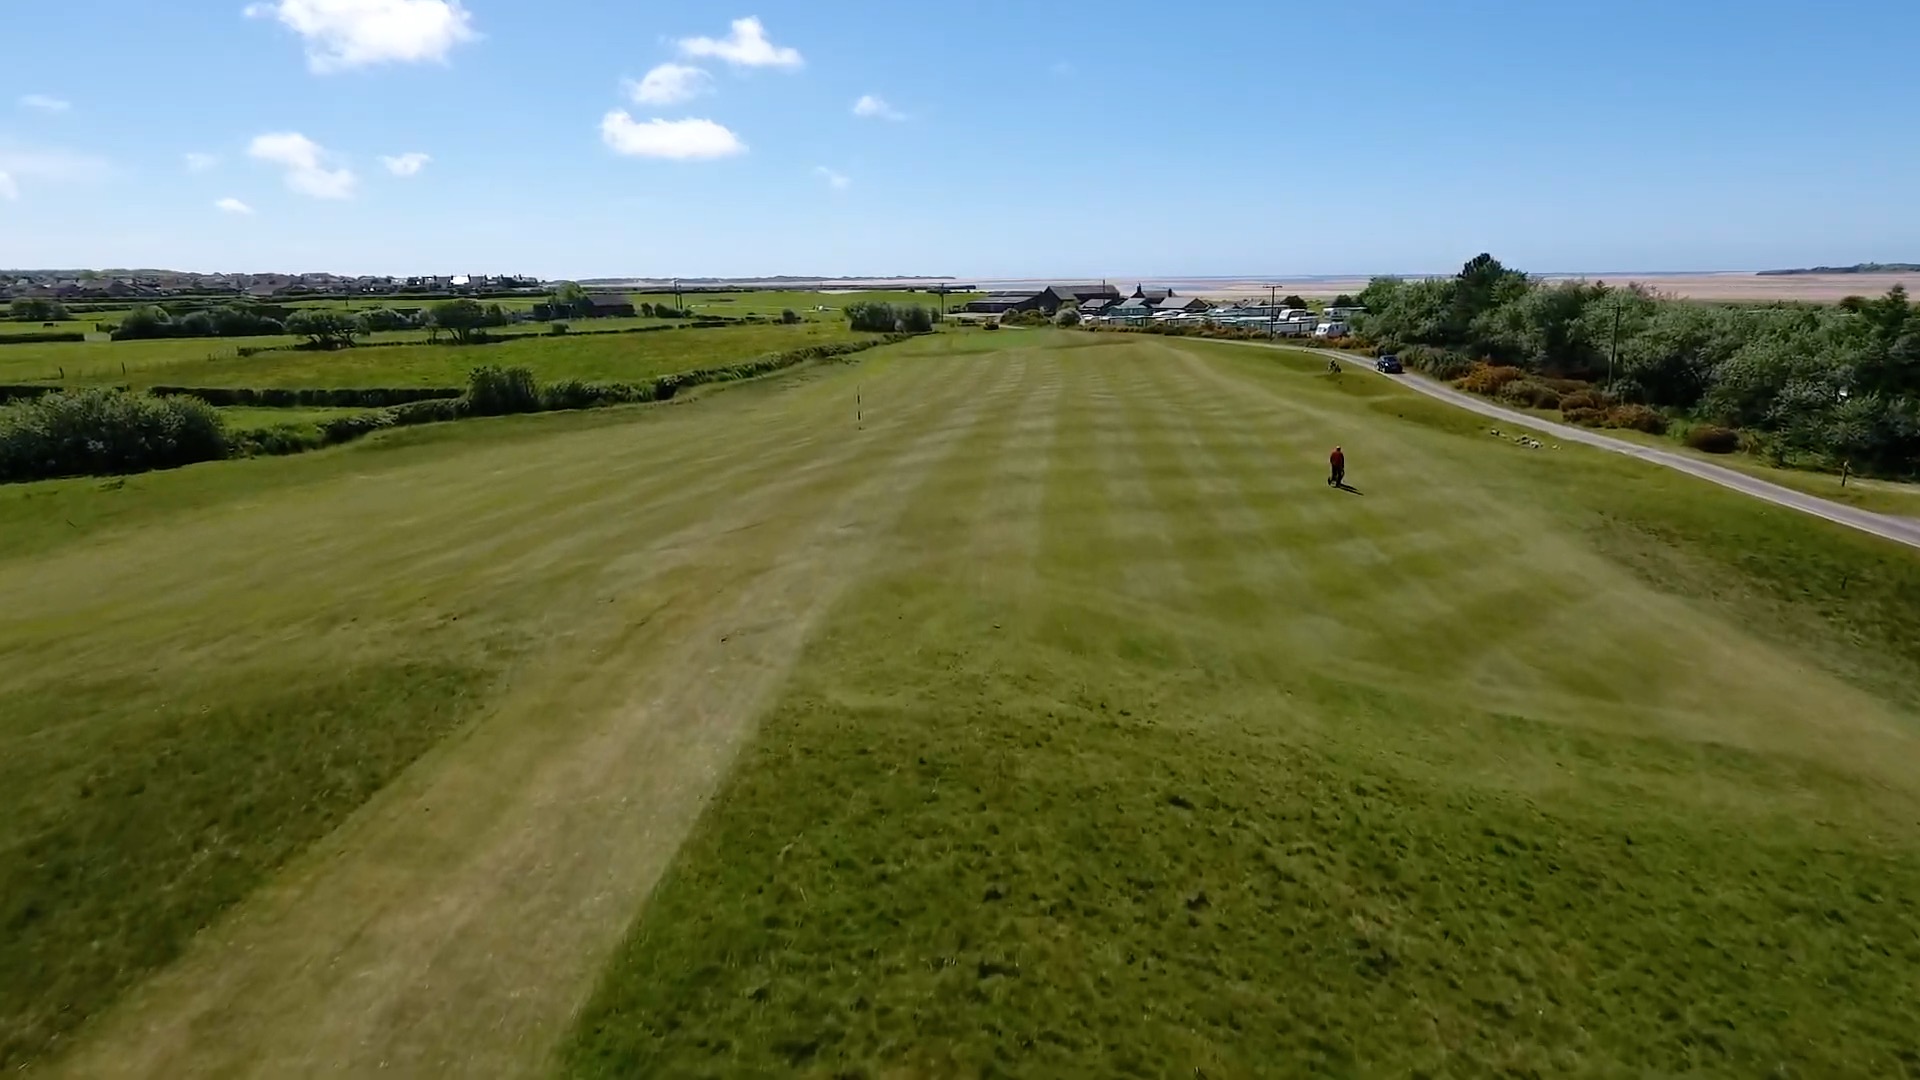
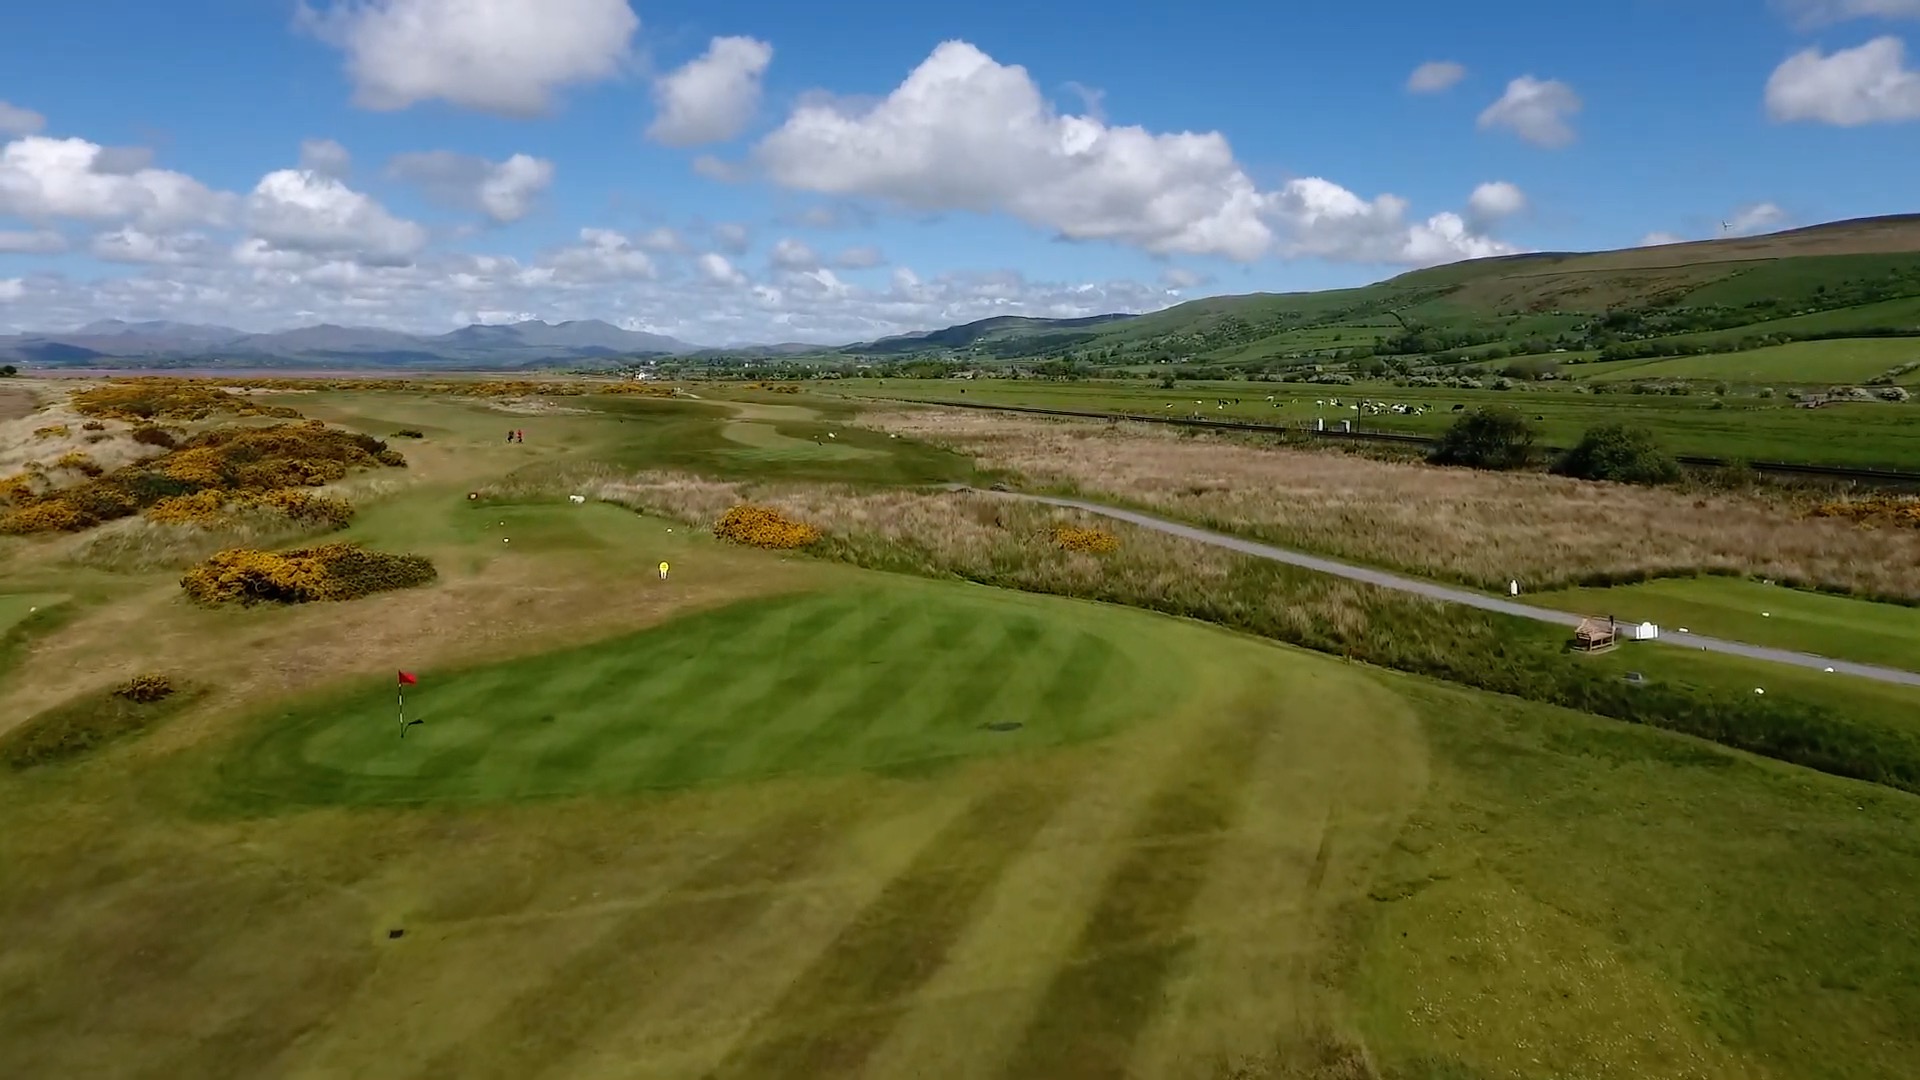
Drive from the raised area to a slight hogs back fairway that can take a ball towards the rough. Avoid the out of bounds on the right and the stream on the left. The stream can also punish a wayward second shot to the green where two mounds at the front can make judging the shot a little deceptive. It’s a relatively easy start to get the round underway…
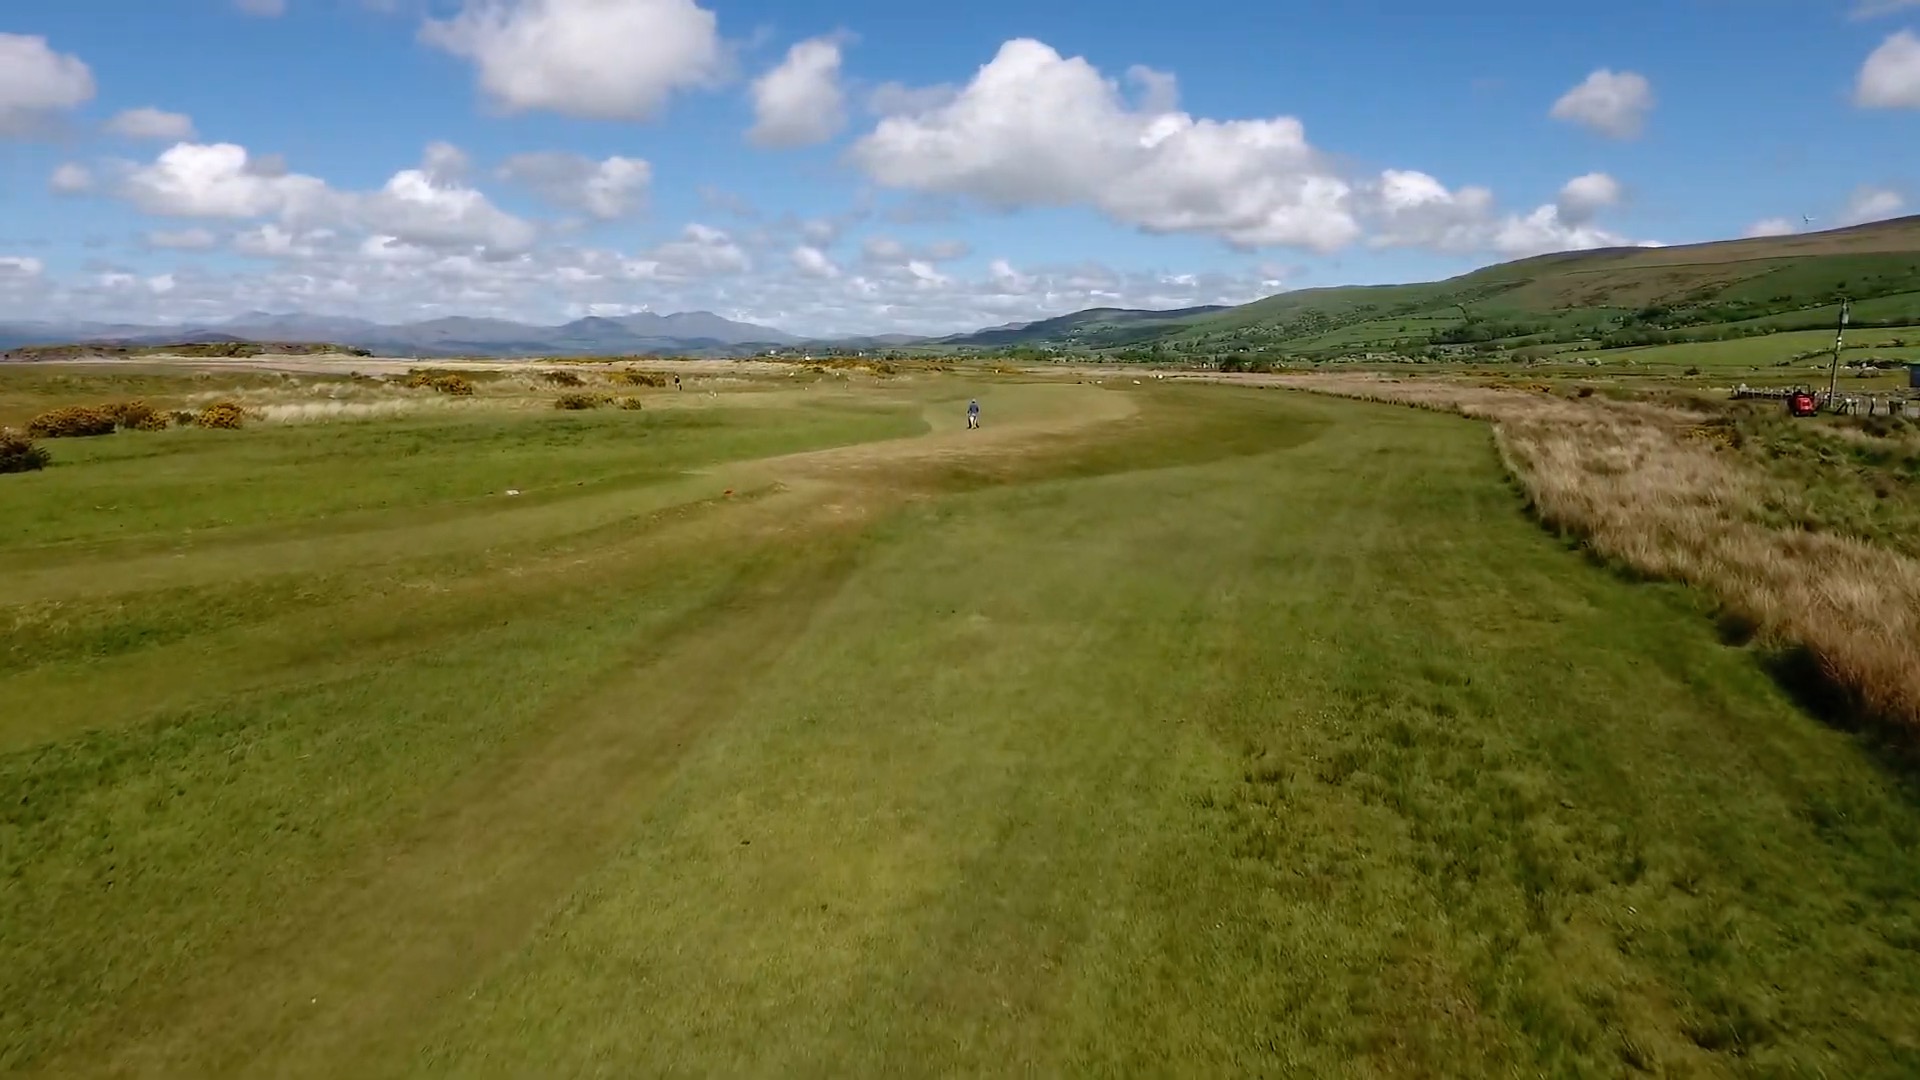
Drive from the raised area to a slight hogs back fairway that can take a ball towards the rough. Avoid the out of bounds on the right and the stream on the left. The stream can also punish a wayward second shot to the green where two mounds at the front can make judging the shot a little deceptive. It’s a relatively easy start to get the round underway…
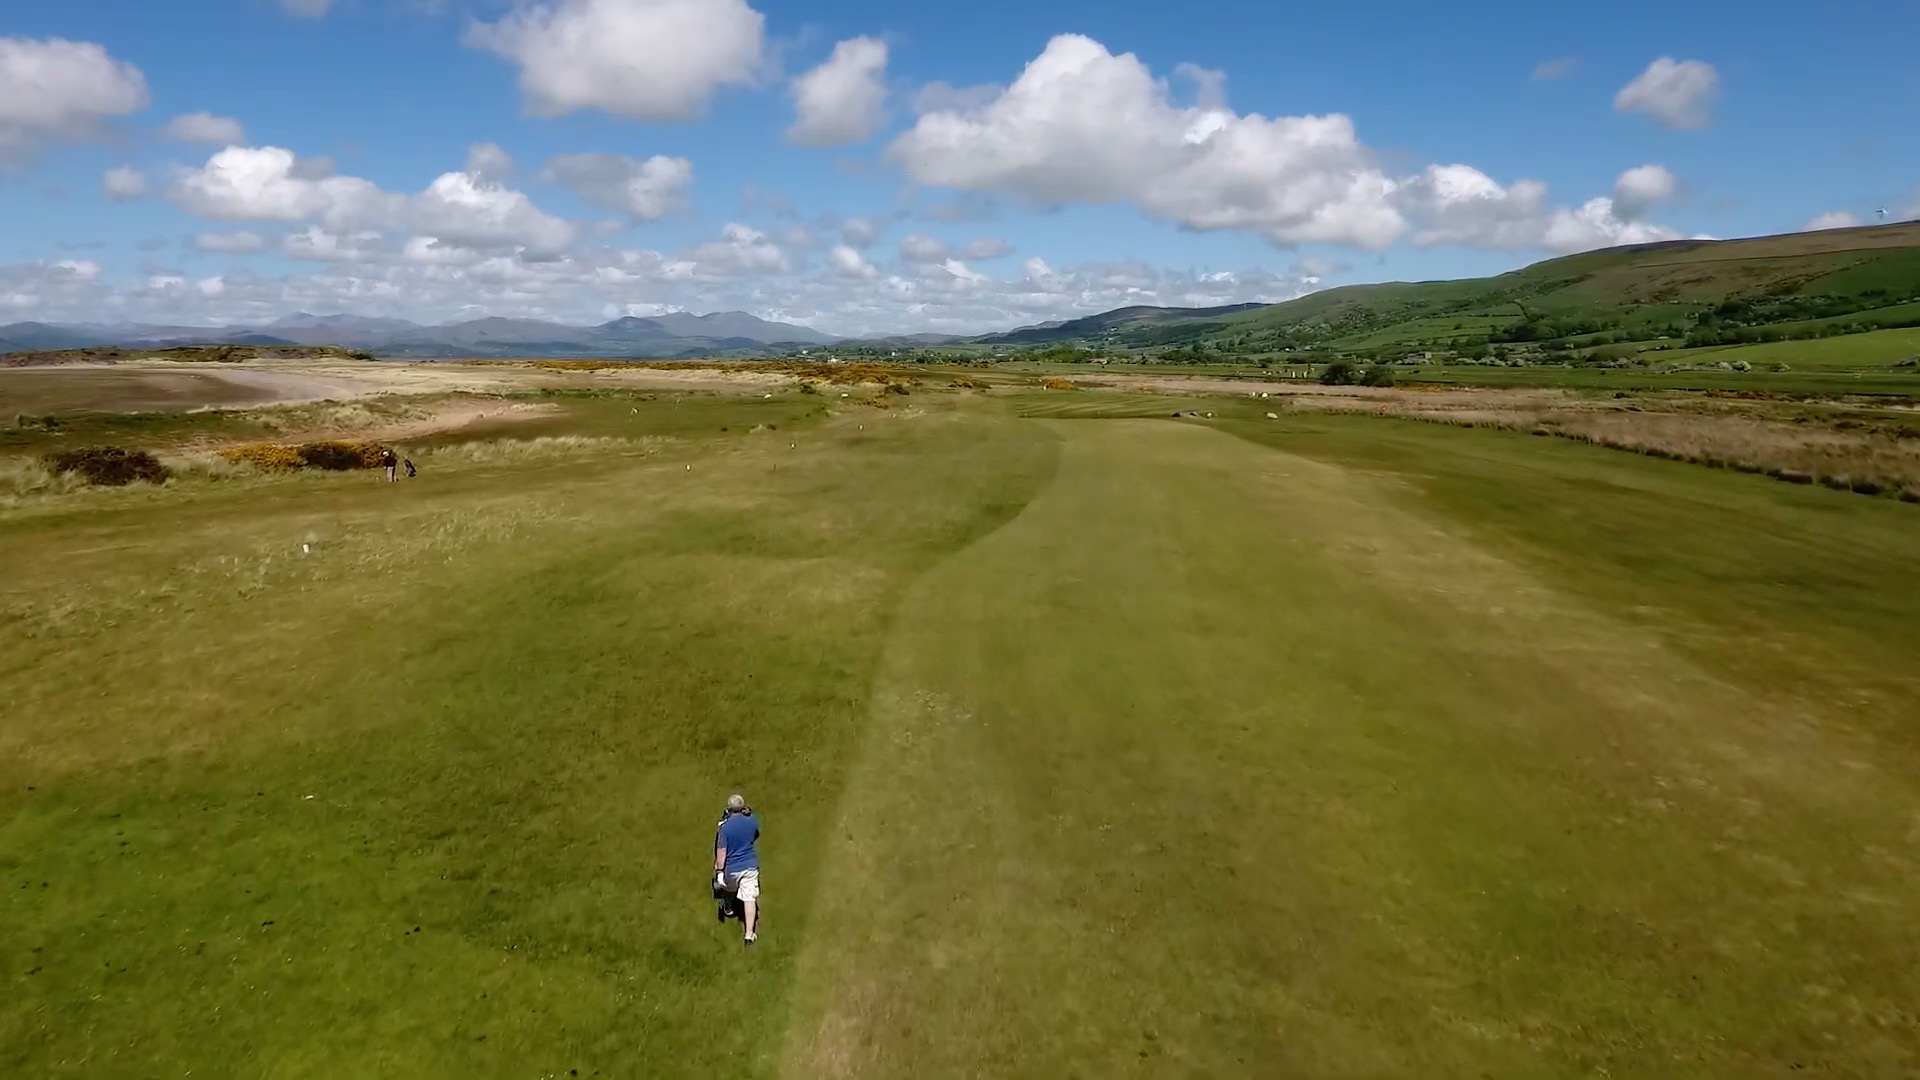
Drive from the raised area to a slight hogs back fairway that can take a ball towards the rough. Avoid the out of bounds on the right and the stream on the left. The stream can also punish a wayward second shot to the green where two mounds at the front can make judging the shot a little deceptive. It’s a relatively easy start to get the round underway…